
Using a Compass
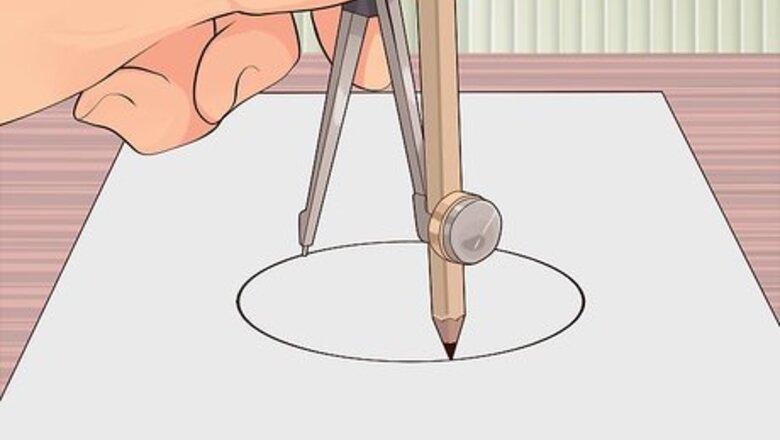
Draw a circle with the compass. Align the pencil tip with the tip of the needle. Place the point of the compass down on the paper. Set the distance between the pencil and needle equal to the radius of the circle that you would like and draw. Swing the compass around 360° to complete the circle. Make sure the hinge is tight so it doesn’t slip while drawing. Also make sure the pencil is securely in its holder so it also doesn’t move while drawing. This first circle is the main circle that you will be dividing.

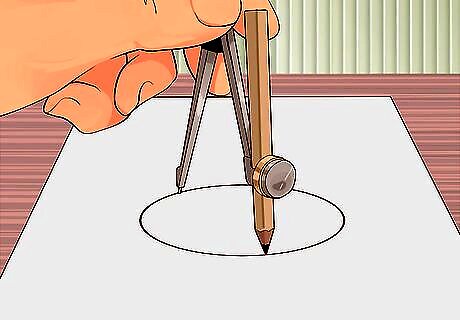
Draw a second circle whose center is the edge of the first circle. Place the needle of the compass at any point along the edge of the main circle. Keep the distance between the needle and pencil the same as the first circle. Swing the compass around to complete the second circle. The second circle should overlap with the first circle and the edge should cross through the center of the first circle. If the distance between the needle and the pencil changes at all, the circle will not be divided equally.
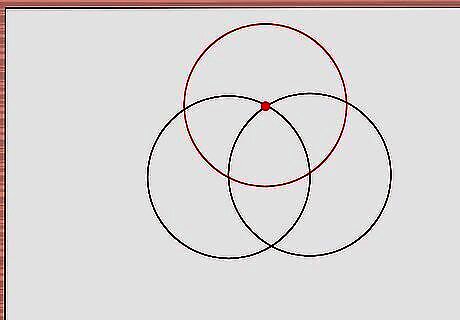
Use the intersection of the first and second circle to draw a third circle. Place the needle at the intersection of the first and second circle. There are two intersections and you can use either one; this will be the center of a third circle. Use the compass to complete the third circle. Again, keep the compass at the same distance for every circle you draw. At this point you should have three overlapping circles. You should notice that the two outer circles overlap with the center of the first main circle.

Draw a fourth circle using the intersection of the main circle and the third circle. Just as you did to draw the second and third circle, use the intersection of the third circle with the main circle as the center point. Remember, going clockwise around the circle, you will use the intersection to the left of the circle. Place the compass on that intersection and draw a fourth circle. You are halfway done with drawing circles.
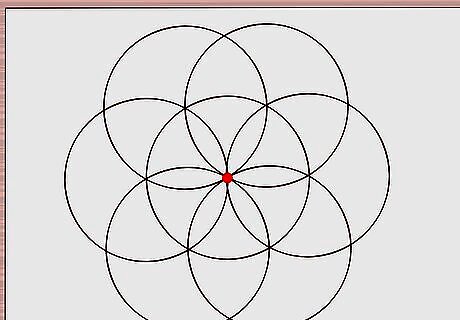
Draw three more circles using the next intersection of each circle. Using the intersection of the previously drawn circle with the main circle as the center, draw the next circle. Continue the next three circles until you have a total of six circles all around the main circle. The inside of your original circle should now look like a 6 petaled flower.
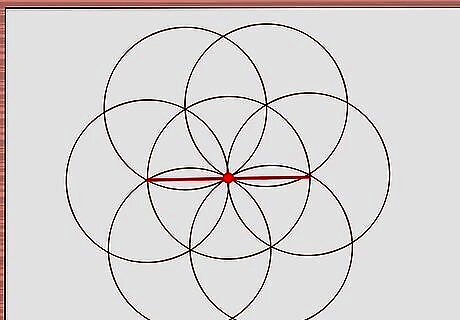
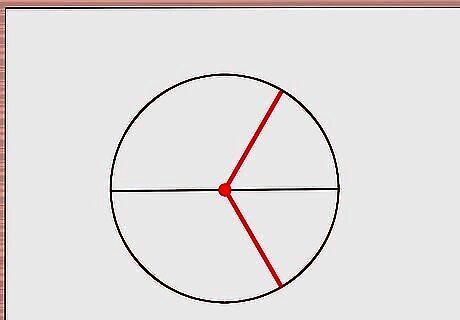
Use a ruler to draw a straight line through the center of the circle. This is the first of three lines you will need to draw to divide the circle into 6 parts. Every line, including this one, should cross the exact center of the circle and divide two of the six inner "flower petals" of your drawing in half.
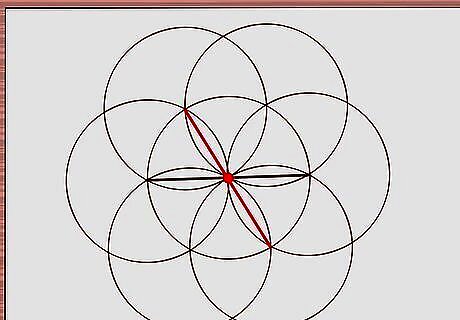
Draw another straight line one flower petal (or 60 degrees) clockwise from the first. This line will bisect two opposite flower petals and will go through the exact center of the circle.
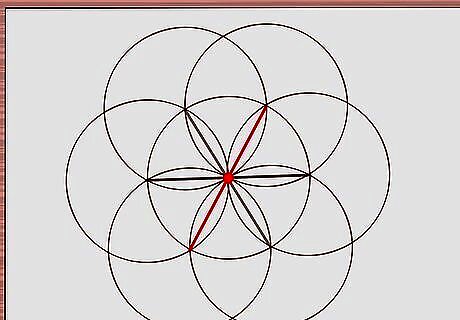
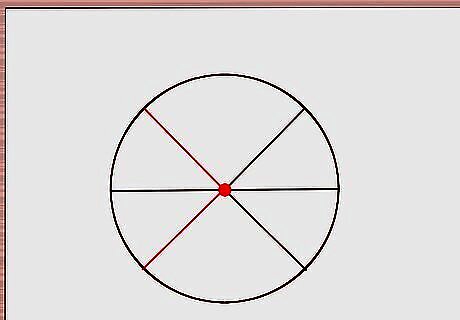
Draw your final straight line one more flower petal (or 60 degrees) clockwise from the last. You now have a circle divided into 6 equal parts.
Dividing a Circle by Eye
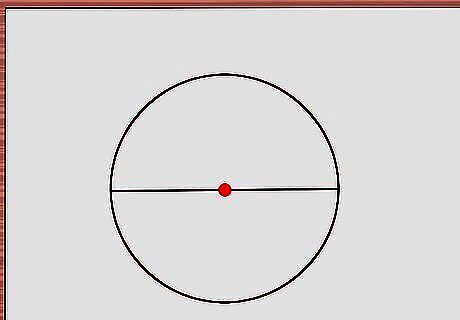
Draw a line through the center of the circle. The first step to dividing the circle is cutting it directly in half. Choose a point anywhere along the circle and draw a line through the center of the circle to the opposite end. The circle is now divided into two equal pieces. This method works well if you are trying to cut a pie or a cake.
Draw two more lines that divide one half of the circle into thirds. Next, you want to draw two lines that cut the half into thirds. You can approximate this by dividing one half of the cake into three equal pieces. Get as close to three equal pieces as possible. Again, this method is just an approximation.
Extend those lines into the other half of the circle. Continue both of those lines through the center of the circle to the opposite side of the circle. If done correctly, the circle should now be divided into six approximately equal parts. This method is not exact, but is an easy way to divide the circle into six equal parts by eye.
Dividing Through Adobe Illustrator
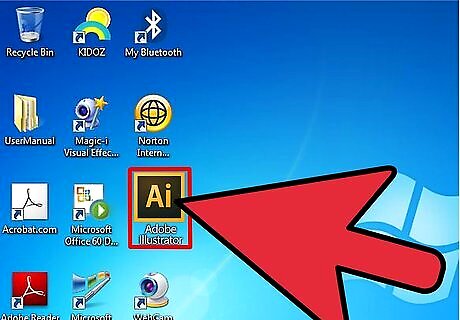
Launch Adobe Illustrator. If you have a shortcut on your desktop, you can open the application by double-clicking on this icon. If you don’t have a shortcut, use the start menu or search for the application and open it from the search bar.
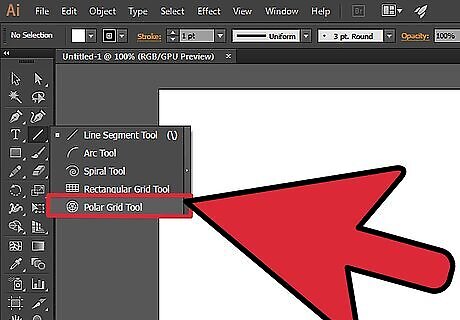
Locate the Polar Grid tool. The Polar Grid tool is one of the options in the toolbar on the left side of your screen. It is under the Line Segment group of tools. It kind of looks like a spider web; it is a circle with divided lines through it. To see the tools nested underneath the Line Segment, click and hold on the Line Segment tool until a window opens with more options. Click on the Polar Grid tool to activate it.
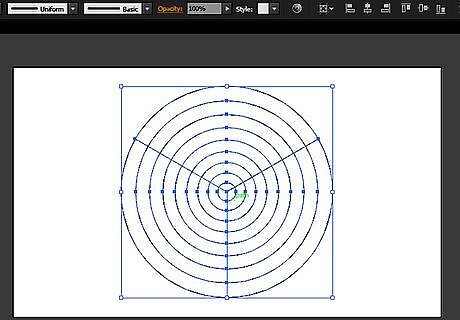
Click and drag to create a circle. With the Polar Grid tool active, click on the canvas and drag the mouse to create the circle. You should see a circle appear that likely has smaller concentric circles within it. These can be removed later. While dragging, adjust the size of the circle by dragging in and out until you reach the desired size. Hold ⇧ Shift to snap to a perfect circle. Keep holding ⇧ Shift and don’t release the mouse click until you finish the next step.
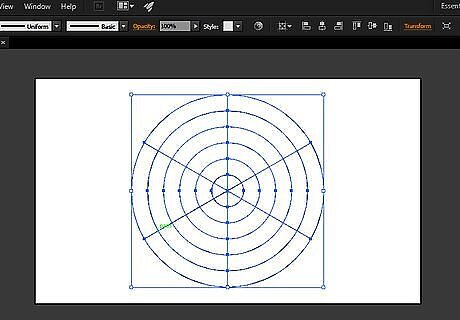
Separate into parts using the arrow keys. While dragging the circle, press on the right arrow key until you see that the circle has been divided into 6 equal parts. If you accidentally press the key too many times, simply push the left arrow key to decrease the number of divisions. When the circle is the size you want and divided into 6 equal parts, you can let go of the mouse. If you let go of the mouse too early, there is an alternative method: Keep the Polar Grid tool active (don’t click back to the black arrow) and click on any whitespace in your document. An options menu will pop up and you can set the number of divisions to 6 and remove the concentric dividers by setting that option to 0.
Dividing Using Adobe InDesign
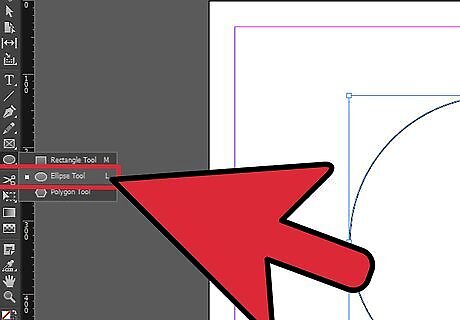
Locate the Ellipse tool and create a circle. The Ellipse tool is part of the toolbar on the left side of the screen. It is a shaded ellipse. Hold down ⇧ Shift and click on the white canvas, and drag the circle to the size that you want. Release the click on the mouse and then release ⇧ Shift to make a perfect circle.
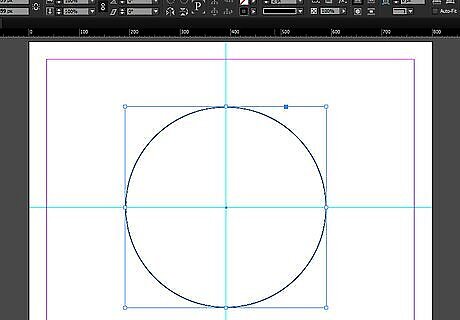
Place both vertical and horizontal guides through the center of the circle. To place a vertical guide, click on the vertical ruler and drag right towards the circle. Place the guide over the vertical center points of the circle. To place the horizontal guide, click on the horizontal ruler and drag down toward the circle. If the guides don’t get properly placed the first time, you can click on them again and drag them into place.

Locate the Polygon Frame tool. The Polygon Frame tool is located in the left toolbar underneath the Rectangle Frame tool group. Click and hold on the Rectangle Frame tool to reveal the icons underneath. The tool looks like a hexagon with an “X” through it. Click on the Polygon Frame tool to make it active. It will now be the icon showing on the toolbar.

Draw an equilateral triangle with the Polygon Frame tool. With the Polygon Frame tool selected, click onto the white canvas to open the options dialog box. Set the number of sides to 3 and click okay. With ⇧ Shift held down, click and drag a triangle that is slightly longer than the radius of your circle. Don’t release ⇧ Shift until after you let go of the mouse click. This will ensure that you have made a perfect equilateral triangle.
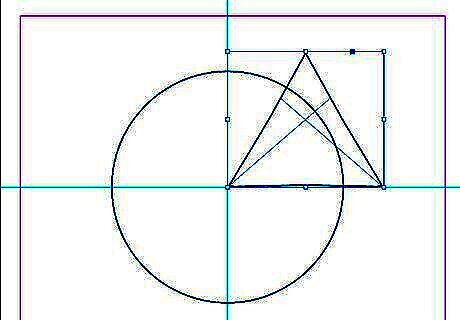
Align the triangle with the center of the circle. Make sure the black arrow is selected on toolbar and click on the triangle. Drag it to the center of the circle so that the bottom-left corner snaps to the center of the circle. The right side of the triangle should hang outside the circle with the bottom and left side of the triangle intersecting the circle.
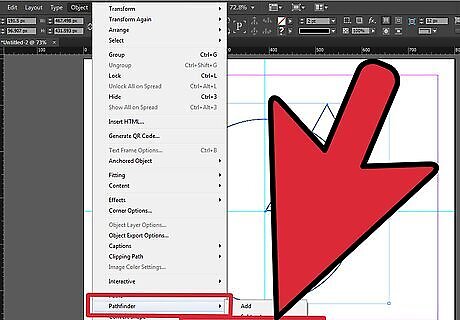
Join the circle and the triangle into a wedge with the Intersect tool. Highlight both the triangle and the circle. With both highlighted, find the Intersect tool nested under Object>Pathfinder. After clicking Intersect, the circle should disappear and a wedge shape should appear. This wedge is one-sixth of the circle.
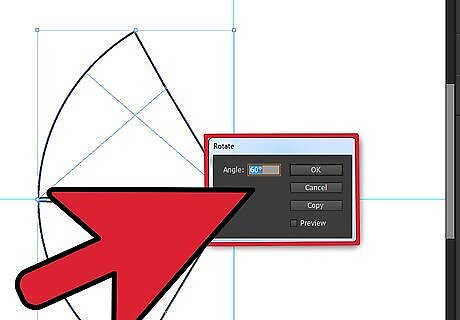
Copy and rotate the wedge 60°. Highlight the wedge and right click. Click on Transform>Rotate. Set the angle to 60° and click Copy. Once you click copy, a second wedge, rotated 60° from the original wedge, will appear. Align this second wedge next to the first wedge. You will start to see the circle forming.
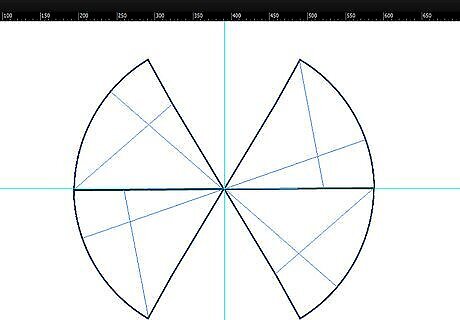
Repeat the rotate and copy process until you have 6 wedges. Using the second wedge you just made, right click again and rotate and copy the second wedge. This will form a third wedge that you can place next to the second. Repeat this with the third, fourth, and fifth wedge until you have six total wedges. Align each wedge next to the previous one until you have a perfect circle divided into 6 equal parts.


Comments
0 comment