views
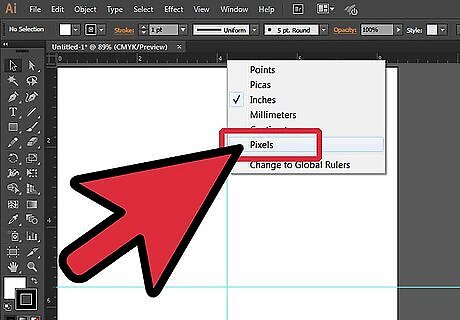
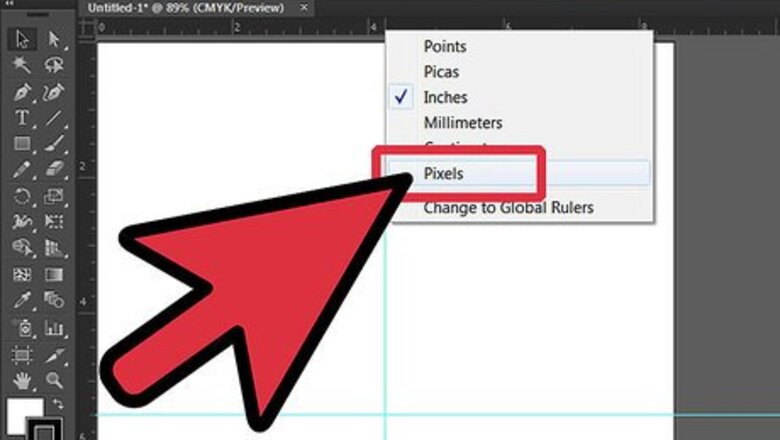
Create a new document. Go to File > New (or Ctrl + N) and set the size of the document to a horizontal letter-sized canvas. Add guides by creating a rectangle using the rectangle tool (W:11in, H:8.5in). Next, drag the guides onto each center of the bounding box. Finish by right clicking over your ruler to change your document measurements to pixels.
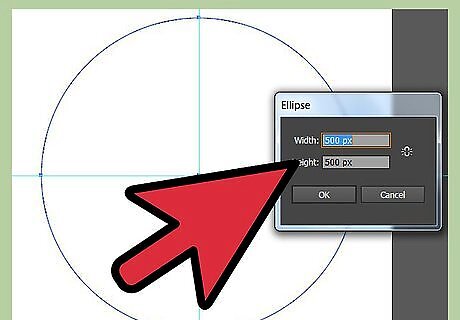
To begin creating a moon, click on the Ellipse tool. Then click your pointer over the canvas to be able to create a circle that is 500 px in width and 500 px in height. Make sure you have a white fill and black stroke on the circle.
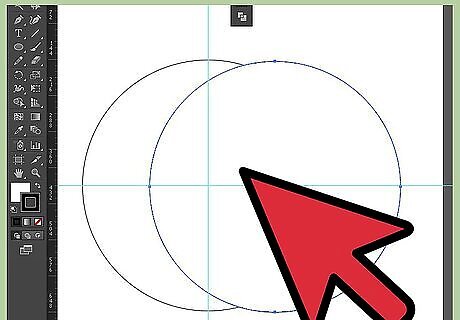
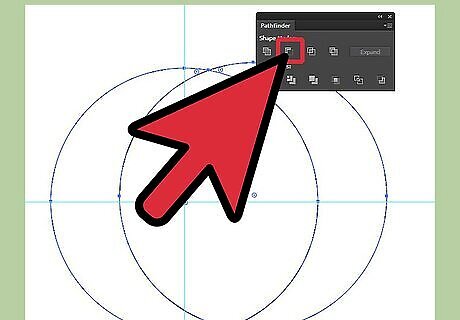
Copy and subtract two circles to form a crescent moon. Copy the circle by selecting it and dragging the shape while holding Alt on your keyboard. Then place the two circles on top of each other. Select both of them and click “Subtract” on your pathfinder's window. To find your pathfinder window, go to window > pathfinder.
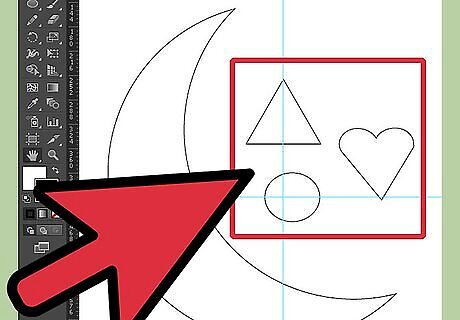
After creating your crescent moon, rotate the image 25 degrees so that it's slightly angled. You can do this by selecting the shape, right-click over the image, click transform and then rotate. Then create small shapes such as (1) a triangle, (2) an ellipse, and (3) a heart.
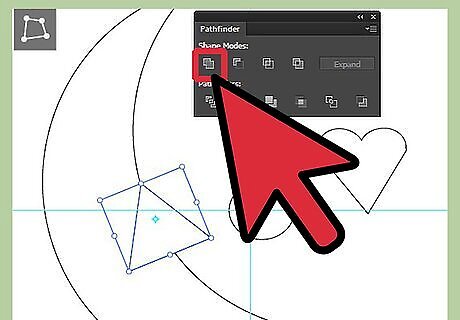
Use the small triangle to create the moon's nose. Drag the triangle onto the center of the crescent moon, select objects and then click “Unite” on your pathfinder's window.
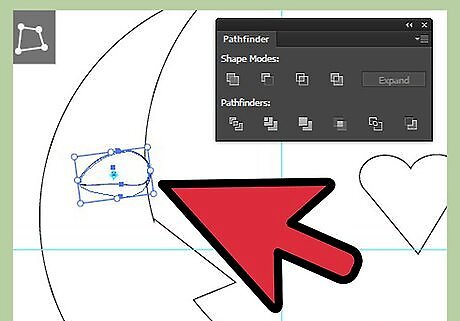
Create the moon's eyes. Use the small ellipse to create an almond shape. Copy the shape and place it on top of each other, where the one below is slightly peeking through the other. To create an almond shape, use your pen tool by clicking “P” on your keyboard and deleting the anchor point on the ellipse. Note: also convert the anchor point of the ellipse's left side to a corner.
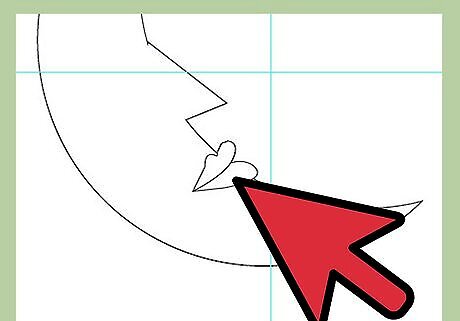
Create the moon's lips. Use the small heart image and add three anchor points on it by using your pen tool. Follow the shape on the illustration after adding your three points.
Add colors to the sleeping moon. Set the colors according to the following: (1) Darker Blue: C=57, M=0.06, Y=10.35, K=0 ; Lighter Blue: C=16.95, M=0, Y=2.84, K=0 ; Stroke: C=100, M=0, Y=0, K=0. (2) Outer Lid: C=72.51, M=2.45, Y=14.11, K=0 ; Inner Lid: C=57, M=0.06, Y=10.35, K=0 (3) Darker Pink: C=2.21, M=46.31, Y=27.28, K=0 ; Lighter Pink: C=0, M=20.51, Y=13.82, K=0 ; Stroke: C=0.89, M=97.14, Y=3.9, K=0

Add colors and effects to the cheek and shadow of the sleeping moon. Set the colors and commands according to the following: (4) Darker Blue: C=39.7, M=0.05, Y=8.69, K=0 ; Lighter Blue: C=16.95, M=0, Y=2.84, K=0. Next, add a “Gaussian Blur” effect on the circle in this way: Effect > Blur > Gaussian Blur. And then set the radius to 20 pixels. For the shadow, copy and subtract the main shape to form a small shadow on the moon. Set the color to (5) C=72.51, M=2.45, Y=14.11, K=0. Then set the transparency to multiply with opacity of 20%. You now have a sleeping crescent moon created using Adobe Illustrator. Add other details such as a sky, stars or clouds such as in this picture.


Comments
0 comment