views
X
Research source
They’re very easy to prepare, and just need to be melted in a microwave or cooking pot, then recolored with an oil-based food coloring. If you already have multicolored candy melts on hand, you can combine differently colored wafers to create your own variations!
Using Oil-Based Candy Coloring
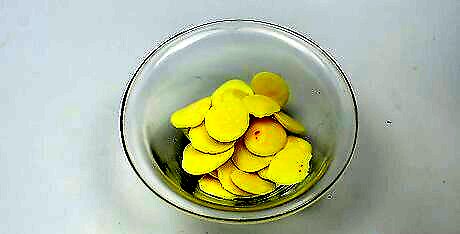
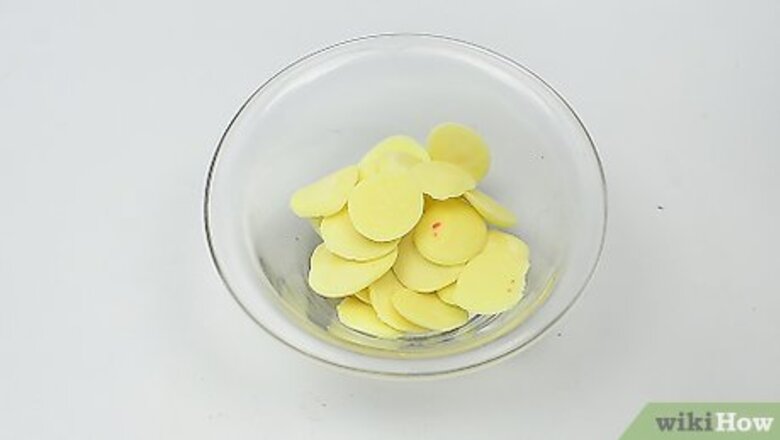
Melt down your desired amount of white candy melts. Fill a microwave-safe bowl or candy melting pot with 1 bag of candy melts, or however many are needed for your recipe of choice. If you’re using a candy melting pot, turn your device to the “melt” setting, or the highest temperature available. Stir the candy melts for about 10 minutes, or until the melts have completely liquefied. If you’re using a microwave, heat your bowl of candy melts for 1 minute at 40% power. If your microwave doesn’t let you change the power level, use the defrost setting instead. Search online or in your local craft store to find mini melting pots designed for candy melts. Use a double boiler if you don’t have a candy melter or microwave.
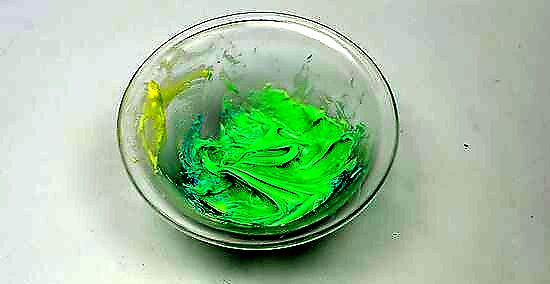
Stir in 2-3 drops of oil-based food coloring. Add just a few drops of an oil-based food coloring into your bowl or container of melted candy melts, then stir the liquid into the melts. Try not to use traditional, alcohol-based food coloring for your candy melts, as this could cause the mixture to seize. You can find oil-based food coloring online.
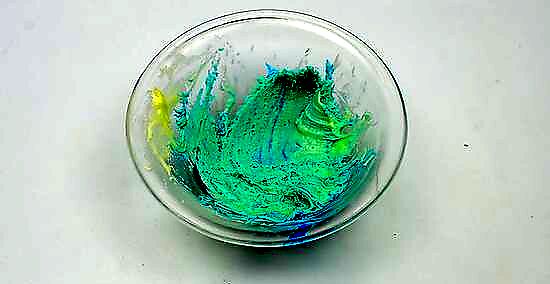
Add more coloring to deepen the hue. It's much easier to darken the color than to lighten it, so incorporate the first few drops of food coloring well before deciding if you need more. You can also mix shades. For instance, add blue and red to make purple or yellow and blue to make green.Tip: While food coloring can successfully dye your white candy melts, your project may look more vibrant and consistent if you melt colored candy melts.
Combining Colored Melts to Make New Shades
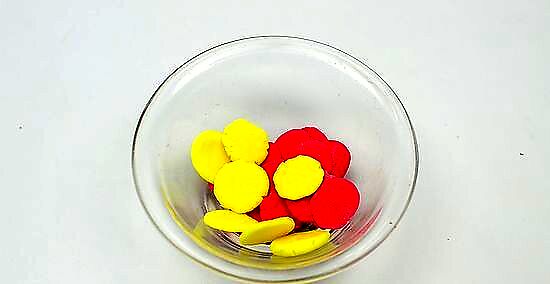
Opt for white, yellow, or orange melts with red to create pink or coral. Create a coral shade by melting red, orange, and yellow melts at a 1:1:1 ratio. If you’d like to make a rosy pink color, mix 1 red candy melt with 3 white candy melts. For instance, if you were making a large batch of rosy pink candy melts, you could mix 6 red melts with 18 white melts.
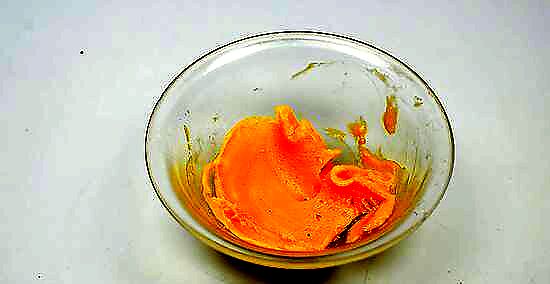
Use pink, yellow, and white melts to make new shades of orange. Mix orange and white candy melts at a 1:2 ratio when adding them into your melting pot or microwave-safe bowl. To create a more vibrant orange color, fill your melting container halfway with both yellow and pink melts. You can also create a more subtle shade of orange by mixing orange and pink melts together at a 2:1 ratio. For example, to make a large batch of light orange candy melts, you could mix 20 orange melts and 40 white melts together.
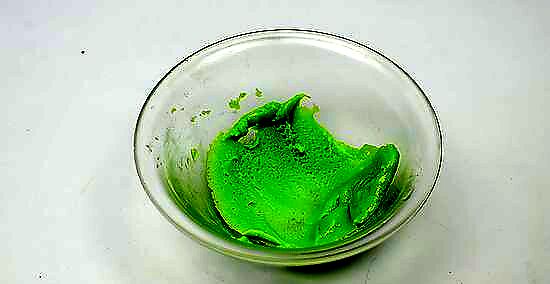
Mix light green or white melts to create unique varieties of yellow. To make a light, creamy variety of yellow, mix yellow and white melts together at a 1:5 ratio. If you’d like your mixture to have a slightly green tint, fill your bowl or melting pot with equal amounts of yellow and light green melts. To make a batch of cream-colored melts, you could mix 10 yellow melts and 50 white melts together.
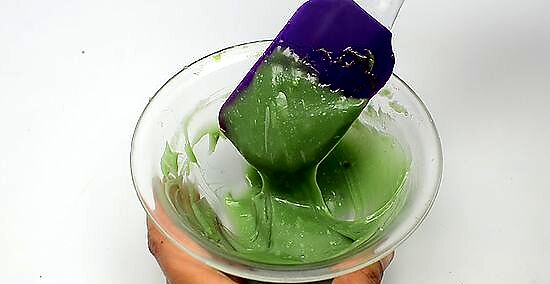
Create fun green shades with yellow, purple, orange, or blue melts. Combine 4 dark green melts and 1 turquoise melt to create a vibrant, shamrock-green mixture. If you’d like to make a forest green color, mix dark green, purple, and pink melts at a 4:1:1 ratio. To make a lighter, grassy shade, mix 1 royal blue melt in with 20 yellow melts. If you were making a large batch of grass-colored candy melts, you can add 2 blue chips and 20 yellow chips to your bowl or melting pot. If you don’t have dark or light green melts on hand, try experimenting with regular green melts instead.
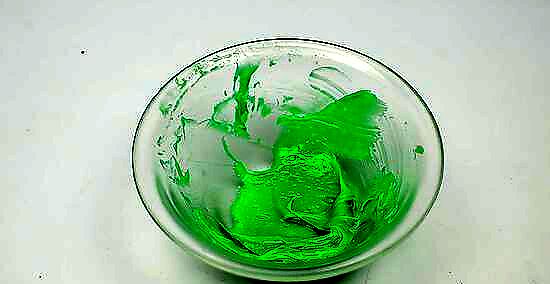
Make a variety of blue shades with yellow, white, or green melts. To make a light, sky blue shade, mix 1 royal blue melt in with 10-15 white melts. If you’d prefer a pure, vibrant shade of blue, add equal amounts of royal blue and white melts to your container. Additionally, you can make a turquoise mixture with 4 regular blue melts and 1 dark green melt. If you don’t have royal blue melts on hand, use the darkest shade of blue that you have. If you were making a large amount of vibrant blue candy melts, you can mix 20 royal blue and 20 white melts together.
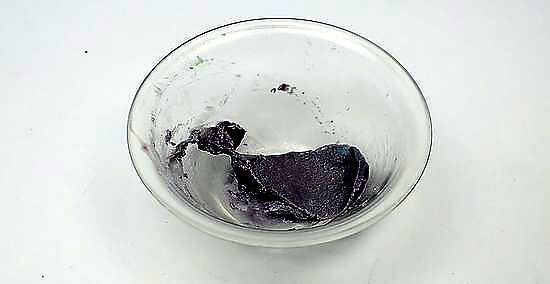
Create purple shades with blue and pink melts. To make a vibrant purple shade, mix 1 royal blue melt with 7 bright pink melts. You can also experiment with light purple melts, if you have any on hand.
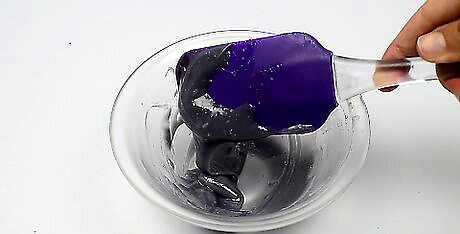
Use white, purple, and pink melts to make rosy shades. Create a light, peachy color by mixing white and pink melts together at a 1:4 ratio. If you’d like to make a more vibrant shade, combine your melts at a 1:1 ratio. For instance, if you were making a batch of vibrant purple melts, you can mix 3 royal blue melts with 21 bright pink melts. If you don’t have bright pink melts on hand, feel free to use a regular shade of pink.
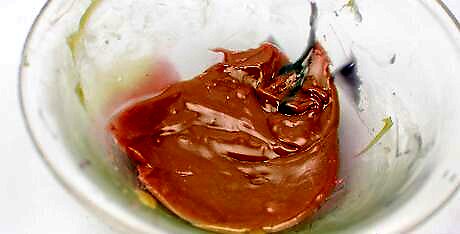
Mix neutral-toned melts to make a brown or black shade. Combine brown and white melts at a 1:5 ratio to make a light brown color. If you’d prefer to make a rich shade of brown, mix equal amounts of brown and white melts together. Additionally, you can make charcoal-colored candy melts by mixing black and white melts at a 1:3 ratio. For instance, if you need a lot of gray candy melts, you can mix 8 black melts with 24 white ones. If you want vibrant shades of brown and black, melt the candies as is.






Comments
0 comment