
Scheduling an Ideal Time
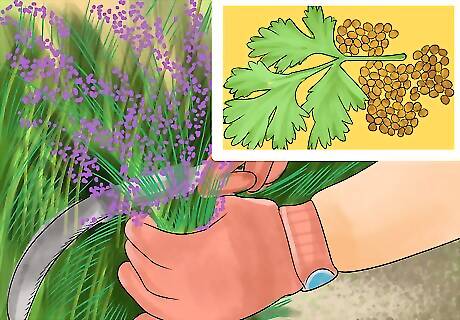
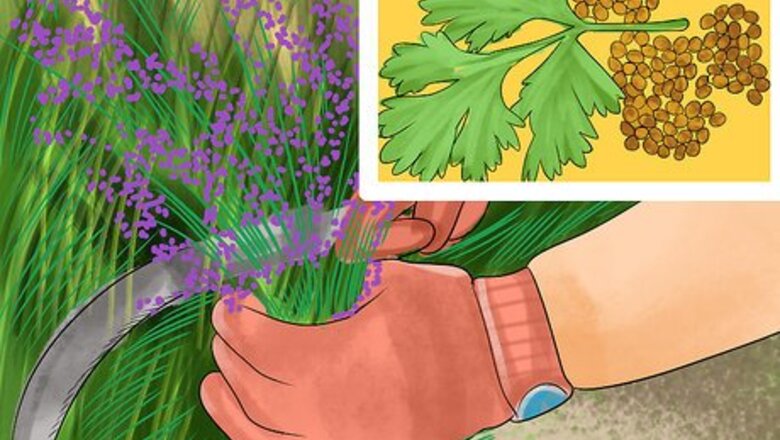
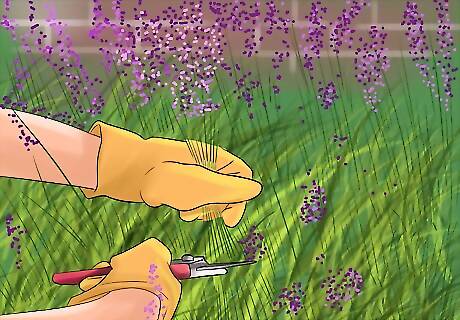
Harvest based on what you need. Some herbs are harvested not just for their leaves but also their seeds and/or flowers. You will need to adjust when you harvest depending on what part of the herb you want. For example, cilantro's coriander (that is, the "fruit" or seed portion of the plant) only becomes available after the flowers form seed pods, but by then it will have very few leaves. If you're growing for seeds (ex: dill, fennel, coriander, or caraway) harvest around the time the seed pods change color. If you’re growing for leaves, harvest before the plant starts to bloom. Some herbs like basil take on a bitter taste once they begin to flower. For the flowers of herbs like lavender, borage, and chamomile, harvest before the flowers fully open. Wait until the end of summer or early fall to uproot plants like ginseng and goldenseal.

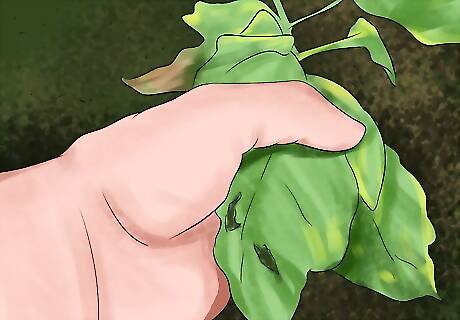
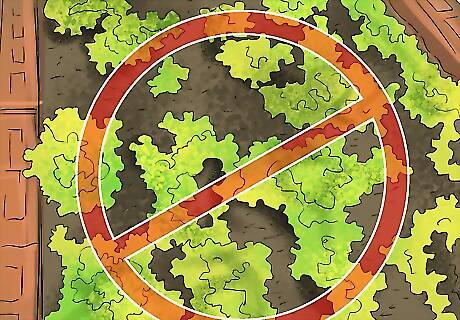
Harvest when your herbs are healthy. If your plant is looking damaged, overgrown, or diseased, do not attempt to harvest from it. The likelihood that you will end up with a subpar product that tastes off or will mold is significantly higher. Instead, prune and care for your herbs until they are back in good health and harvest them after they have had sufficient time to recover their growth.
Pick before your herbs flower. Herbs lose much of their flavor and have a tendency to become bitter after they have flowered. In order to ensure that your herbs will taste right, harvest before they start to flower. Timing can be key: oregano, thyme, and mint become their most flavorful just before they begin to bloom.
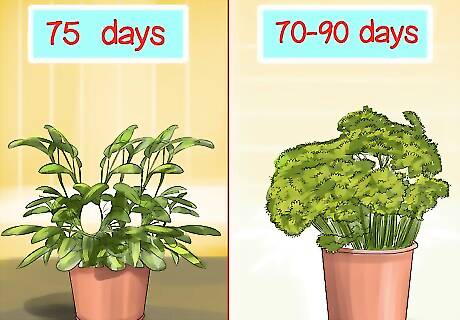
Harvest by age. Some herbs are very predictable for the earliest time you can start harvesting. However, it may depend on whether or not you've planted them as seeds or if you transplanted them. Use the following as guidelines for harvesting common herbs: Parsley: 70-90 days after planting Rosemary: 6 weeks after planting Sage: 75 days after transplanting Lemon balm, peppermint (and mint), tarragon, and thyme can be harvested at any time once the herb has sprouted and leaves appear. Use your own judgment, too. It’s best to harvest based on how the plant looks – and whether it seems ready – rather than on days.
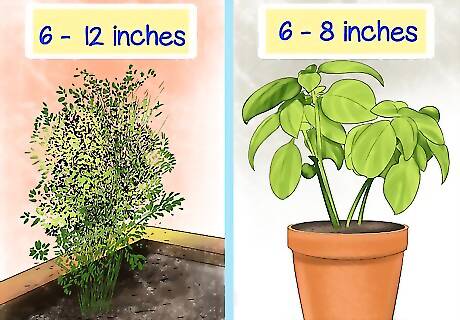
Harvest by height. It can be difficult to tell exactly when your herbs may bloom because herbs' growth cycles can be impeded or encouraged by the weather. Additionally, maturity varies from plant to plant. One accurate way to be sure you can start harvesting your herbs is to measure their height. If your herbs meet the minimum requirement listed below, you can start harvesting: Basil: 6-8" tall Cilantro: 6-12" long Oregano: 3-4" tall
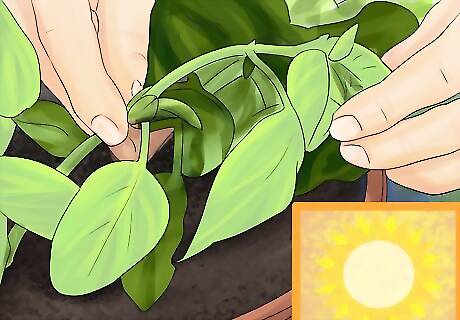
Pick in the morning. Herbs are used for both their fragrance and taste, both of which are derived from the oils they naturally produce. Logically you should pick your herbs when they have the highest concentration of oil. This happens to be in the early morning hours, around the time the morning dew is evaporating. Be sure that you pick your herbs before the heat of the day sets in. The sun's heat will dry up the plants, reducing the amount of oil. Do not wash the dew from the leaves or you will lose the herbs' fragrant oils.
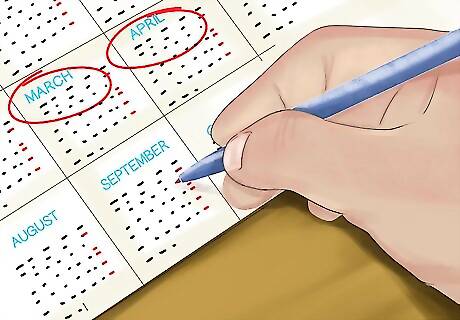
Harvest throughout the season. In addition to starting early, you should harvest often. This promotes new growth. In general you can continue to harvest until the first frost. However, perennial herbs (that is, herbs that live for three or more growing years) should not be harvested after August so that you don't accidentally encourage the plant to grow when it is too cold for it to survive.
Gathering the Herbs
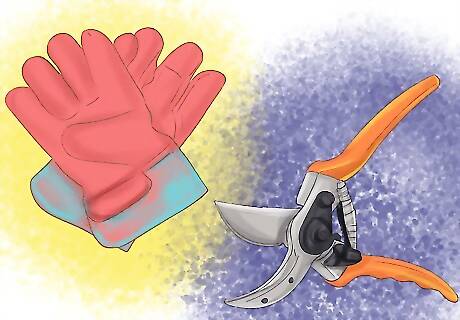
Use good tools. When cutting your plants, be sure that your clippers are clean and sharp. This will promote faster healing and prevent your plant from getting sick. You may also want to wear gloves to keep your hands from getting dirty and to protect them from any potential pests. Clean your harvesting tools with rubbing alcohol between plants, too, to reduce the risk of spreading diseases.
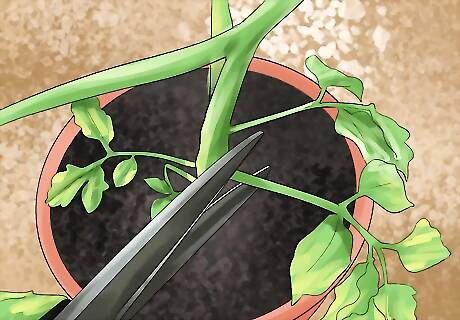
Locate the right area to cut. Most people want their herbs to be a sustainable supply that will regrow even after being used. In order to be sure that you don't accidentally kill your herbs, don't harvest more than ⅓ of the plant that you can see. For harvesting leaves, you'll want to snip (from a mature plant) a few inches down the stem. You can also simply pick off the few pieces that you need when you need them, but clipping them will stimulate better growth afterward. The most tender leaves, ideal for salads and dressings, are located at the top of the plant. Older, more flavorful leaves are good for cooking recipes and will be located at the bottom of the plant.
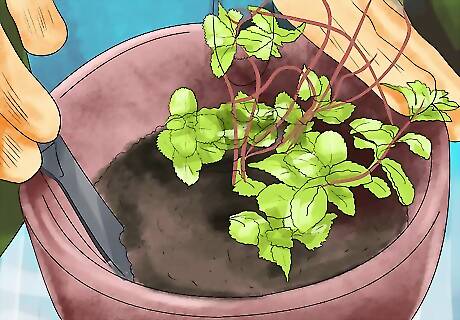
Prune your herbs simultaneously. While you are harvesting, look for yellowed and dying leaves as well as flower buds. Removing these unwanted items encourages better, faster leaf growth, and in the case of the latter it helps to keep the leaves more tender. Let one plant go to seed (that is, do not weed or prune it away and allow nature to do the work of reseeding for you) from your stock in order to have seeds for the next year's crop.
Clip at ground level. Some herbs, like parsley and chives, do not have sprigs that produce leaves on their stalks. Rather, their stalk is the herb. In the case of parsley, you’ll need to clip them from the ground. Otherwise, the plant will not send up new shoots to replace the old ones. For other plants, however, you’ll want to leave some of the stalk intact. For chives, leave 2 to 3 inches when you harvest to support new growth.
Dig up root herbs. Herbs like dandelion, burdock, and yellow dock which have single-stemmed tap roots can't simply be pulled out: the top portion of the plant will break away from the bottom portion. You will need to use a shovel or digging fork to get the roots out. Be forewarned: some roots can be very deep and very large depending on the plant; burdock, for example, can have roots that grow up to 12 inches in length and 1 inch thick.
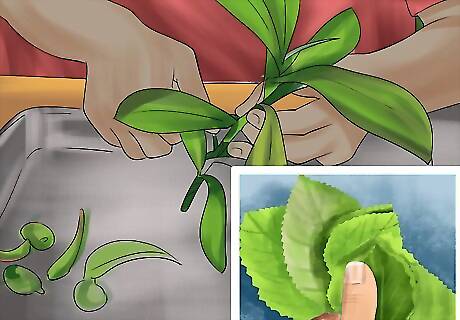
Prepare your herbs for immediate use. If you intend to use your freshly picked herbs for cooking, you will want to remove them from the stem by sliding a thumb and your forefinger from top to bottom, pulling them off as you go. If you intend to use them for their fragrance or preserve them for later, leave your herbs' leaves and/or flowers on the stem. If the herb will simply be used for flavoring in the cooking but will not be eaten, it's okay to cook the entire stem with the leaf to make it easier to remove the item when you're finished. For example, bay leaves are commonly used for seasoning soups, chilis, and other savory foods, but they are never eaten, so you might find it easier to leave them on the stem for removal. If the leaves will not come off easily, such as with parsley and bay leaves, you can use a pair of scissors to snip them off.
Preserving Herbs for Later Use
Don't harvest too much. Even if you don't plan on using your herbs immediately for cooking, you will still need to deal with them within 24 hours. Herbs that are left sitting for a day or more may end up with bruised leaves and begin to deteriorate. This will result in a loss of aromatic and flavorful oil. Even if it seems inconvenient, work in batches so that you will not waste any of your efforts.
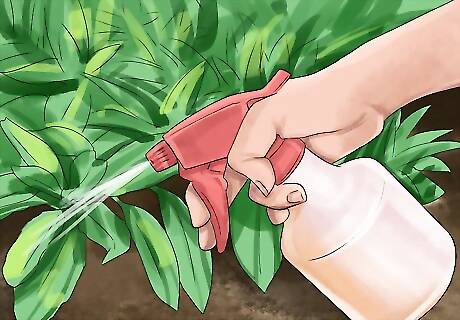
Clean your herbs. Especially if you intend to preserve your herbs for later use, you need to clean them first. Bugs can breed and hatch on herbs that have been left to dry out. For plants that have recently seen rain, brushing them off with a dampened cloth should be sufficient. If your plant is dusty, rinse it in cool tap water and then get rid of the excess by using a salad spinner. Gently pat the herbs dry with a towel to finish. If you can avoid washing the herbs, do so, as this will slow down the preservation process. However, if you live in a region that is particularly dusty due to drought or the natural environment (say a desert or near the beach), you may have no choice. For root herbs, you will want to scrub off the dirt without soap and then wipe them dry.

Dry out the herbs with a commercial dehydrator. There are numerous dehydrators available to consumers. You can purchase them online at Amazon or at retailers like Target or Bed Bath & Beyond. Preheat the dehydrator to 95-115 degrees Fahrenheit and place your herbs in a single layer on a provided tray, removing larger leaves from thick stems.Periodically check on your herbs for dryness, and expect that it will take between 1-4 hours for your herbs to fully dry depending on how much moisture the leaves had to begin with. Herb leaves will crumble when dry, but roots will become even harder than before.

Dry out the herbs by bundling them. This process works particularly well for herbs that have really sturdy stems like sage and rosemary. Remove the leaves from the lower portions of the stems so that they won't potentially mold later on, and then gather the stems into bundles about 1 inch in diameter. Tie the bundle together tightly with a rubber band or twist tie, and then hang the bundles upside down in an area away from direct sunlight (to avoid bleaching).
Dry out your herbs' roots in an oven. Particularly for root herbs that have been chopped, grated, or cut up, you can dry them in your oven. Collect all of the herbs you wish to dry in an oven-safe tray and place that in the oven. Set your oven's temperature to 200 degrees Fahrenheit and when it's heated to the appropriate temperature, turn it off. Open the oven door to allow the air to circulate and the roots to gradually cool off; they should be dry.
Check that your herbs are completely dry. If your herbs are still storing any moisture in them at this point and you try to store them away, you may end up with moldy, unusable herbs later on. Be sure they're really thoroughly dry by putting them in a jar, closing the lid, and leaving them on a countertop for a day or two. When you open the jar again, check the underbelly of the lid for condensation, which would indicate your herbs are still too moist for storage. Continue dehydrating your herbs as necessary.
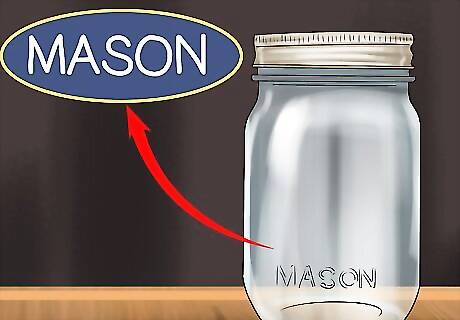
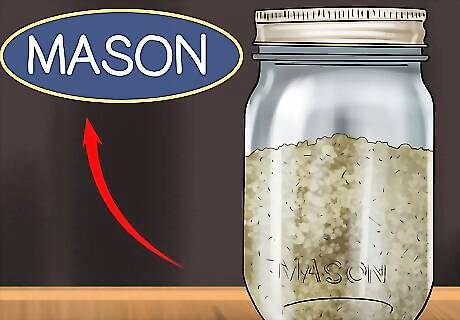
Properly store your herbs. Store your herbs in an airtight glass container. Mason jars are often recommended. If you have surplus of an herb that isn't ground up, you can use a vacuum sealing apparatus to keep your bulk supply fresher for a longer period of time. You can also freeze fresh herbs for use later on.


Comments
0 comment