views
- Use an online voltage drop calculator to determine conductor size based on the maximum load needed.
- If burying wire, you'll need a trench that's at least 18" deep for the pipe.
- UF and NM cable must have support every 30-36 inches when run over concrete.
- Only use aerial installations for short lateral runs where they won't create hazards for vehicles or pedestrians.
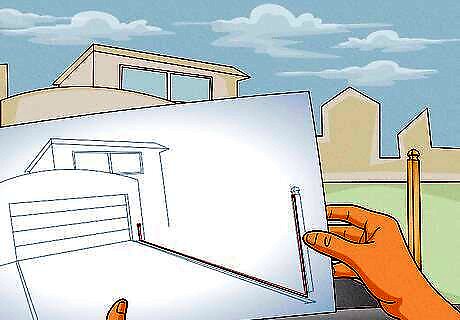
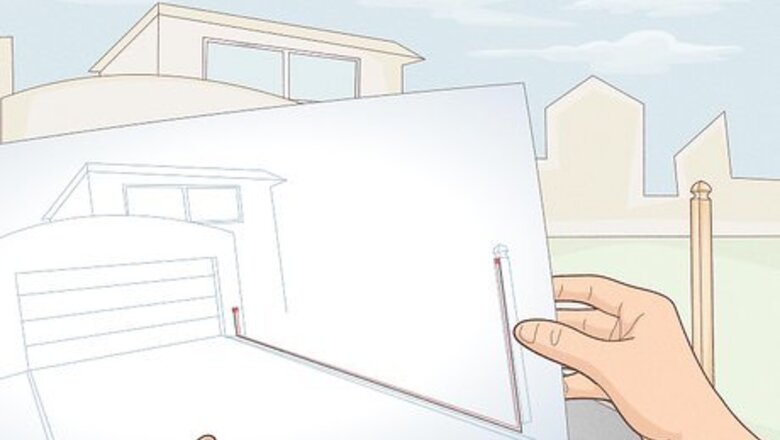
Plan your installation. The size of the conductors is primarily determined from the maximum load needed, the distance, and whether it is copper or aluminum. There are "voltage drop" calculators online that may help you. Conductor size may dictate later considerations such as conduit diameter, due to "fill" restrictions, or the means for overhead support.
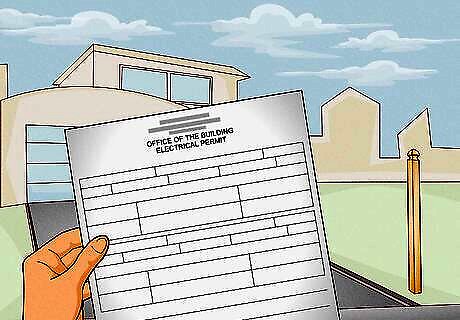
Obtain any necessary permits prior to continuing your installation. This may involve interaction with the inspections office where you may verify the acceptability of your plans and determine if you're allowed to do the work yourself without being a licensed electrician.
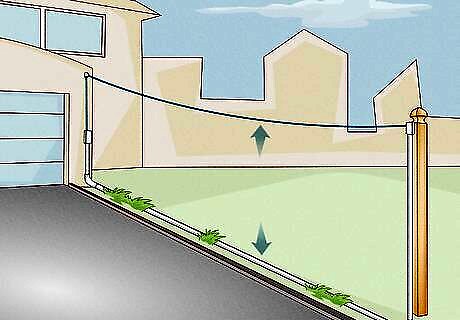
Determine which wiring method is the most desirable: direct burial of cable under soil or concrete, buried rigid or flexible metal or PVC electrical pipe (PVC) with conductors later installed in pipe, or aerial (overhead) method. Each has its own benefits and detractors. Please read the entire article to help you decide which method will work best for you.
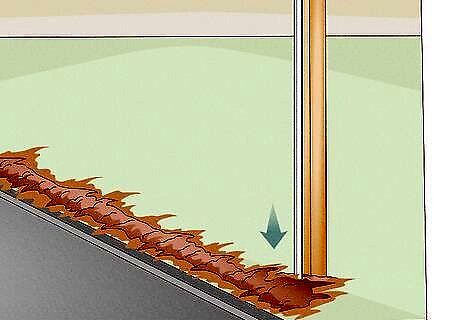
Direct burial of type "UF" (underground feeder) cable under soil is probably the most common and least expensive method. It provides for hot(s), neutral and grounding conductors all inside a durable, sunlight and moisture resistant encasement or "jacket". UF type cable looks very similar to "NM" (non-metallic sheath -- Romex) cable, but differs in that the individual conductors are "flooded" with the jacket material found on NM cable. Thus, there is no thin, easy-to-remove outer jacket like NM cable, but rather the conductors and their insulation must be removed from the "jacket" (learning to do this may take a little time - practice with left over cable before attempting on installed cable). Direct burial cable requires at least an 18 inch (45.7 cm) deep trench in earth between the origin and termination of the lateral run. Most trenches should be dug to a depth that is below the frost line. Check with your inspector in your area to determine the minimum depth required.
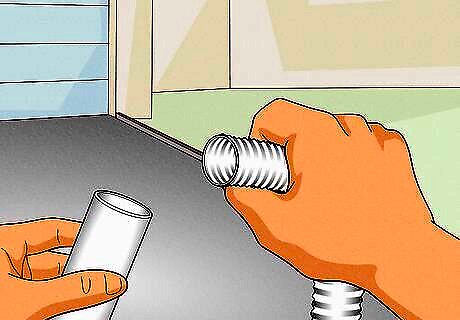
Select the proper diameter and number of conduits for your planned installation. There are charts or formulas in the electrical code to assist you in determination of the "maximum fill" diameter of conductors for a given conduit diameter. Over-stuffing a conduit makes pulling the conductors more difficult, may result in excessive heat build-up, and violates the code.
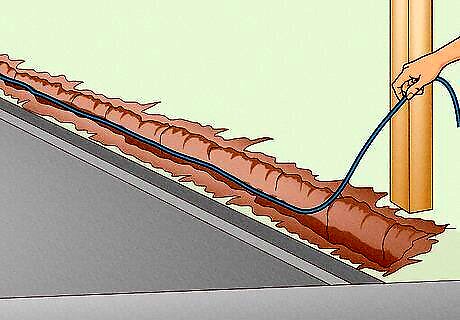
After ensuring the minimum depth along the entire length, lay type "UF" cable in the trench. Place smooth rocks on top of the cable to keep any high spots down.
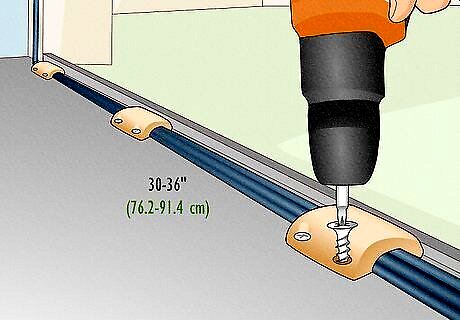
UF cable must be supported every 30–36 inches (76.2–91.4 cm); just like NM cable. It does not need to be supported in the trench. This cable must be supported when run over concrete. This can be accomplished by securing wood (pressure treated if exposed to outdoors) to concrete and then securing the cable to the wood. If the cable may be subjected to physical damage, it should be "sleeved" in "Schedule 80" PVC pipe and terminated with proper pipe fittings (couplings, "LB" fittings, clips, expansion joints, etc.).
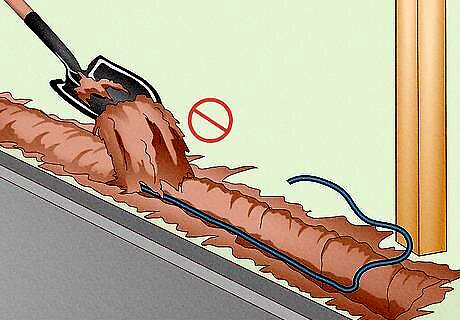
Do NOT backfill the trench until the electrical inspector or "authority having jurisdiction" (AHJ) has checked the work.
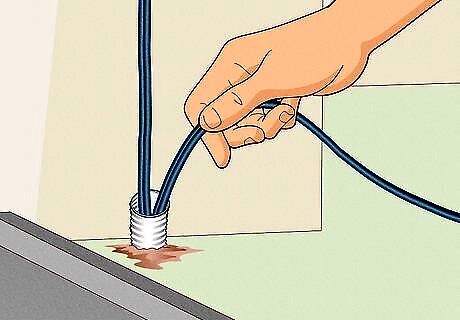
Rigid or flexible conduit methods allow for adding circuits at will without the labor or expense of excavating again. By installing pipe a size or two larger than required for the current project, or providing a 2nd pipe at the same time, there will be enough room to pull in additional conductors later. Speed future installations by always leaving an extra "pull wire" or string for use to connect either a rope or directly to a new cable when the time comes to expand the number of circuits. Multiple pipes must provided for other services - low voltage and signal services such as: communication (telephone or network), cable TV, satellite television, intercom, etc. services are not permitted in pipes that contain power. These cables must either be installed in a separate pipe or buried directly within a cable labeled as suitable for direct burial in earth. It should be obvious that there is a great deal of flexibility offered by the (multiple) pipe method.

A trench 18 inches (45.7 cm) deep minimum will generally be required for the pipe. Use "Schedule 40" PVC for the portion under soil, and "Schedule 80" for those portions of the pipe run above ground. Layout the pipe run adjacent to the trench. Make sure you have a "snake" or fish tape long enough to go from end to end. You may also thread a "pull string" through each pipe section as you go, simplifying the later wire-pulling task. Glue or fasten the pipe together with approved fittings and adhesives. Place the pipe into the trench.
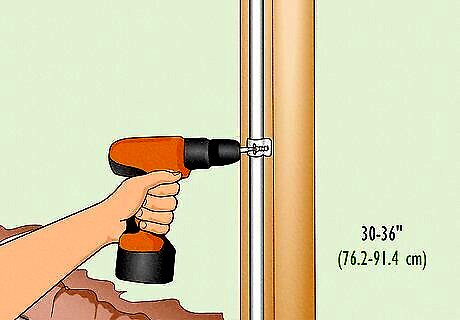
Secure the pipe where it rises above ground at 30 to 36 inches (76.2 to 91.4 cm) intervals with approved supports for the pipe. Some codes may require the conduit to continue up to 8 feet (2.4 m) above grade, unless it enters a lower termination point.
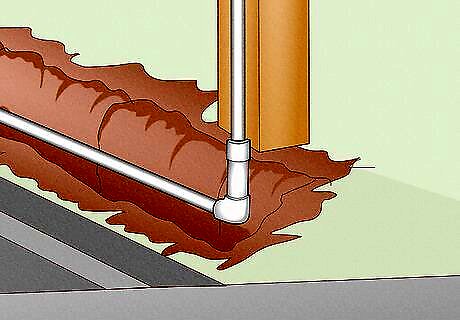
A PVC "expansion joint" is often required between the point the pipe emerges from the ground outdoors and penetrates a wall or enters an enclosure mounted on the wall. Expansion joints allow for changes in grade that can result from frost heaves, and for thermal changes along the pipe, and must be employed where required. Check your local code for this requirement. Expansion joints are available at most home centers that sell electrical conduit pipe.
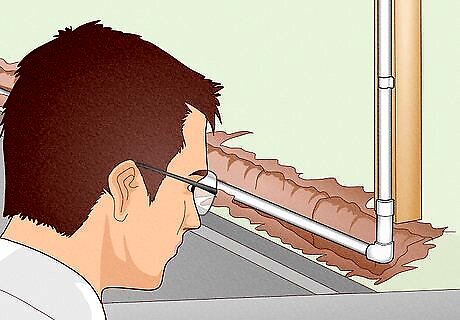
As with direct-burial cable installations, your local inspector may want to view your conduit installation before you backfill your trench.
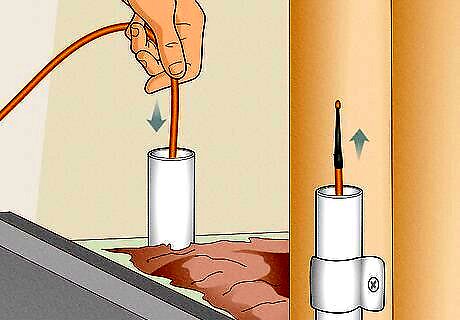
Push the "fish tape" or "snake" in one end of the pipe until it exits the opposite end. Protect any existing wires from damage from the snake by placing cardboard or other insulator between the snake and wires at the opening of the pipe. Steel snakes will conduct electricity if allowed to rub through insulation of an energized wire, so shut off power if possible before installing the snake or pulling wire.
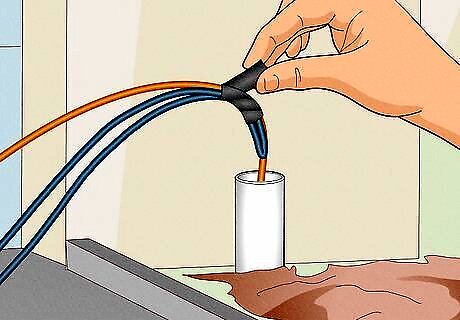
Hook the conductors to the snake and tape together. Have a helper "feed" and guide the wires as you withdraw the snake from the pipe. Do not pull fast or hard; slow and steady tension is the key. Do not allow the new wires to constantly rub existing wires in the same place as they are pulled into the pipe, as doing so they may wear away insulation and expose harmful voltages present on the conductor(s) when energized.
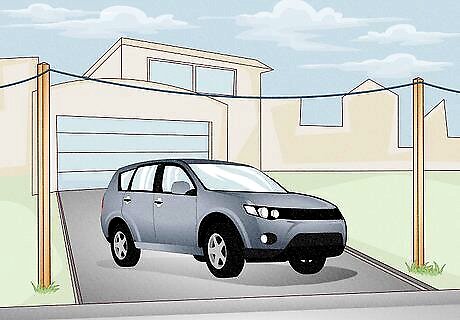
Aerial installations should only be done for short lateral runs, and where they may be installed so that traffic (vehicle or pedestrian) below will not create a hazard by contact. Additional clearance requirements must be observed when passing over driveways, spas, pools, roofs or near windows and doors.
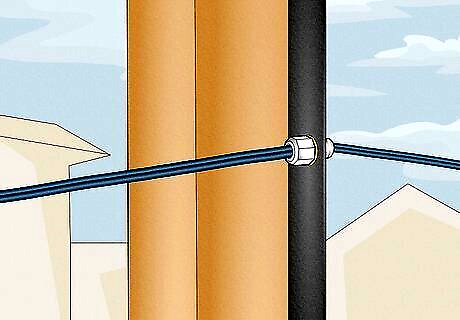
Type UF cable is suitable for an aerial run when used with approved strain relief fittings because Type UF cable is rated as / and accepted to be sunlight & moisture resistant. The strain relief and support fittings should be secured to the building framing members, not just to plywood sheathing of the structures. These fittings are seldom found in home centers, but are available at most full-line electrical distributors. This wiring method should be used only if the other two are not suitable. Keep in mind that these cables will stretch a bit when under high electric load or in direct sunlight. They will also be strained under the weight of snow and ice build up, and could break mid-span or rip from supports.




Comments
0 comment