views
X
Research source
On Eclipse, Spring Boot is referred to as Spring Tools Suite. This wikiHow article teaches you how to install Spring Tools Suite.
Using the Eclipse Marketplace
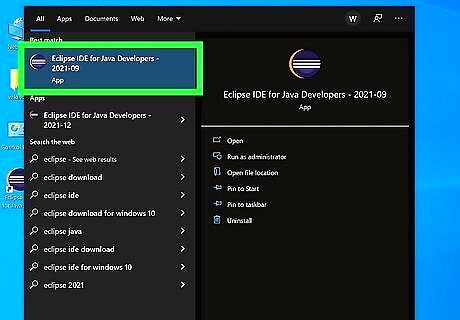
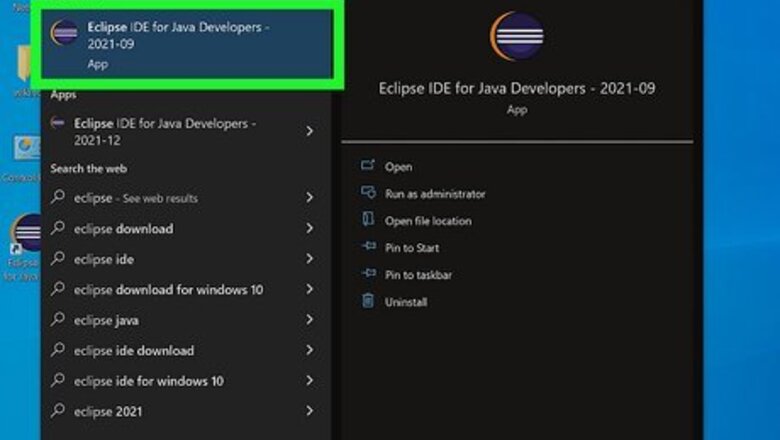
Launch Eclipse. Eclipse has an icon that resembles a blue circle with white horizontal lines and a yellow crescent moon to the left. Click the icon on your desktop, Windows Start menu, Applications folder (Mac), or Apps menu (Linux) to open Eclipse. The first time you open Eclipse, you will need to select a folder to use as your workspace. Click Launch in the lower-right corner to use the default workspace folder. Click Browse to select a different location.
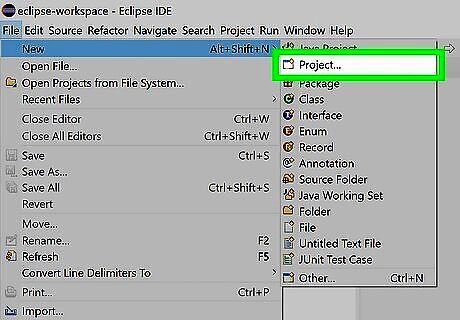
Open or create a new project. By default, Eclipse will open the last project you were working on. To create a new project, click File in the menu bar at the top, and then click New. To open an existing project, click File in the menu bar, and then click Open. Select a file and click Open. The first time you open Eclipse, a screen will appear giving you a variety of options. Click the option to open a new Java project to start a new project. Alternatively, you can click the option to open an existing project to begin work on an existing project.
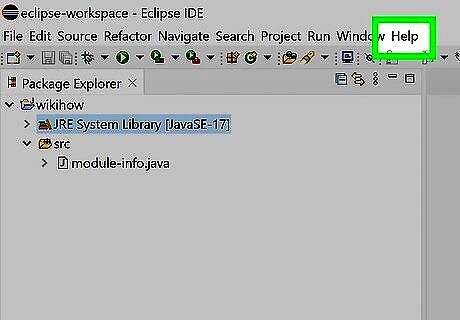
Click Help. It's the last option in the menu bar at the top of the screen. This displays the Help menu.
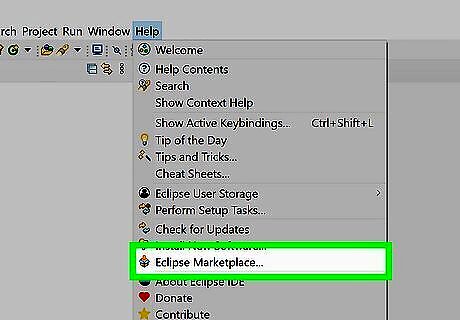
Click Eclipse Marketplace. It's near the bottom of the Help menu. This opens the Eclipse Marketplace in a new window.
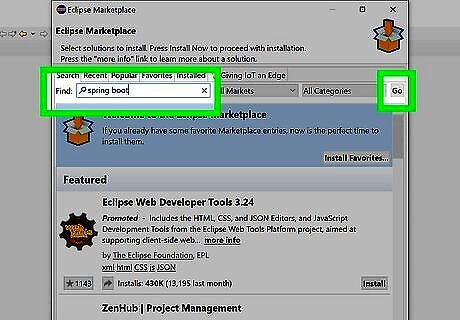
Type Spring Boot in the search box and press ↵ Enter. This displays a list of search results related to Spring Boot. On Eclipse, Spring Boot is called Spring Tools Suite.
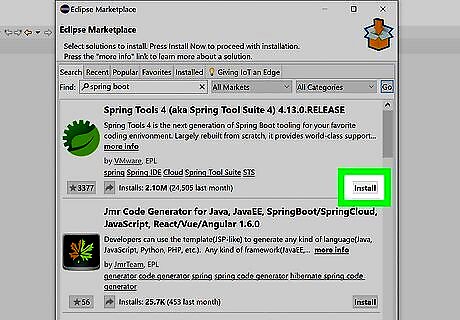
Click Install below the latest version of Spring Tools. The latest version of Spring Tools should appear at the top of the list. Click the Install button in the lower-right corner of the box. This will display a checklist of all the packages that will be installed.
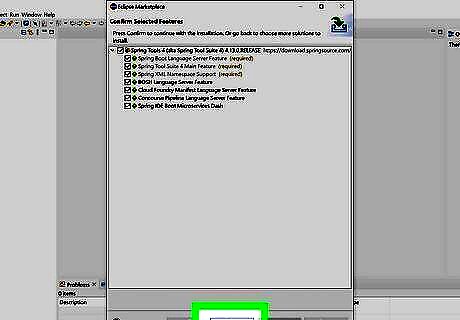
Click Confirm. It's at the bottom of the Eclipse Marketplace window. This confirms that you want to install all the packages that are checked in the list. This begins the process of installing the selected packages. If there are any packages you do not want to install, uncheck them before clicking "Confirm." If you want to install any additional plug-ins, such as the add-on for previous versions of Spring Tools, click Install More at the bottom of the Eclipse Marketplace window. Then click Install below any additional plug-ins you want to install. Click Install Now at the bottom of the Eclipse Marketplace window, when you are ready to install all the selected plug-ins.
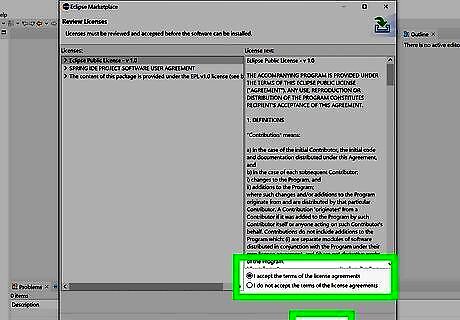
Agree to the Terms and Conditions and click Finish. Click the radio button next to "I accept the terms of the license agreements" and click Finish.
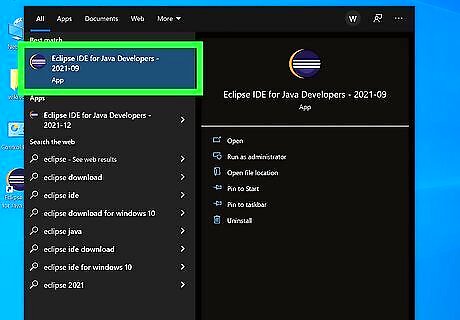
Relaunch Eclipse. After installing Spring Tools in Eclipse, close Eclipse and then launch it again. Spring Tools is now installed and ready to use.
Installing the Spring Tools Suite Distribution of Eclipse
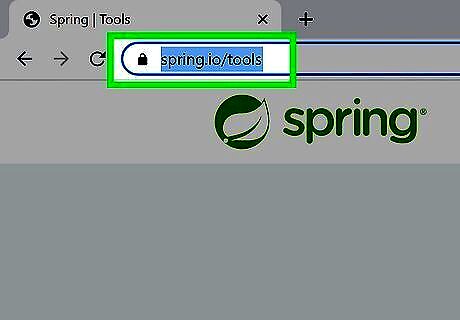
Go to https://spring.io/tools in a web browser. This is the website where you can download Spring Tools Suite. Spring Tools Suite is an Eclipse distribution that comes with Spring Tools (Spring Boot) already pre-installed.
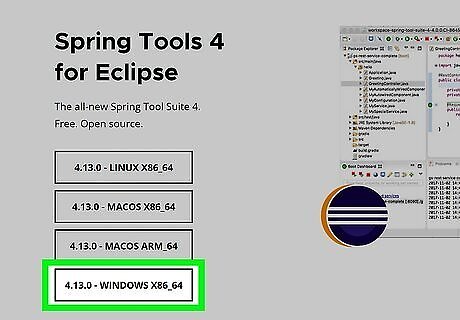
Click the Spring Tools for Eclipse download link for your operating system. There are four download links below "Spring Tools for Eclipse." Click the Windows x86_64 link if you are using Windows. Click the MacOS x86_64 link if you are using an Intel-based Mac. Click MacOS ARM_64 if you are using an ARM-based Mac. Click Linux x86_64 if you are using Linux.
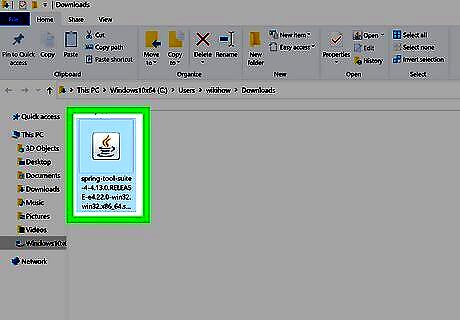
Open the installation file. Click the installation file in your web browser or Downloads folder. This will install Spring Tools Suite automatically. The way it does this is different, depending on which operating system you are using. If you are using Windows, you'll need to install the latest version of Java in order to install Spring Tools Suite. The JAR installation file will install Spring Tools Suite at whichever location you launch the file from. You may want to copy and paste the installation file to whichever location you want to install Spring Tools Suite at before launching the file. If you are using a Mac, open the installation DMG file. Spring Tools Suite will start installing automatically. Be sure to drag the Spring Tools Suite app icon to the Applications folder once the installation is complete. If you are using Linux, you will need to extract the contents of the downloaded tar.gz file to the location you want to install Spring Tools Suite at. It contains the Spring Tools Suite executable file.
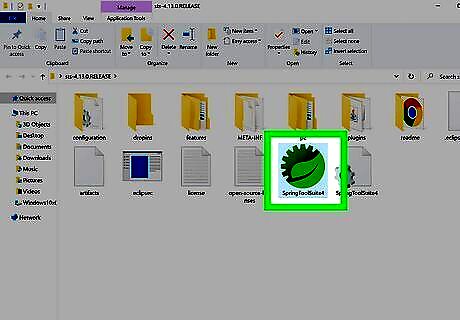
Launch Spring Tools Suite. If you are using Windows or Linux, navigate to the folder that you installed or extracted the Spring Tools Suite installation file to. Then click the Spring Tools Suite executable file. If you are using Mac, navigate to the Applications folder and click the Spring Tools Suite app file.
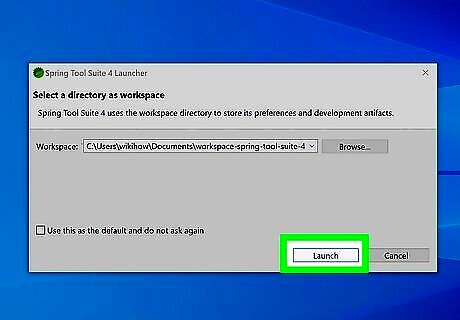
Select a workspace folder. The first time you run Eclipse, you will need to select a workspace folder. Click Launch to use the default workspace folder location. If you want to select a different location to use as your workspace folder, click Browse and select the location you want to use as your workspace. Then click Open. This launches Eclipse with Spring Tools (Spring Boot) already installed.
Creating a Spring Boot Project
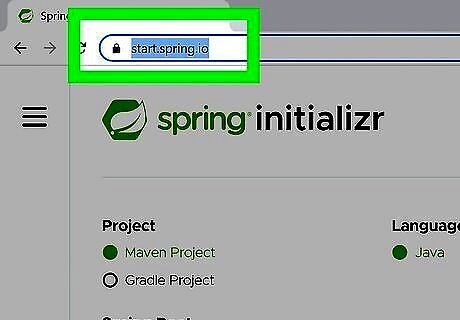
Go to https://start.spring.io/ in a web browser. This website allows you to enter the information and select the dependencies of your Spring project. It will then generate a zip file containing all the files needed to start your Spring project.
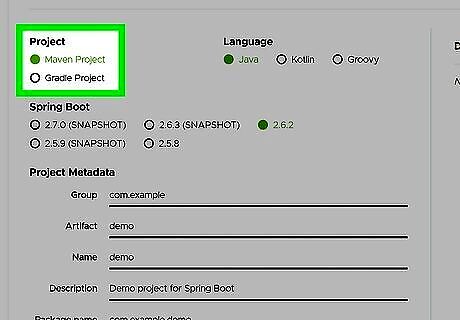
Select which build tool you want to use. Click the radio option next to which build tool you want to use below "Project" in the upper-left corner. You can select a Maven project or a Gradle project.
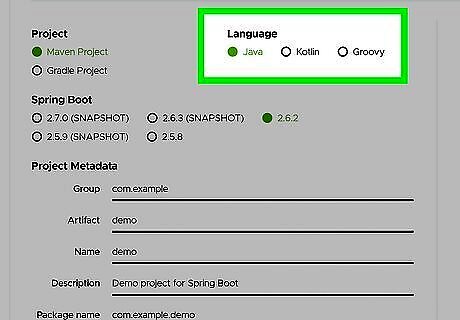
Select which programming language you want to use. Click the radio option next to which programming language you want to use in the upper-left corner. You can select Java, Kotlin, or Groovy.
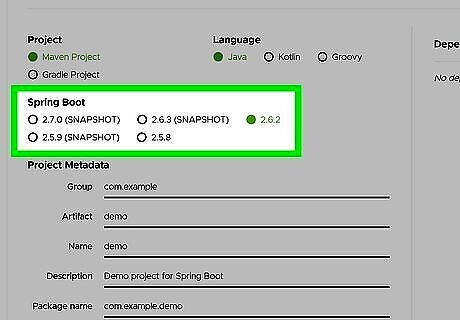
Select which version of Spring Boot you are using. Click the radio option next to the version of Spring Boot you are using. If you are not sure, use the default setting.
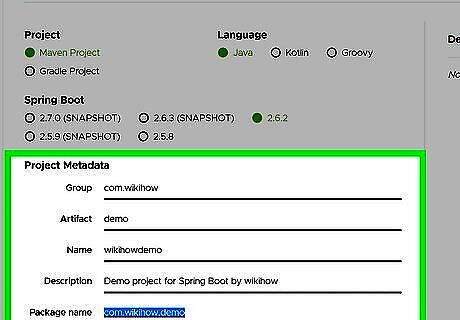
Enter your project metadata. Use the form below "Metadata" to enter your project's metadata. You'll need to provide the following information: Group: This will be the groupID attribute for your project. Artifact: This is generally the name of the project. This will be the artifactID attribute Name: This is usually teh same as teh Artifact name. If the name of your project is different than the artifactID, you can enter the name here. Description: Use this space to enter a brief description of your project. Package name: This is the root package name. This is generally the same as the Group name. If you want to use a different root package name, you can enter it here.
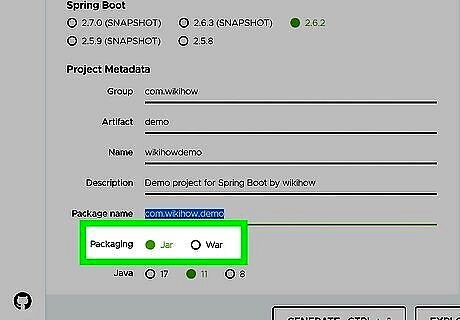
Select your project packaging. You can package your project as a JAR file or a WAR file: JAR: JAR files are self-contained, executable Java programs. They can contain compiled Java code, manifest files, XML configuration data, JSON configuration data, as well as images and audio. WAR: WAR files contain files related to a web project. They may contain XML, JSP, HTML, CSS, and JavaScript files that can be deployed on any servlet.
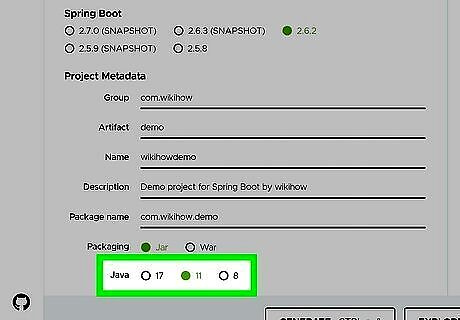
Select which version of Java you are using. Click the radio option next the version of Java you want to use. You can use java 8, Java 11, or Java 17.
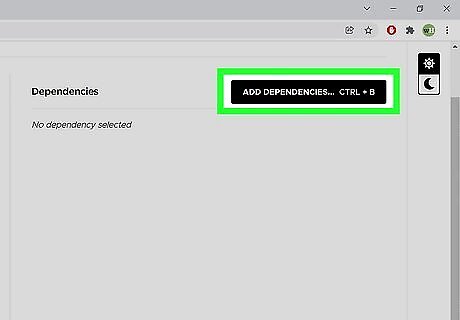
Add dependencies to your project. Spring Boot allows you to add a variety of dependencies to your project. Use the following steps to add dependencies to your project: Click Add Dependencies in the upper-right corner. Use the search bar at the top to search for dependencies. Click a dependency to add it.
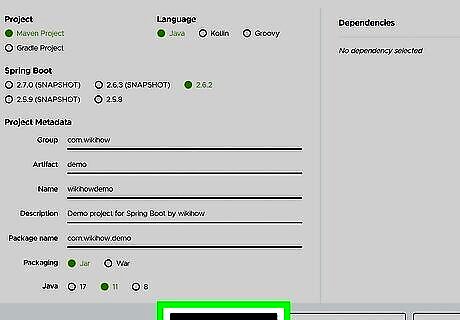
Click Generate. It's in the lower-left corner at the bottom of the screen. This will generate and download a zip file containing all the files needed to start your Spring Boot project in Eclipse. Alternatively, you can click Explorer to view all the different files in your project. You can view the source code and download individual files. Click Share to get a link to your project that you can copy and send to other people to view.
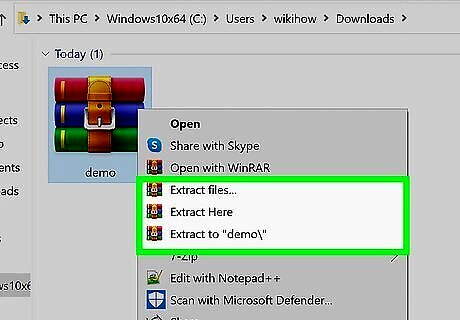
Extract the zip file. Once you download the zip file with your project files extract it. It's best to extract it to your workplace folder or a location you will remember.
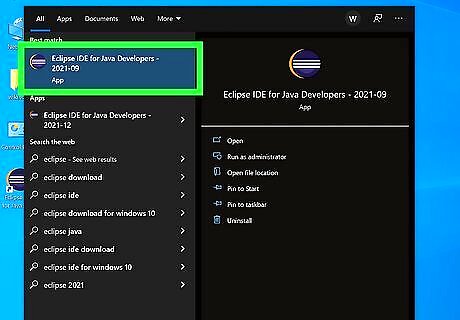
Open Eclipse. Make sure you have Spring Boot installed in Eclipse or you are using the Spring Tools distribution of Eclipse. Click the Eclipse icon to launch Eclipse. If Eclipse doesn't automatically open to your project, you'll need to open it, or create a new project.
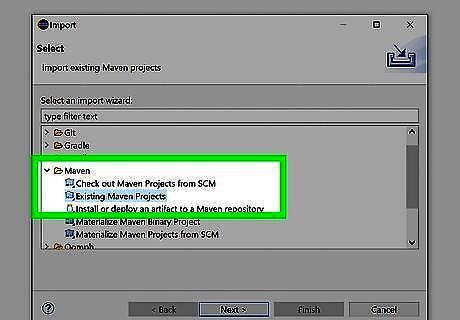
Import your Spring Boot project. This will import the Spring Boot files you created, downloaded, and extracted into Eclipse so that you can begin coding your project. Use the following steps to import your Spring Boot project files: Click File in the menu bar at the top. Click Import. Expand the "Maven" or "Gradle" folder. Click Existing Maven Project or Existing Gradle Project Click Next. Click Browse in the upper-right corner. Select the folder containing the project files that you downloaded and extracted. Click Open. Click Finish.




Comments
0 comment