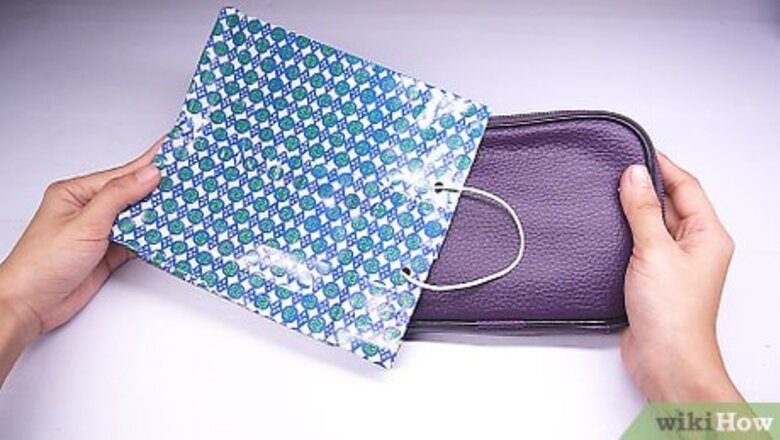
views
Preparing Your Supplies
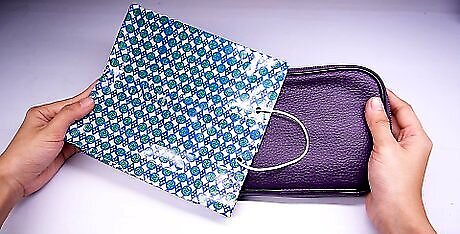
Determine what size bag you need. This will depend on what you plan to use it for. For a gift bag, you need an idea of the dimensions of the item(s) you are wrapping. For a tote bag, consider what you plan to carry in the bag

Choose your paper. As long as the sheet of paper is large enough for your gift and sturdy enough to hold some weight, you can use any kind of paper you want. Here are some ideas to get you started: Use wrapping paper if you want a holiday or special event bag,. Wrapping paper comes in all occasions, including birthdays, holidays, and weddings. Use craft paper, a cut up paper bag, or newspaper if you want to be rustic or eco-friendly. Use a thicker paper, such as construction paper, scrapbook paper, or cardstock if you want a sturdier bag.
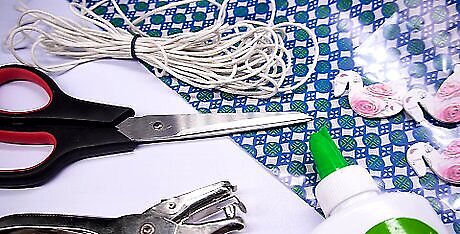
Gather your tools. For this project, you will need paper, scissors, and either tape, glue, or a stapler. To add handles, you'll also need a hole punch, string, ribbon, or twine, and some cardstock. Also gather any extra decorations you may want to add, such as: Ribbon Glitter Stickers or other embellishments
Making a Basic Paper Bag
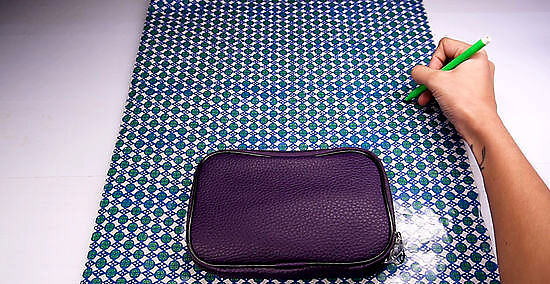
Measure your paper. If you are making a bag to fit a specific item, you need to ensure the bag will be large enough. Fold your paper in half (if you’re using wrapping paper on a roll, don’t cut it until you have measured). Lay the item in the center of the folder paper and check that the item is smaller than the paper by at least two to three inches on all sides. Cut wrapping paper to the size you need. Trim paper slightly if it is excessively large for your item and you want a more snug fit. For newspaper bags, you can use an entire sheet of newspaper (four pages worth) to make a large bag, or you can use a half sheet (two pages) for a smaller bag. If you are using thin paper, such as newspaper, and want to make a more durable bag, consider gluing two sheets together to create a single, thicker sheet. Use a glue stick or spray adhesive to do this.
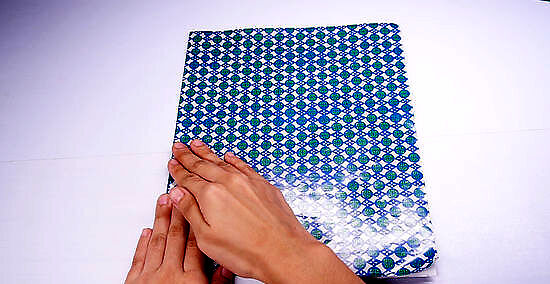
Lay out your paper. Lay it on a flat, hard surface. Fold it in half lengthwise and make a gentle crease at the top of the paper to mark the halfway point. Open the paper back up.
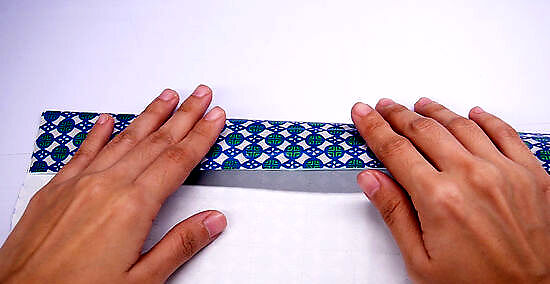
Make a border. If you're making an open-topped bag with handles, create a reinforcing border by folding down a 2 to 3 inch (5.08 to 7.62 centimeters) wide lip lengthwise across the top of the paper. Make a crease to mark the fold and open it up again. Cut out a strip of cardstock that’s as long as your paper and as wide as your border. Glue this to the top of your paper. Fold the reinforced border back down and glue it in place. If your paper is the same color on both sides (or has the patterns only on one side) leave the border as it is, and move on. If your paper has a design on both sides, (like scrapbook paper), flip the paper over so that the border will be on the outside.
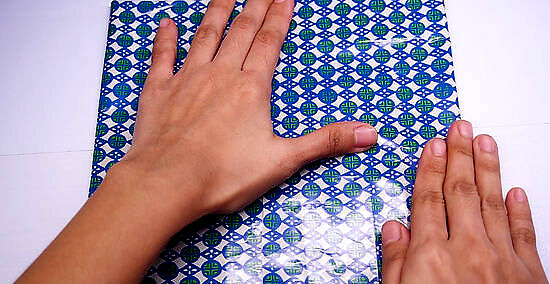
Make a basic bag shape. Working with the paper lengthwise, fold both sides in to the center crease that you created. Overlap them by ½ inch (1.27 centimeters). Hold the seam together with one hand, and crease the two side folds with your other hand. These are the sides of your bag, and the open ends are the top and bottom. Glue, tape, or staple the half-inch seam in the center together. If you are using glue, try to use a thin, lightweight glue, such as a glue stick or rubber cement. If you use white glue, apply it in a thin layer. Be sure to give the glue a few minutes to dry before moving on to the next step. If you are using tape, consider using thin, clear, double-sided tape. You can also try using glue-dots as well, provided that they are thin enough. Don't use the thick, white foam mounting tape, or your bag will look lumpy. Staplers can only reach so far. They might be better for smaller bags, or for ones with a rustic look.
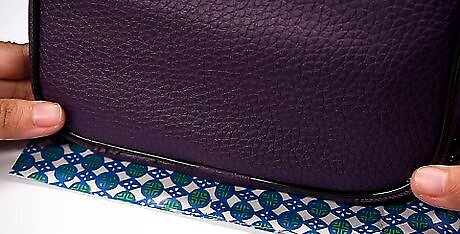
Size the bag bottom. Grab your gift item and measure the width to determine how wide the bag needs to be. Write this number down as your bag width. Add ½ inch (1.27 centimeters) to that, fold up the bottom of the bag by that measurement, and crease the fold.
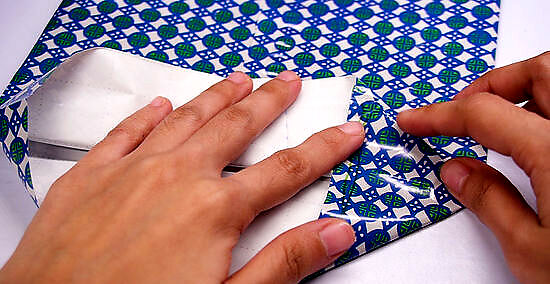
Create the bag bottom. To start, reopen the fold you just made. Separate the two pieces of the paper that form the bottom. Start with one side, and at the side crease, push one side inward so that you can line up the side crease with the bottom crease. This side should now resemble a large triangle. Hold it in place with one hand, and use your other hand to crease the two new edges of the triangle. Repeat on the other side. The bottom of the bag should now look like a hexagon.
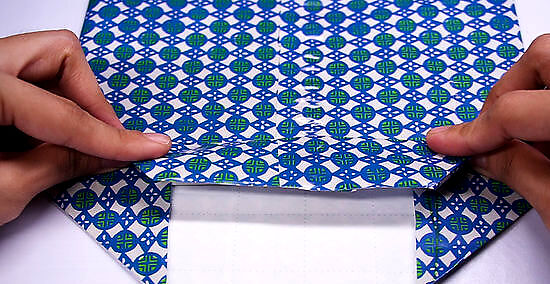
Fold the top and bottom edges of the hexagon. Fold them just enough so they overlap by a ½ inch (1.27 centimeters). Glue or tape the two flaps down. Allow them to dry. This has created the bottom of your bag. If you are using glue, try using a sturdier glue, such as white glue. Be sure to let the glue dry completely before moving on. You can use thin, clear double-sided tape, but it may not create the most durable bottom. If you do use double-sided tape, plan on using the bag for lightweight gifts.
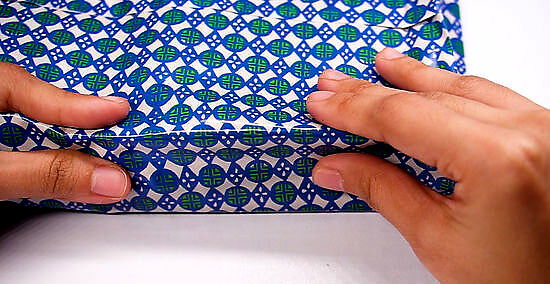
Shape your bag. Fold the sides of the bag over based on your bag width. Open the side and bottom folds you made so you can open the bag from the top. Gently push out the sides and bottom, and work out the four corners with your fingers. Square the bottom, gently pinching the bottom sides to create a fold. Adjust side creases so they form nice, square corners. For a quick gift bag, insert your gift and pinch the top together. Either fold it down and tape it as is, or fold the sides in to create a triangle before folding it over and taping it shut. Your quick bag is now ready to be gifted!
Adding Special Features and Decorations
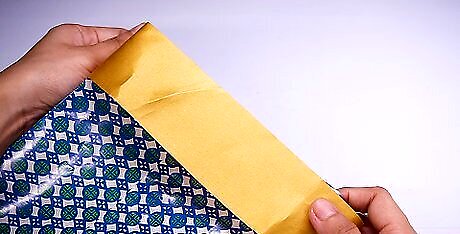
Decorate your bag. You can personalize and customize your bag using any decorations you like, such as glitter, stickers, flowers or bows, or any other ornaments. Here are a few more ideas to get you started: If your bag is made out of solid-colored paper, you can make it look more interesting by painting on designs. You can go free-hand or use stencils. Decorate a solid-colored bag with stickers or stamps to mimic a new pattern. If your bag has an existing pattern, consider outlining parts of that pattern using matching glitter glue. Embellish your bag with rhinestones, buttons, or small paper flowers. Glue some ribbon or lace along the top edge of the bag.
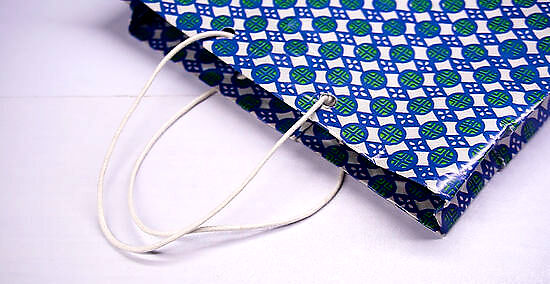
Consider adding handles. Collapse the top of the bag so the sides sit flat together. Use a pen or pencil to mark the two spots where you want the handles to go (somewhere in the top reinforced border you created). Use a hole puncher to punch out holes at each marked spot, going through both sides of the bag. Cut two long pieces of string, thin rope, or ribbon, and thread them through the holes. How you tie the string off will depend on the thickness of the string: For thin, sheer ribbon: thread both ends of the ribbon through both holes on the front of your bag. Tie both ends together into a tight knot inside the bag. Repeat this for the back of the bag with the other ribbon. For thicker ribbon/rope: thread both ends of a thin rope the holes on the front of your bag. Tie each end of the rope into a knot, separately. Repeat this for the back of the bag with the other piece of rope. You can make the handles as long or as short as you want. Ideally, you should be able to slip the handles over your forearm. To make the holes stronger, consider putting a metal grommet through each hole using a grommet setter.
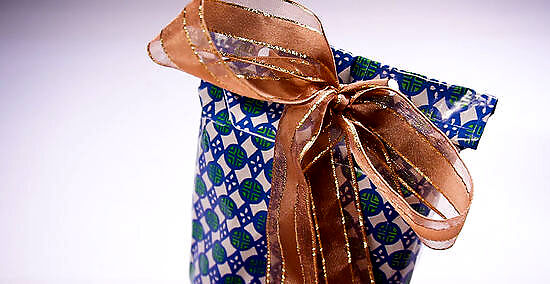
Consider closing the bag with a ribbon instead. Another way to finish your bag is to seal it with a ribbon. First, close the top half of your bag and flatten it. Fold a one inch (2.54 centimeters) lip toward the back of the bag, and then fold it on itself again. Punch two holes in the center of the lip that are three to four inches (7.62 to 10.16 centimeters) apart. Next: Reopen the bag and place your gift inside. Cut a length of ribbon or twine long enough to make a bow, plus an extra few inches. Flatten out the top of the bag again and refold the lip both times. Starting from the back, run each end of a piece of ribbon through each hole so the ends come out at the front of the bag. Tie the ribbon in a bow.
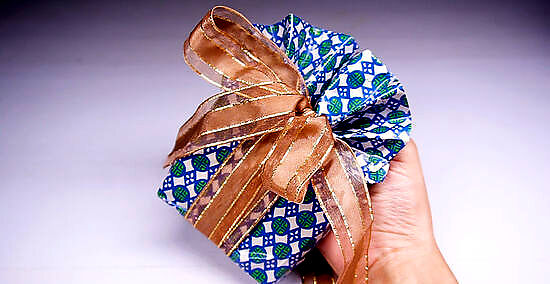
Create an accordion top. For a bag that’s more ornamental, you can create an accordion top and seal it with a bow. First, place your gift in the bag. Collapse the top of the bag so the sides fold inward and the front and back come together. Then: Fold the top of the bag down ½ inch (1.27 centimeters). On the opposite side, fold the top down another ½ inch (1.27 centimeters). Continue folding the bag down on alternating sides until you've done this five to seven times. Fan open the folds so they look like an accordion. Pinch down the center, wrap a ribbon around the bag, and tie a bow in the center of the accordion folds to keep them in place.
Sprucing up an Old Paper Bag
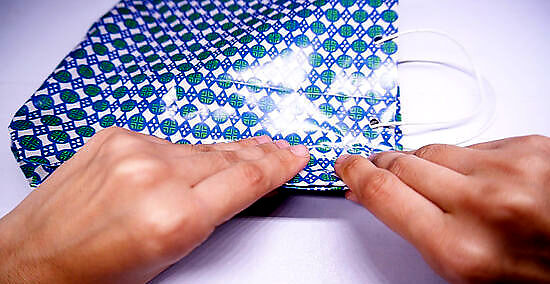
Fold the bag using its existing creases. Instead of making a new bag out of paper, you can also jazz up old paper shopping bags to use for gifts. Refold the bag and lay it flat.
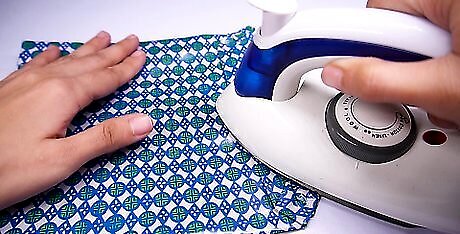
Iron the bag, if necessary, to get rid of any wrinkles. Close the bag so that it lays flat. Turn an iron on to the lowest heat setting. Run the iron over the bag. Keep the iron moving and don’t linger on any spots to avoid burning the bag. Iron out any wrinkles.
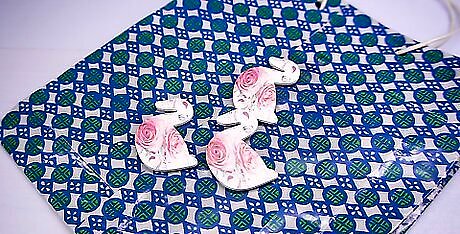
Decorate your bag. How you decorate your bag is entirely up to you. You can make it as fancy or as plain as you like. If your bag has an existing pattern or color scheme, however, try to match that pattern or color scheme as best you can. For example, if you have a delicate white and silver bag, some silver ribbon or delicate lace might look better than clunky red and yellow buttons. Here are some ideas to get you started: If your bag is solid-colored paper, consider drawing or painting on it. Decorate a plain bag with stickers or stamps. If you keep the shapes consistent, it could look like a pattern. If your bag already has a design on it, consider outlining some of the designs with matching glitter glue. You can even glue on rhinestones for added flair. Consider gluing a ribbon or lace along the top edge of the bag. Embellish a bag with small buttons or rhinestones. Buttons are great for adding that homemade touch to bags made out of solid-colored paper.
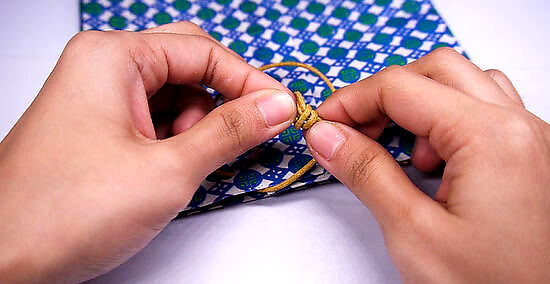
Finish the top. Once you have finished decorating the body of the bag, take a look at the handles. Do they need replacing? Does the original ribbon or rope still match the bag? If not, then consider doing any of the following: Take out the old handles and replace them with new ones. The new ones don't have to be same as the old ones, but you might want to make the new ribbon or rope match the bag. To add handles to a bag that doesn't have any: fold the top 1 to 2 inches (2.54 to 5.08 centimeters) of the bag down inside and glue it in place. Punch two holes on each side and add handles as before. Seal the bag with a sticker or adhesive gift bow. Cut out the handles (if any) and put the gift inside the bag. Fold the top over twice, by 1 to 2 inches (2.54 to 5.08 centimeters). Hold the folded top down with a stick or gift bow that matches the bag's design. Seal the bag with a ribbon. Cut out the handles (if any) and put the gift inside the bag. Fold the top over twice, by 1 to 2 inches (2.54 to 5.08 centimeters). Punch two holes in the folded top, several inches apart. Starting from the back of the bag, thread both ends of a ribbon through both holes. Tie both ends of the ribbon into a bow at the front of the bag.




Comments
0 comment