views
Tying the Knot
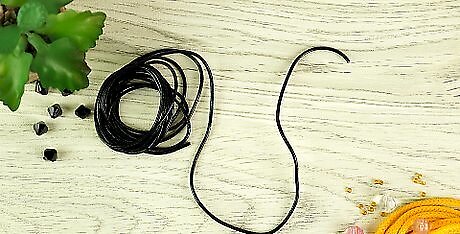
Make a U-shape. Pull a long cord into a "U" or horseshoe shape. so that the ends are close together.
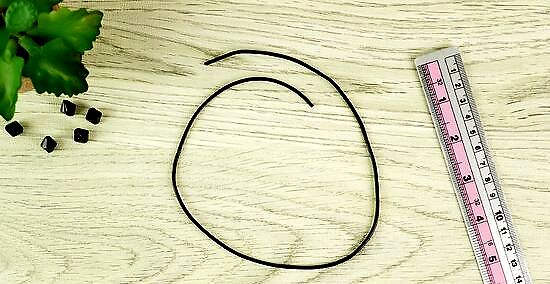
Pull the cord into a loose loop. Pull one end past the other so that they overlap by about four inches (10 cm). The overlapping ends should lie parallel to one another.
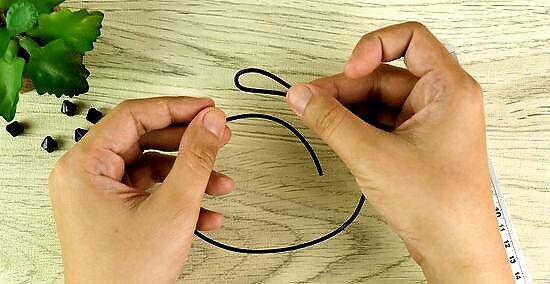
Double back the outer cord end. Bend the tip and bring it back along the outside of the loop. You don't need to do anything with the inner parallel end.
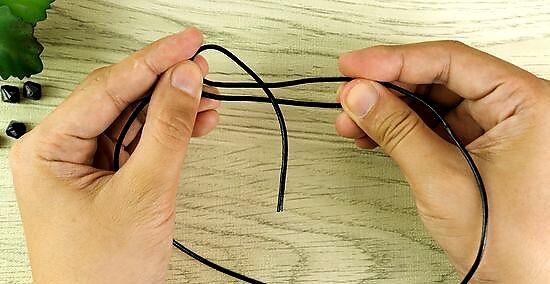
Pinch the ends together to form a small loop. Hold the inner end of the cord together with the looped-back outer end. You should be holding three parallel "layers" of the cord at the thickest point. Make sure that you have plenty of extra cord at the outer end: you will use this to finish the knot. Pull the end of the cord with one hand, and pinch the loops together with the other.
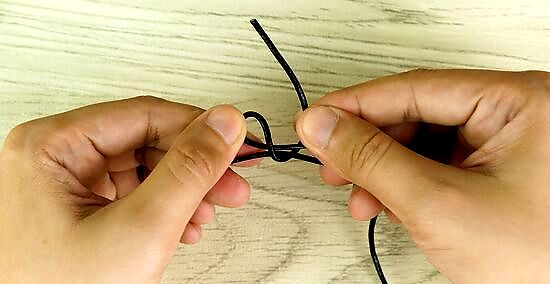
Wrap the loose outer end of the cord around all three "layers." Wrap it over, then under – not under, then over. It might help to use your dominant or most dexterous hand.
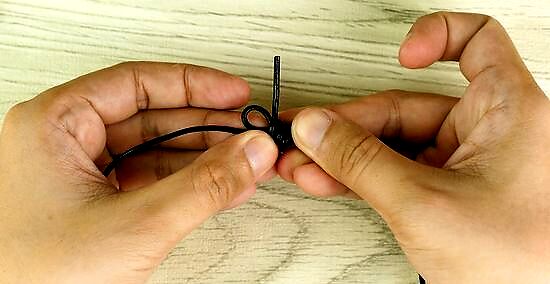
Coil the cord around the loop. Keep wrapping the loose end around all three other layers of cord. Wrap at least 2-3 times, until you either run out of cord or cover almost all of the "three-layered" section. Be careful not to cross the coil over itself, or you will tie a messy knot.

Feed the end of the cord through the loop at the end of the coil. You don't need much – the knot is almost finished. Make sure that there is enough cord protruding that it is not in danger of slipping out.
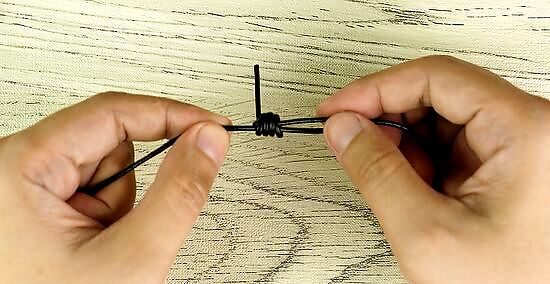
Secure the knot. Slide the "coil" over the remaining bit of loop to secure it. You may need to pinch the right side of the large loop with the ring and pinkie fingers of one hand.
Testing and Expanding the Knot
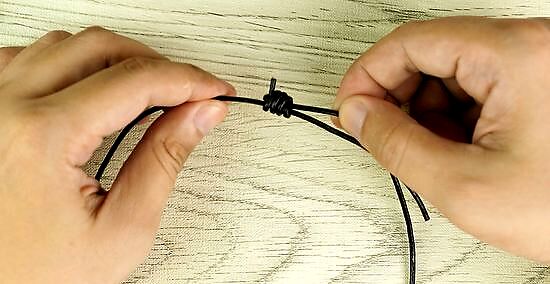
Slide the finished knot to test it. It should move easily. Be careful not to slide it right off the free end of the cord. Consider tying a sturdy knot at the very tip of the sliding end. This way, the length of the rope will be adjustable, but you will not be able to accidentally slide the rope out of the knot.
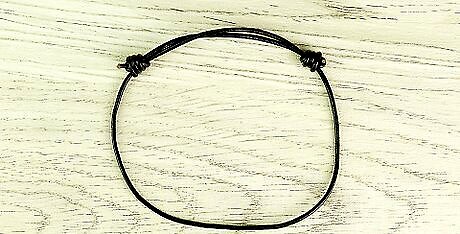
Make two sliding knots. Consider flipping the cord over and repeating the knot on the non-knotted end. This will leave you with two sliding knots that can be pulled together or apart as needed, making a large closed loop. This is the design that people use for making jewelry.
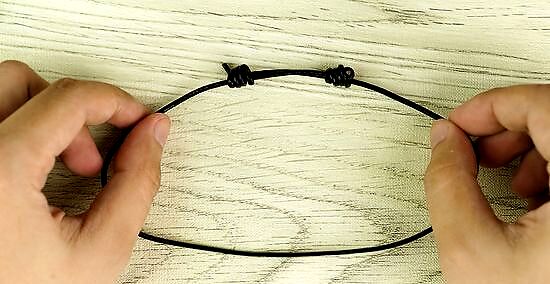
Adjust the cord. Pull the two knots closer together to loosen the cord. Pull the two knots further apart to tighten.
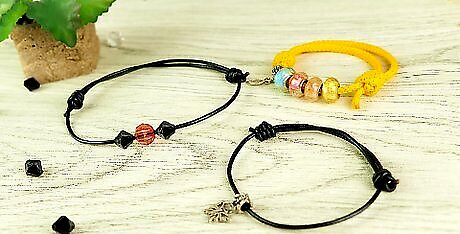
Consider making a necklace or bracelet. The sliding knot is great for creating simple jewelry that is meant to be tightened. Try slipping beads or charms onto the cord before you tie it.



Comments
0 comment