
Making a No-Sew Skirt
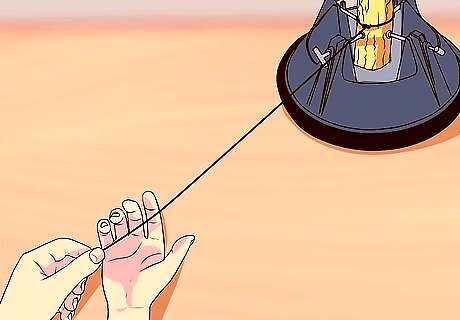
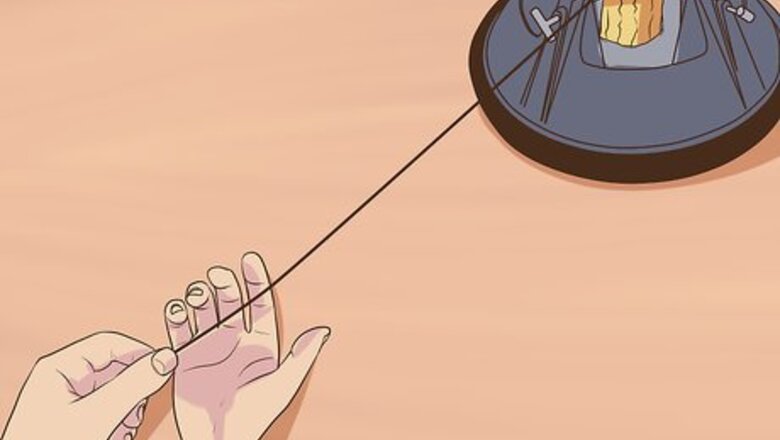
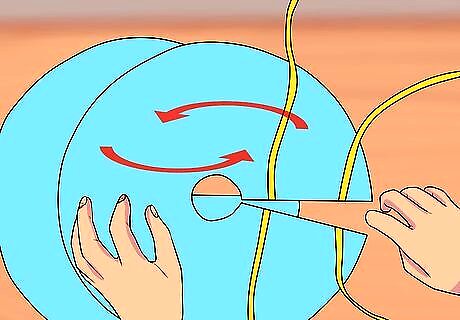
Decide how big you want your tree skirt to be. Use a measuring tape, ruler, or a piece of string to measure from the base of the trunk to where you want the tree skirt to end. Remember your measurement.
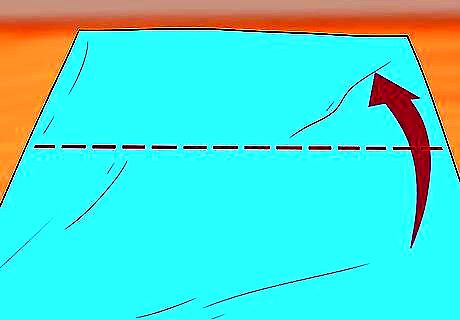
Fold your fabric in half. Since you won't be sewing this skirt, you should use fabric that does not fray. Great choices include: felt, flannel, fleece, and faux fur.
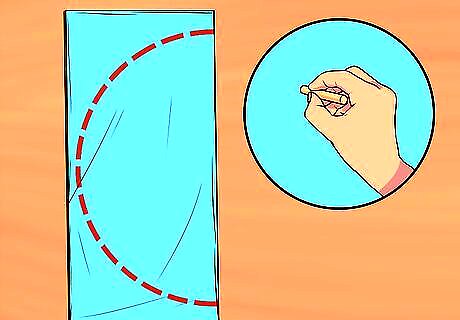
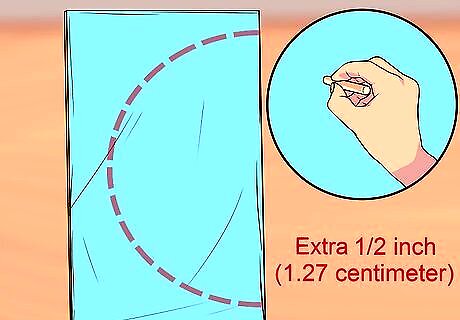
Draw semi-circle on the fabric based on your measurement. Pin a piece of string to the middle of your fabric, right along the fold. Tie the other end to a pen. Adjust the string until it matches your measurement. Hold the string is taut, then use the pen as a compass to draw an arch.

Draw a smaller arch. Adjust the string again until it is about 2 inches (5.08 centimeters) long. Hold the string taut, and draw a smaller arch. This will make the center part of the tree skirt that goes around the tree trunk. Make the inner arch bigger if your tree has a really thick trunk. Make the inner arch smaller if you have a very small tree.
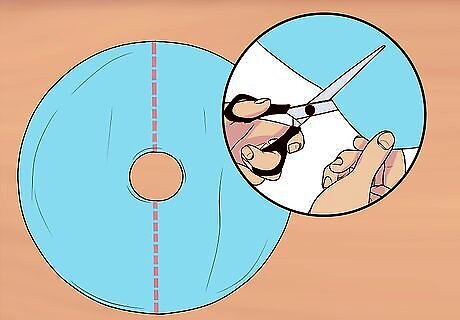
Cut the tree skirt out. Cut the bigger arch out first, then the smaller one. Then, cut along one of the folded edges. This will create a slit allowing you to open the skirt. Unfold the skirt when you are done.

Cut six pieces of 6-inch (15.24-centimeter) long ribbon. Choose ribbons that are between ½ and 1 inch (1.27 and 2.54 centimeters) wide. They can be the same color as your fabric or a contrasting one. If you have a small tree skirt, cut four pieces of ribbon instead. Thinner ribbons might work better.
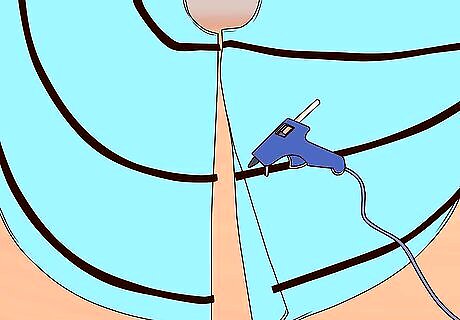
Glue the ribbons to the underside of the skirt. Flip the skirt over so that the wrong side of the fabric is facing you. Glue two ribbon on the top of the slit, and two ribbon at the bottom. Glue the last set of ribbons in the middle. Make sure that the ribbons are sticking out from under the slit. Overlap the end of the ribbon and the edge of the slit by about ½ inch (1.27 centimeters). You can use hot glue or fabric glue.

Decorate the tree skirt, if desired. You can leave your skirt plain, if you'd like, or you can decorate it further to match the theme of your tree. Here are some ideas to get you started: Add appliqués out of felt or flannel. Attach them using hot glue, fabric glue, or fusible interfacing. Draw simple designs using glitter glue. This works best on skirts made out of felt or fleece. Glue a trim around the edges. Great trims include rickrack, bias tape, and pompoms. You can use hot glue or fabric glue. Cut a fringe into the outer edge of the tree skirt. Make the fringe ½ to 1 inch (1.27 to 2.54 centimeters) long. This works best on flannel. Cut poinsettias out of felt, then glue them around the outer edge of the skit. For a nicer touch, add some pearl beads to the center of each poinsettia.
Sewing a Tree Skirt
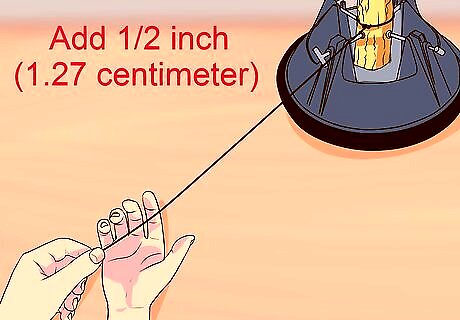
Decide how big you want your tree skirt to be. Take a measuring tape, and measure from the trunk to where you want the tree skirt to end. Add ½ inch (1.27 centimeters) to your measurement for seam allowance.
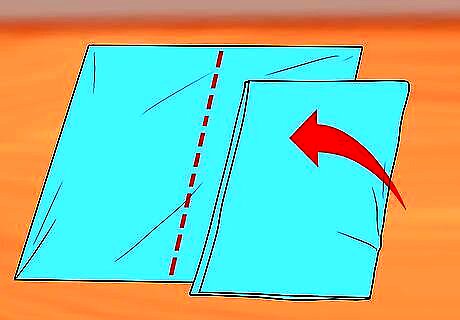
Stack two pieces of fabric together, then fold them in half. Choose a fabric to be your main/outer fabric, and another fabric to be the underside/lining. Stack the two fabrics on top of each other, right sides together, then fold them in half.
Draw an arch on the fabric based on your measurement. Tie a piece of string to a pen, then pin the other end the folded part of the fabric. Adjust the string until it matches your measurement, including the extra ½ inch (1.27 centimeters). Hold the pen until the string is taut, then use it like a compass to draw an arch.

Draw a smaller arch. Adjust the string again until it is about 2 inches (5.08 centimeters) long. Hold the string taut, then draw a smaller arch. This will make the center part of the tree skirt that goes around the tree trunk. If your tree has a really thick trunk, make the inner arch bigger. If your tree is very small, make the inner arch smaller.
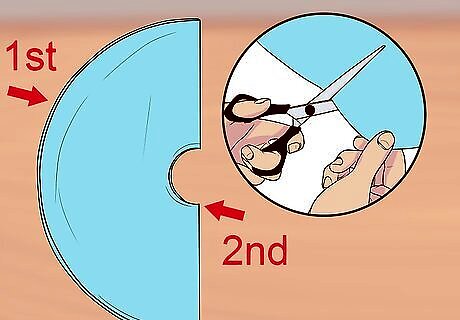
Cut the fabric out. Cut the outer arch first, then the inner one. Make sure that you cut through all layers of fabric at the same time. Don't unfold the fabric yet.
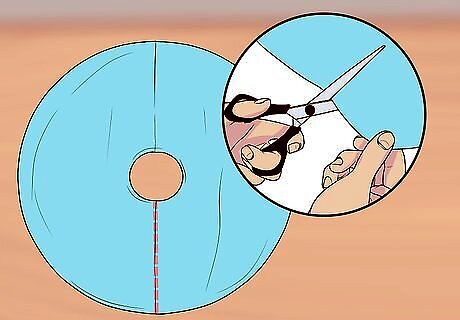
Cut along one of the folded edges to open the skirt. Start cutting at the outer edge of the big arch, and stop cutting when you reach the inner arch. Use one of the folds as a guide. This will create the opening slit. Unfold the circles when you are done.

Cut six pieces of 6-inch (15.24-centimeter) long ribbon. Choose ribbons that are between ½ and 1 inch (1.27 and 2.54 centimeters) wide. They can be the same color as your skirt or a contrasting one. If you have a small tree skirt, cut four pieces of ribbon instead. Use thinner ribbon, if you can.
Pin the ribbons to the slit on the main fabric. Turn the main/outer fabric circle so that the right side is facing you. Pin the ribbons to the open slit, three on each side. Make sure that the ribbons are facing into the circle and are not sticking out beyond the slit. Place a set of ribbon on the top of the slit, and another at the bottom. Place the last set of ribbons in the middle.
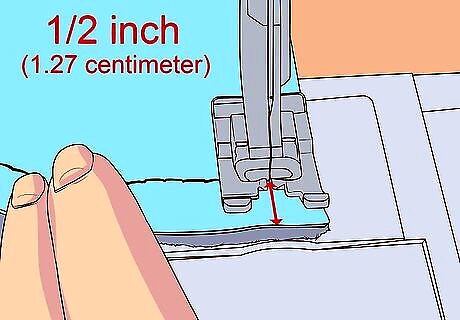
Sew the skirt together. Pin the two skirt pieces together with the right sides facing in. Make sure that the ribbon closures are tucked inside. Sew around the inner and outer arches as well as the slits using a ½ inch (1.27 centimeter) seam allowance. Leave a gap between two of the ribbons for turning.
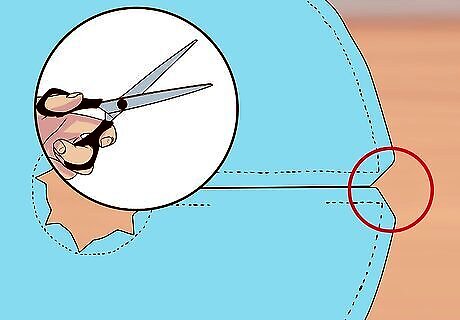
Snip the corners and cut notches into the curved edges. Snip the corners at the top and bottom of each slit. Cut some notches into the inner arch and the outer arch. This will reduce bulk and help your fabric layer smoother.

Turn the skirt inside out and press it flat with an iron. Use a knitting needle to help poke out the corners. When you are done, the ribbon closures should now be on the outside! Gently press the seams with an iron using a heat setting suitable for the fabric.
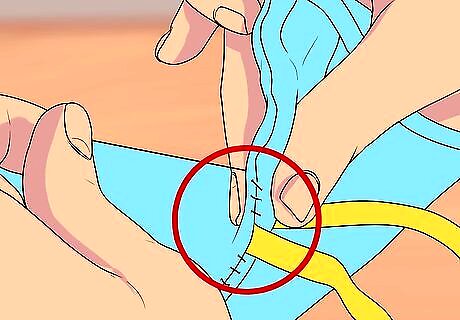
Sew the gap shut. Thread a needle, then use a ladder stitch to sew the gap shut.

Add some finishing touches, if desired. At this point, your tree skirt is done, but if you can add some final touches to make it nicer. Here are some ideas to get you started: Topstitch around the seams. You can use a contrasting or matching thread color. Add a trim, such as pompoms, rickrack, ribbon, or bias tape. Apply appliqués using fusible interfacing. You can also hand stitch them on. Stitch designs onto the skirt, like on a quilt.


Comments
0 comment