views
Simple Straw Mobile[1] X Research source
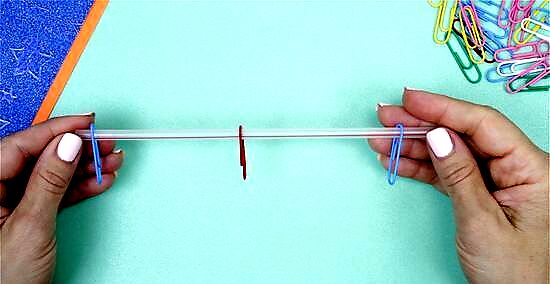
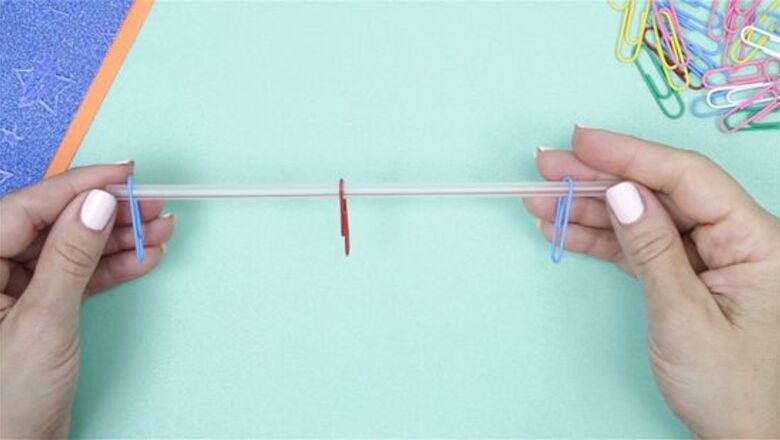
Slip three paperclips onto one plastic drinking straw. Slide one paperclip to the exact center of the straw. Slide the other two paperclips onto opposing ends. The paperclip in the center should be turned upward and the two at the ends should face down. Place the paperclips at the ends roughly 1/2 to 1 inch (1.25 to 2.5 cm) away from their respective ends.
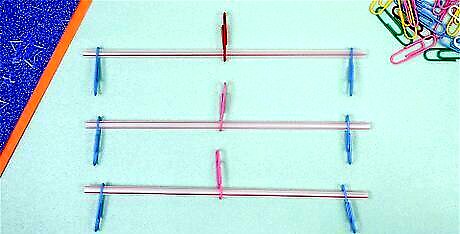
Make two additional straw units. Follow the same procedure to make two other straw-and-paperclip units. Each straw should have one paperclip in the center, facing up, and two paperclips on opposing ends, both facing down.
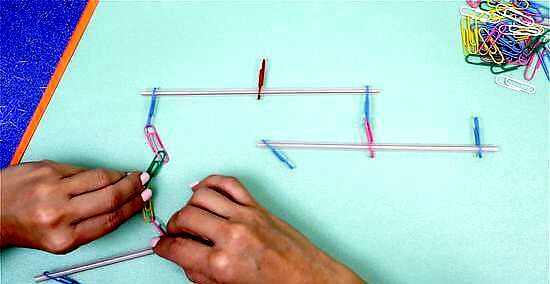
Connect the units using paperclip chains. Make the mobile look more interesting by creating chains of varying lengths. You can use as many paperclips as desired to create chains that are as long or short as desired. For an example, however, connect the second straw unit to the first by clipping the center paperclip of the second to the right paperclip of the first. Off the left paperclip of the first straw unit, hang three additional paperclips. Attach the lowest of these paperclips to the middle paperclip of the final straw unit.
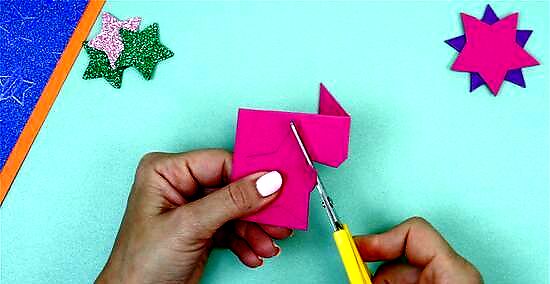
Cut out shapes from construction paper. Draw stars, hearts, geometric shapes, letters, numbers, or other simple shapes on colorful construction paper. Cut them out with scissors. You should have about four to six shapes for this mobile. The first straw unit should not have any shapes hanging off of it directly, but each additional unit should be able to fit three shapes.
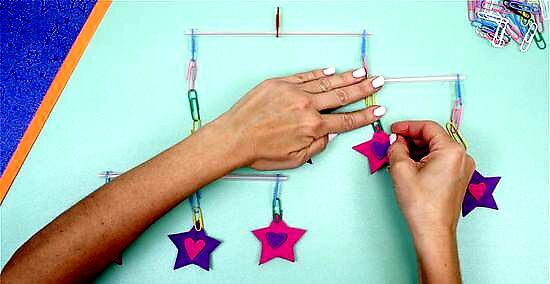
Attach the shapes to the mobile using the paperclips. Clip the paper directly to the paperclips hanging down from the ends of the straw unit. You can also create chains of paper clips in order to create a less symmetrical mobile. For instance, on the second unit, clip the left-most paperclip directly to the shape. Hang two paperclips from the center paperclip and attach another shape to the lowest one. Hang an additional three paperclips down from the right-most paperclip and attach your shape to the lowest. On the third unit, attach the shapes directly to the paperclips on each end. Hang two paperclips down from the center before attaching your final shape.
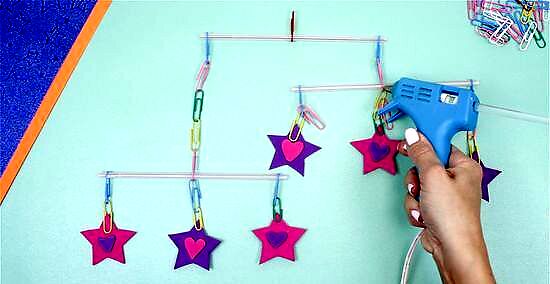
Balance the mobile. Since your paperclips and stars may be slightly uneven, you might need to slide a few of the paperclips over in order to keep the mobile balanced. If the paperclips seem loose and move around even after you finish positioning them, hold the paperclips in place using a small square of tape or a dot of glue. Let the glue dry before continuing.
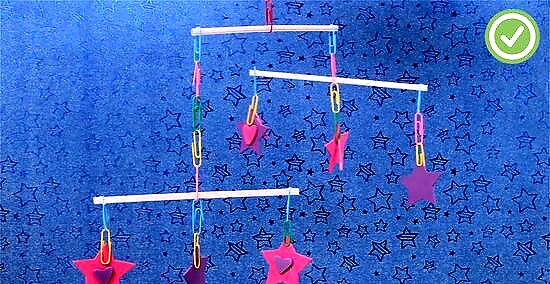
Create a chain for the top. Clip your remaining paperclips to the top paperclip on the first straw unit. Use as many as desired in order to achieve the length you want.
Wire Hanger Mobile[2] X Research source
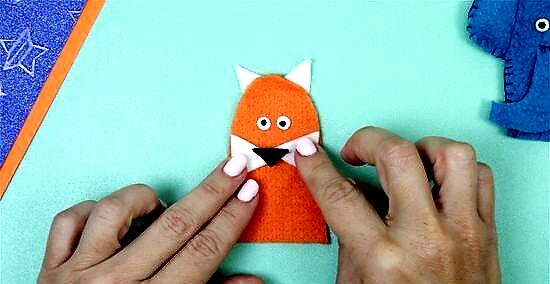
Cut out four shapes for your mobile. Draw animals, hearts, stars, letters, or other simple shapes onto sturdy felt and carefully cut them out using scissors. You could also use sturdy construction paper or cardstock. If desired, you could print pictures from your computer and cut those out to use instead of drawing pictures by hand.
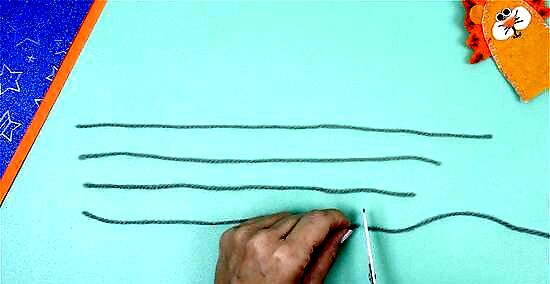
Cut lengths of string for each shape. You should have four lengths of string, one for each shape, and each piece of string should be slightly different in size from the others. As an estimate, make one piece of string 1 foot (30 cm) long and each additional piece 2 inches (5 cm) longer or shorter. You can use yarn, twine, fishing wire, ribbon, thread, or any other string for this step. Thicker options, like yarn and ribbon, might last longer, however.
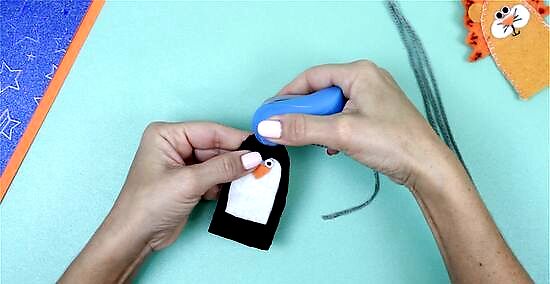
Staple your shapes to the string. Center each piece of string on the top center of one shape. Staple in place. Alternatively, you could punch holes into each shape using a metal hole puncher. If using this approach, tie the string through the holes instead of stapling it on.
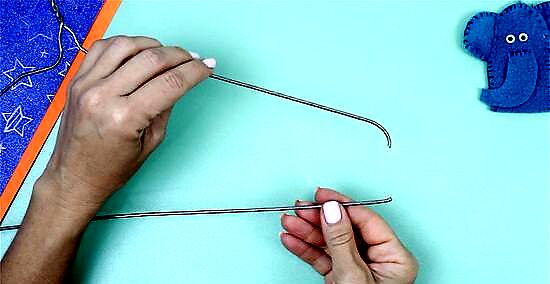
Cut the bottom off each wire hanger. You should cut off a piece of wire that is roughly 1 foot (30 cm) long from each hanger. Use a wire cutter. Do not use ordinary scissors. Work carefully to avoid cutting yourself on the jagged wire edges.
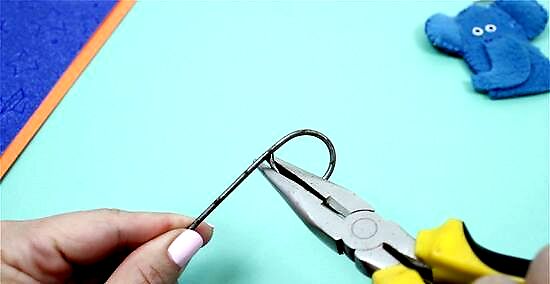
Make loops at the end of each piece of wire. Use pliers to bend each cut end of wire down and over into the shape of a loop. The loops should be about 1/2 inch (1.25 cm) in diameter. Create a closed loop so that the sharp ends are no longer exposed. A closed loop will also prevent the string from slipping off after you attach it.
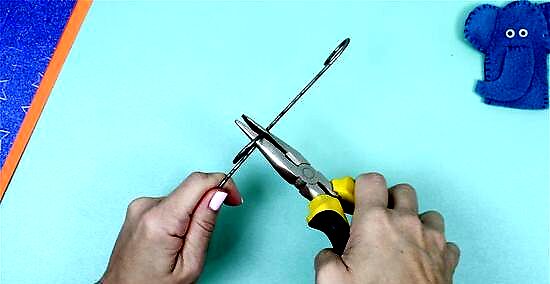
Make a loop at the center of one piece of wire. Use your pliers to bend one of the two wires at the center. Twist the wire around to create a loop at the center of this wire. This loop should be a little larger. Aim for a loop with a diameter around 1 inch (2.5 cm).
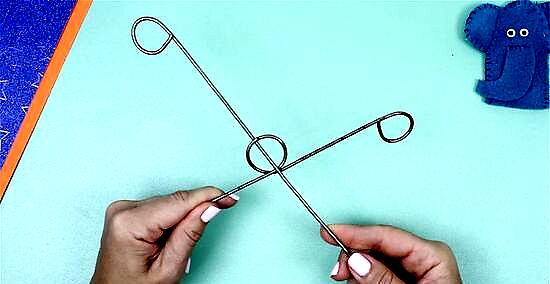
Thread the other wire through the loop. Slide the wire without a center loop through the center loop of the other wire. If you have difficulty getting the end loops through the center loop, carefully unbend one loop enough to slide the wire through before bending it back in place. Position the second wire so that its middle rests inside the loop of the first.
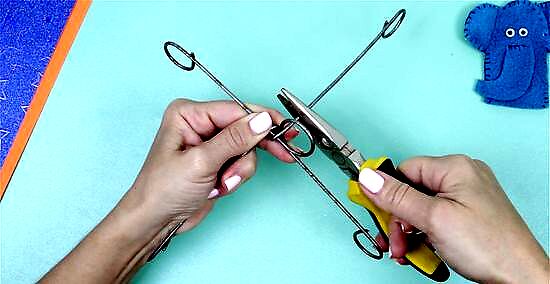
Loop the second wire around the loop of the first. Use your pliers to bend the second wire into a loop that locks around the center loop of your first wire. Both loops should be at the center of their respective pieces of wire, and both should be roughly the same size.
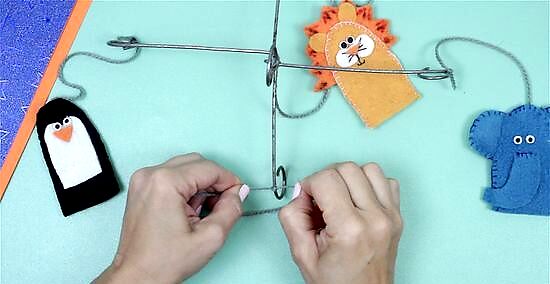
Attach the stringed shapes to your mobile. Tie each string to the loops on the end of the wires. Readjust the lengths of the strings as desired until you achieve a final result that looks pleasing to you.

Hang the mobile. Attach another string to the top center loop. Use this string to hang your mobile.
Embroidery Hoop Mobile[3] X Research source
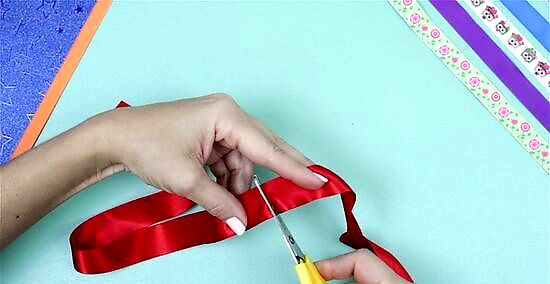
Cut six to nine lengths of ribbon. Each piece of ribbon should be long enough to tie into a bow. The sizes can vary if you want to create bows that vary in size for an asymmetrical effect. Range the ribbon sizes from 6 to 10 inches (15 1/4 to 25 1/2 cm). Choose ribbons with different colors and textures to create something more visually interesting.
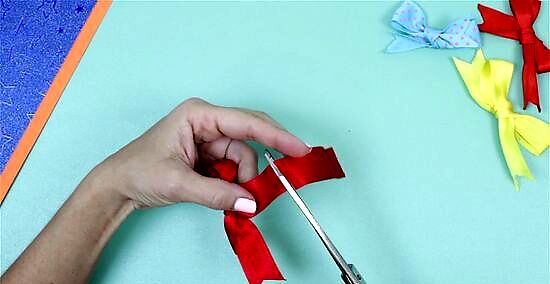
Tie each ribbon into a bow. Knot each ribbon into a standard "rabbit ear" bow. Depending on the condition your ribbons are in, you may want to iron them flat before tying them in order to create a smoother bow. Double knot the bow at the center to create a sturdier bow, if desired. Trim the ends of the ribbon after you tie them into bows so that they look even.
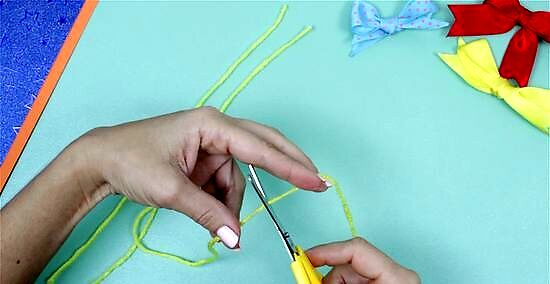
Cut a piece of twine or yarn for each bow. Vary the lengths of twine by 1 inch (2.5 cm). Make the first piece of twine roughly 15 inches (38 cm). Every piece you cut after that should be 1 inch (2.5 cm) smaller.
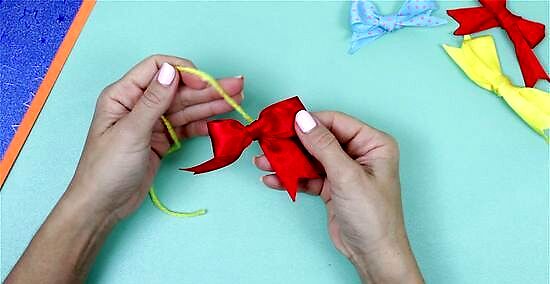
Tie the pieces of twine to their respective ribbons. Thread each piece of twin through the backs of one bow, at the center loop. Tie a simple knot to keep the bow on the twine. For extra security, consider double knotting the twine onto the bow.
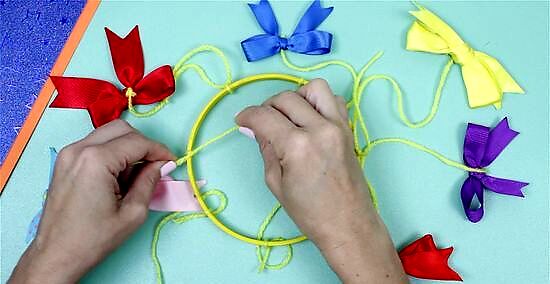
Attach the ribbons to the embroidery hoop. Tie the other end of each piece of twine to the wooden embroidery hoop. Space each piece of twine around the hoop evenly. Note that it may be easier to arrange an even number of strands than an odd number. Arrange the pieces of twine so that they ascend in height from longest the shortest. This creates a spiral-like appearance.
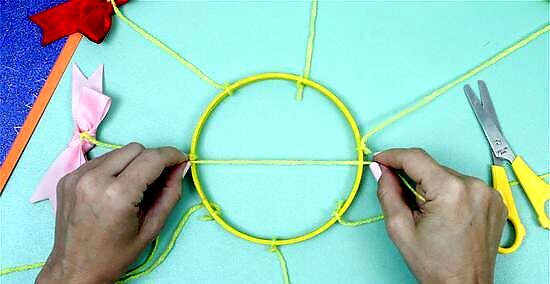
Cut and tie additional twine to the top of the hoop. Cut two pieces of twine that are about twice as long as the length of the hoop's diameter. Tie these pieces to the embroidery hoop, crossing them at the center. Knot or double knot the twine onto the embroidery hoop to secure it on place. The pieces of twine should be perpendicular to each other over the top of the hoop. Loop one piece of twine around the center of the other piece so that they are joined together. When it comes time to hang your mobile, hang it from the center loop created by your crossing twine.

Finished.




Comments
0 comment