
Steps
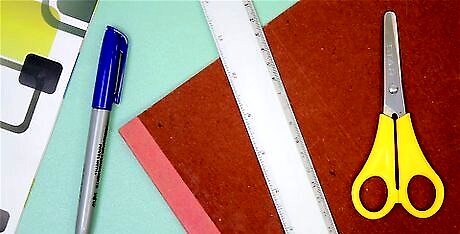
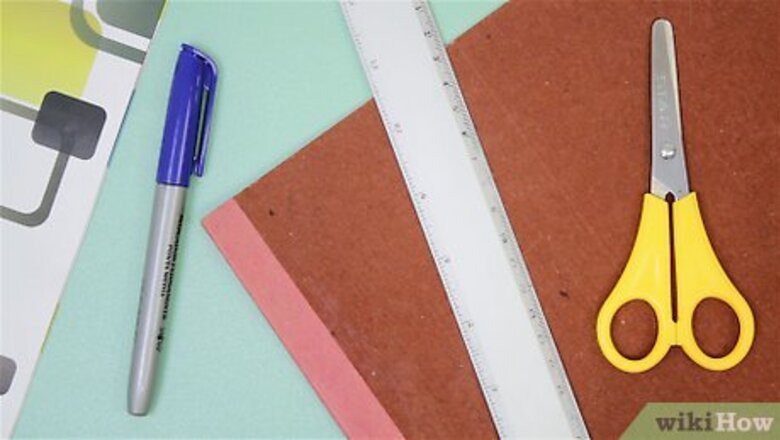
Gather your materials: a file folder, a ruler, scissors, scotch tape, and a pen. These items can be easily found in business offices. A file folder is a perfect medium to hold and fold paper. If you don’t have a file folder, try to avoid using material that’s not too flimsy or too hard. It is more difficult to create precise folds with materials like cardboard.
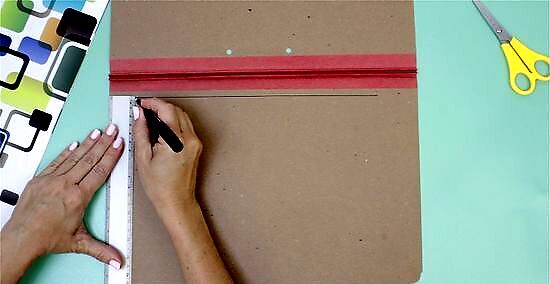
Draw a rectangle on the file folder using a ruler. Outline the dimensions 8.525″ x 11.025″. We recommend using these dimensions for folding printing paper (standard printing paper dimensions are 8.5″ x 11″). It is important for the brochure dimensions to be slightly bigger to avoid adding too much pressure on the triangular folds in step 5.
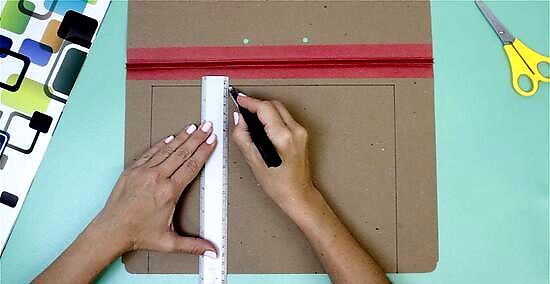
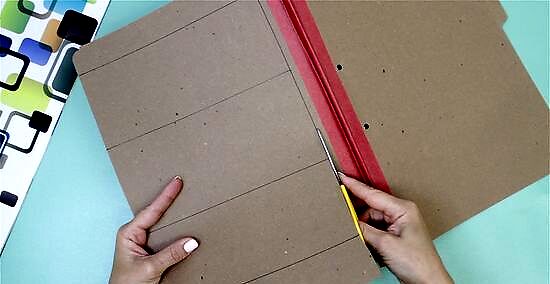
Measure and label the panel divisions. Use the dimensions 3.5″ for panel A, 4″ for panel B, and 3.525″ for panel C. It is important for panel B to be wider than the side panels to avoid overlapping the folds. Also, we recommend to take advantage of the crease on the file folder – because there’s already a pre-developed fold, we used the crease as a division between panels A and B.
Cut out the rectangle once the measurements are done. Use the outline of the rectangle that you drew using a ruler as a guideline. Do not throw away the file folder scraps yet! Use the remains for step 5 to create your pocket folds.
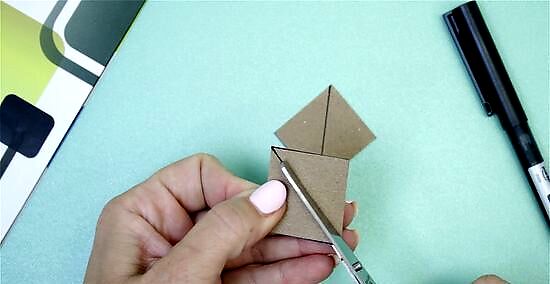
Trace out four triangular folds, and cut them out. Use the remaining folder scraps to create the brochure folds. One way to draw them is by placing the scraps over the brochure corners to outline the fold edges. The best way to maintain straight lines is by using a ruler. If tracing is an issue, we recommend to use the dimensions: 1″ x 1″ x 1.5″.
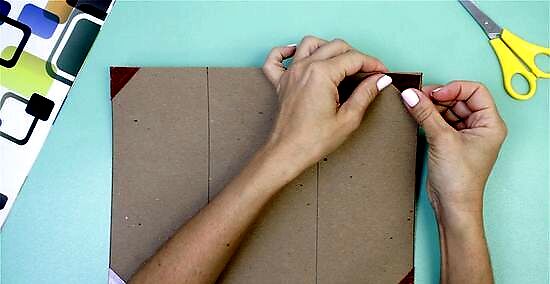
Tape the folds on each corner of the tri-folder. The hypotenuse side of each triangular fold should face the inside of the tri-folder. Also, make sure to only tape on the edges of the brochure, not on the inside. These triangular folds will be used to insert and keep the paper in place. Make sure to use enough tape to avoid scabbing the paper in the sockets.
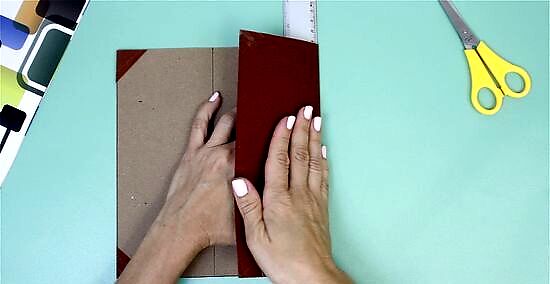
Form the creases where you marked the panel divisions. Voila!
Use Your Brochure Folder
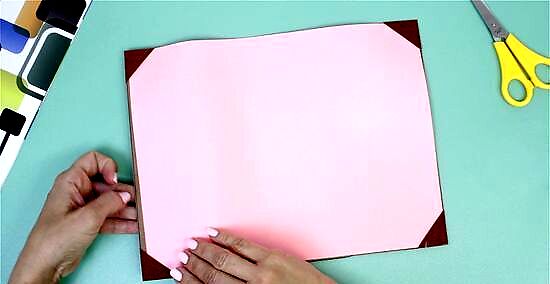
Insert a piece of paper into the triangular folds. Make sure to flatten out the paper for a more precise fold.
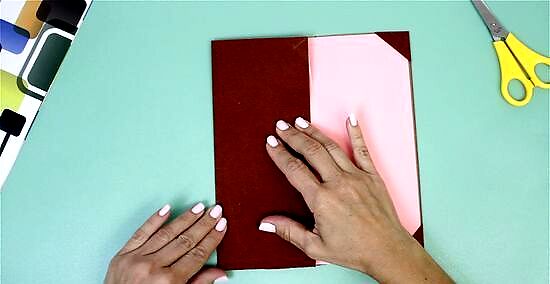
Fold panel A onto panel B, and then close with panel C. The harder you press on the panel folds, the sharper your paper folds will be.

Take out your paper from the folds. Ta-da!
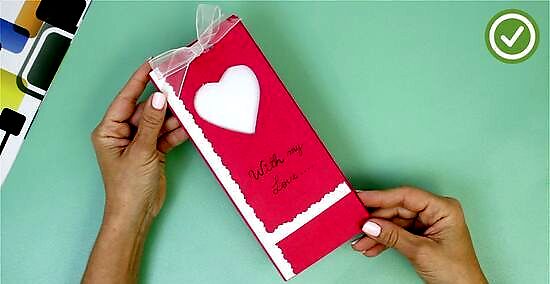
Use it for all your folding needs! This product is great for not only creating business brochures, but also making birthday cards, valentine cards and decorations – the perfect way to have fun with your kids.


Comments
0 comment