
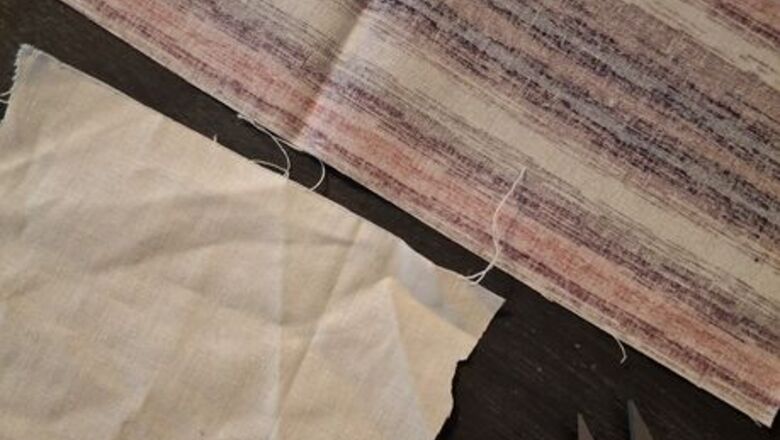
Prepping the fabric
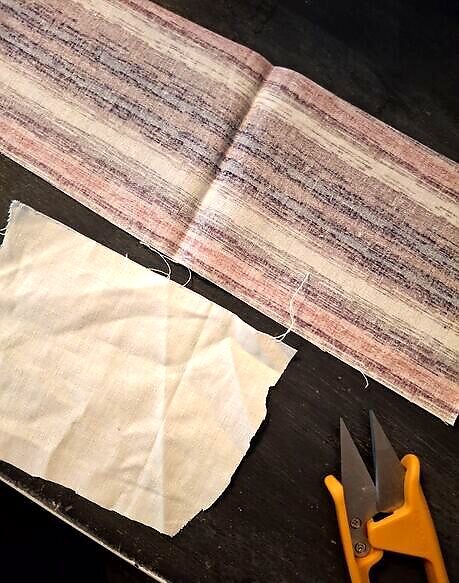
Lay the fabric of your choice out on a smooth, flat surface. Not a lot of fabric is needed for this project. Try and get a feel for the fabric type and fraying tendencies. Some fabrics tend to tear and fray easily, which will make the later steps harder for this project.
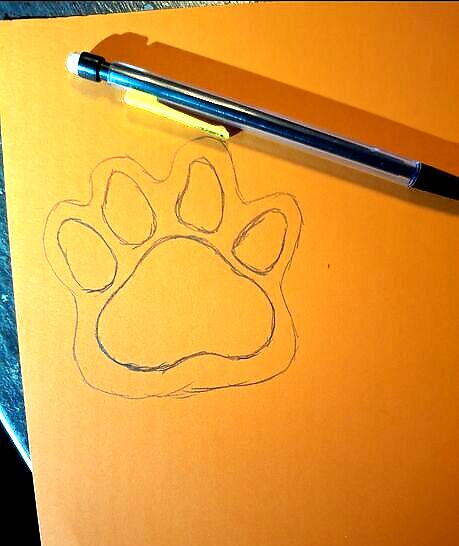
Trace or draw out a template. Templates can either be hand-drawn or printed off from online, depending on personal preference.
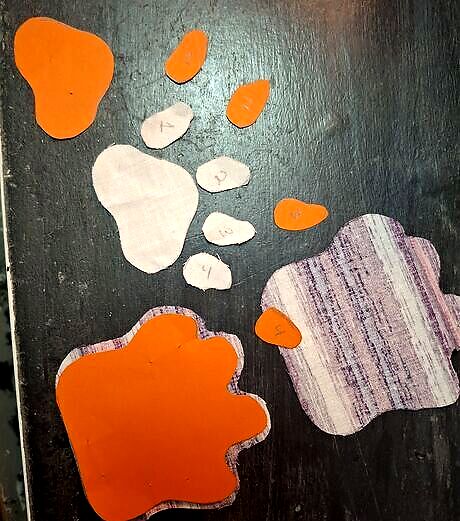
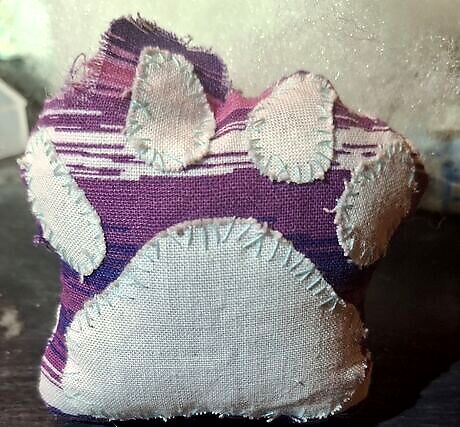
Place the template on the fabric of choice and cut it out. This should leave you with five digital pads and two paw pads. Cut the fabric a few centimeters away from the template to leave room for hemming.
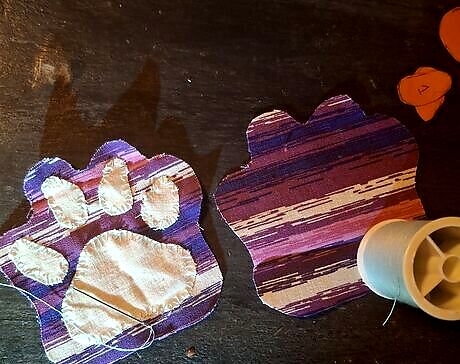
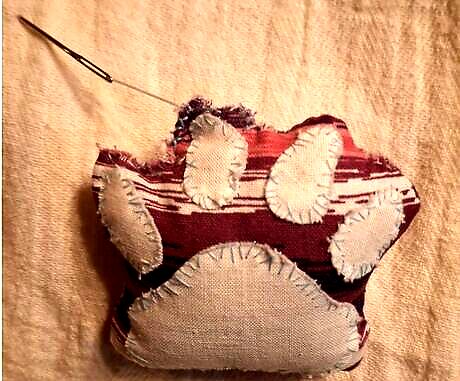
Sew the digital pads onto one of the paw pads. The second pad should be left with nothing on it. Sew the digital pads far enough from the edge of the fabric to allow for hemming room.
Sewing the paw
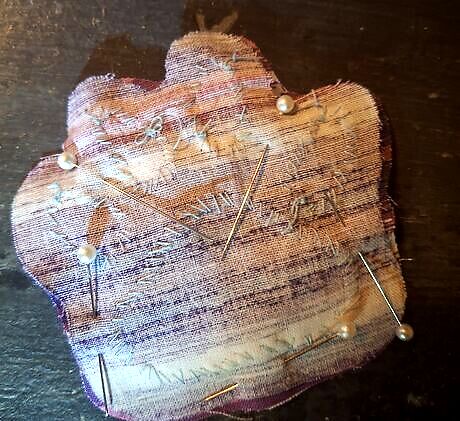
Take the two paw pads and pin them together. Make sure the fabric is facing inside out, as you will be flipping the fabric around upon completion.

Sew the paw pads together. It is recommended to use either a running stitch or straight stitch for this part. Make sure to not sew all the way around. Leave a gap big enough that you can later push the fabric through once it is all sewn. Limit the use of a sewing machine for this step unless you are comfortable enough handling the curves and bends.
Check that the fabric is sewn together completely before continuing. Give the two pieces of fabric a light tug to make sure there are no loose threads.
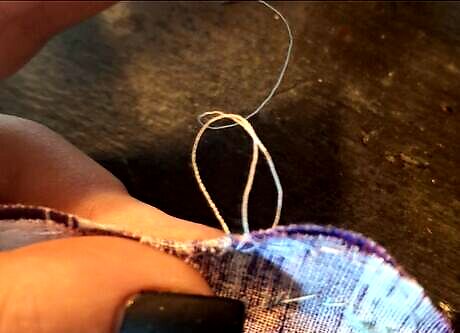
Sew the paw pads together one more time. Use either a blanket stitch or buttonhole stitch for this step. Sewing the pads this way will both strengthen the original stitch, as well as it will help the pad keep its curved shape upon being turned inside out.
Flip the fabric around so the right side is facing out. Be careful to not rip any stitches. Check the fabric for any gaps or torn stitches before continuing. Remember, the paw will look a little misshapen at first, but it will fix itself with the fulling.
Completing the keychain
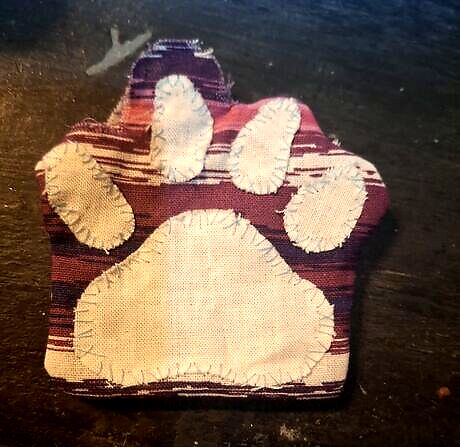
Take your stuffing and full up the paw. Fill the paw up until firm.
Sew the hole closed. This can be done using a ladder stitch. If the hole cannot be held close, remove some stuffing from inside the paw until the hole can be held close without any force. If the hole needs to be held close with force, the stitching will break apart upon release. If this happens, just undo the stitches that remained and start over.
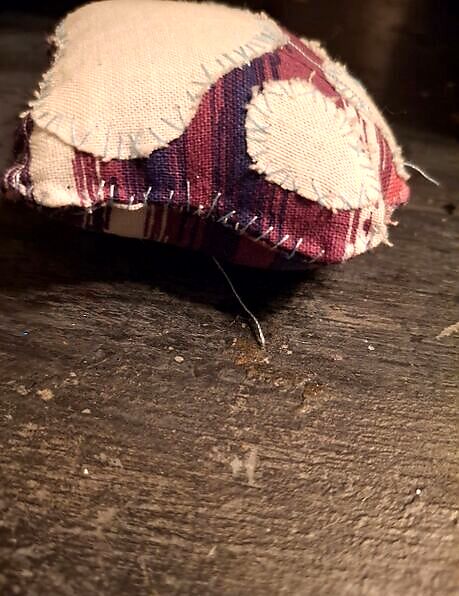
Sew the outside seam with another set of blanket stitching. Remember, this step could either be to strengthen the stitching or to act as added decoration. This step could be skipped without any repercussions.

Take your choice of keychain and attach it to the paw. This can be done with another piece of fabric to create a loop, or sewing it directly to your paw. If using a fabric loop, cut out a rectangle from a different piece of fabric and sew the end of the rectangle to both sides on the paw, leaving unattached fabric above the paw.
Attach the keychain onto your desired location.


Comments
0 comment