
Planning Your Design
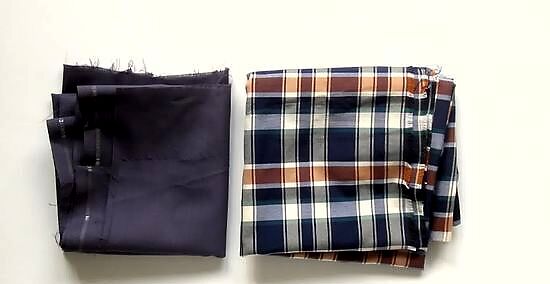
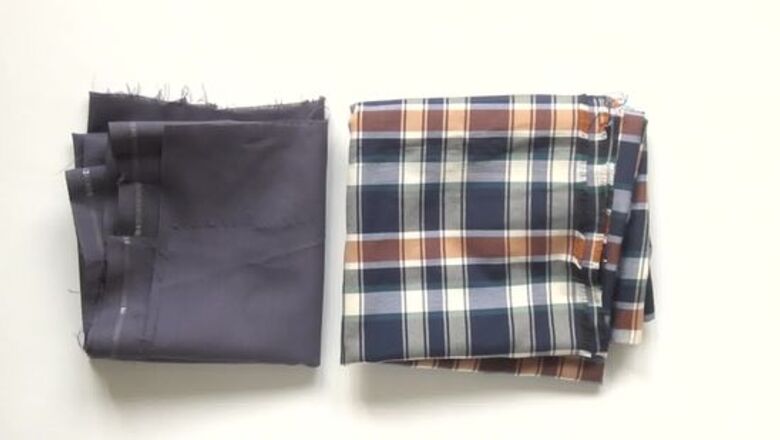
Select fabrics of similar weights and complimentary colors. For the best results, you need fabric that will fray, so consider 100 percent cotton or denim for your rag quilt. Make sure if you are using old material from around the home or the bottom of your quilting box that you have enough to complete the whole quilt.
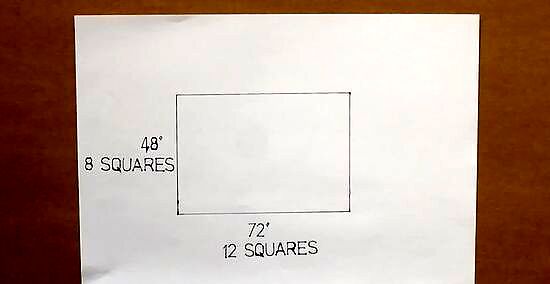
Calculate the desired area of your finished quilt. Multiply the length times the width. Divide that number by 7 to determine how many squares you will need. Divide the number of squares by 6. This assumes a fabric width of 45 inches (114.3 cm). Multiply that number by 7 to determine how many inches of fabric length you will need; divide that by 12 for the yards. If your fabric is 60 inches wide (152.4 cm), divide the number of squares by 9. Have we lost you? Basically, each square will be six inches wide and six inches long. If your quilt is ten rows across and 15 rows down, that's 60 inches wide by 90 inches long.

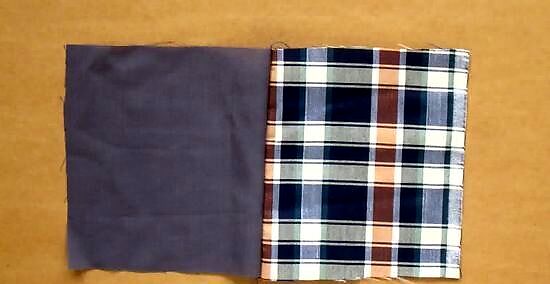
Cut the fabric into 7-inch squares (17.78 cm). The actual size of the finished squares will be 6 inches (15.24 cm); 7 inches allots for the seam. If the finished size of your quilt is not evenly divisible by 6, enlarge or reduce the size of the squares to fit, allowing an extra inch (2.54 cm) for seam allowances. You could always work with different sizes of squares or a larger or smaller quilt--just make sure you factor in the seam to your final size; you lose an inch on either side with each square.
Creating Your Quilt
Place two squares together with the wrong sides up. Stitch them, using a 1/2-inch (1.27 cm) seam allowance. Unlike the usual sewing project, the wrong sides are together so that the seams will be visible on top of the squares. You are welcome to use a smaller seam, but that will result in less of a fraying effect.
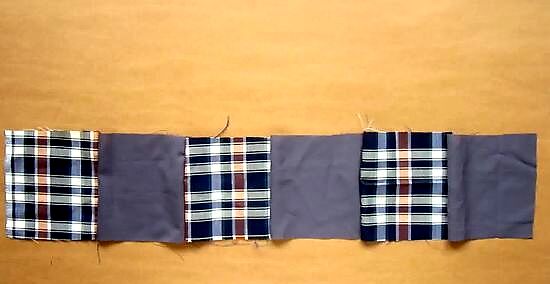
Add another square to the side of the pair you have just stitched. Continue until you have reached the width that you want for your quilt. Remember to keep it wrong side up! Machine sewing is usually the fastest and best way to quickly and simply quilt these blocks. Using a walking foot will help the fabric be more stable so tucks and puckers don't occur.
Make more strips in the same width. Do this until you have used all the squares, which should be enough for the length you want for your quilt. Always sew with the raw seam towards the top of the quilt. It is a good idea to sew the seams open as this will reduce the bulk of sewing over seams that are turned to one side.

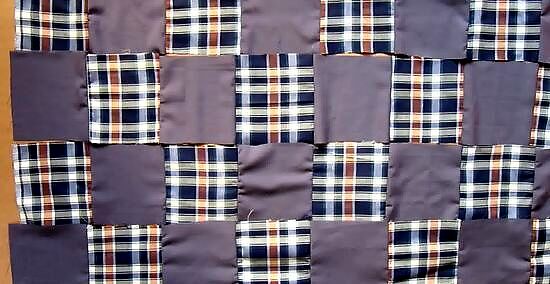
Sew the strips together. Again, keep the wrong sides of the fabric together. Sometimes it's a hard habit to break! After you have sewn all your strips together, sew an inch inside the outer border all around the quilt.

Wash the quilt to start the fraying of the seams. You can also speed up the process by pulling cross threads out of the squares. Take scissors to the edges of your fraying seams to give it a uniform, ruffled edge. Pop it in the dryer! This will help the seams become soft and fluffy.


Comments
0 comment