

Making the card backing
Decide on the card size.

Cut the backing cardstock to the chosen size for the card. This forms the back of the card, aka the "card backing".

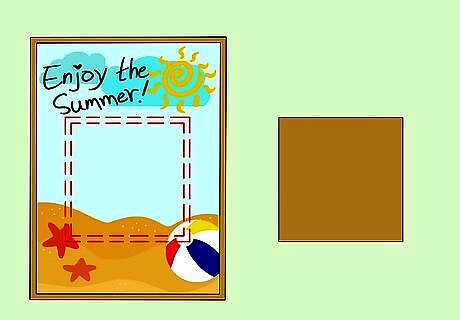
Write out or print out the invitation or words you want on the card. This should be done on quality paper in a contrasting color to the card backing. This paper sheet needs to be smaller than the frame area (which is smaller again than the card backing), otherwise the frame will cover the words, so set the margin on each side well in, to keep the words and designs obvious and to align with where the frame hole will allow it to show.

Attach the message portion to the card backing. Center it right to the edges where the inside hole of the frame will sit. Use double sided tape or glue to attach. If it's easier, this step can be done after you've made the frame but before you attach the frame, just to check that everything is lining up properly.
Making the frame
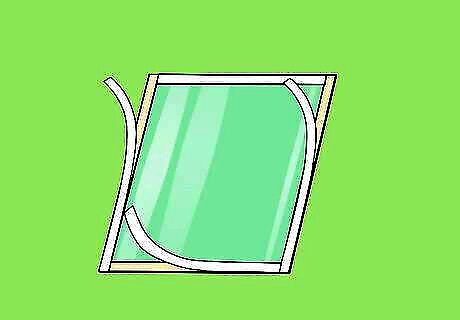
Create the frame for the card. This frame will be made from cardstock and held out from the card by foam tape. This provides ample room for inserting the filler, and a transparency is placed over the top to prevent loss of the filler. Use a color that complements but contrasts with the backing piece and the writing paper piece.
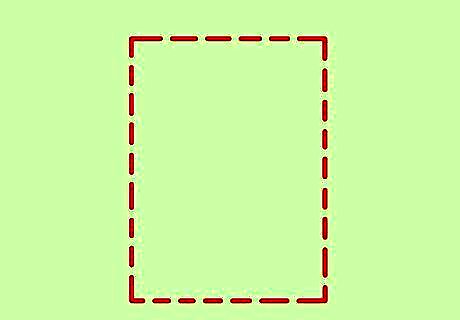
Draw the inner part of the frame. Use the card measurements to guide the end size of the frame; bear in mind the need to ensure no words are covered up and that the frame should be smaller than the card backing. At the end, plenty of the outside edge of the card backing should frame the frame. On the backside of the cardstock being used for the frame, draw a straight line from the top to the bottom and side to side, 1/4 inch/0.635cm in from the edge on each of the sides of the cardstock. Cut the middle section out of the cardstock from the inner edge of the line drawn, to form the frame. Use a straight edge and a craft knife to guide the cutting neatly. Remove the center piece from the cardstock.
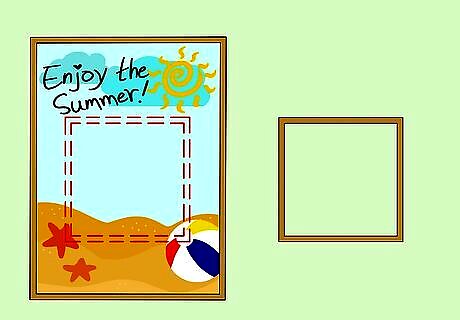
Attach the frame to the transparency piece. Run a line of double-stick tape close to the inner edges of the frame. Adhere the transparency piece to the frame piece. Ensure that it fits tightly, as any gaps will allow the filler to fall out! Cut off any excess transparency that hangs over the edges of the frame piece.

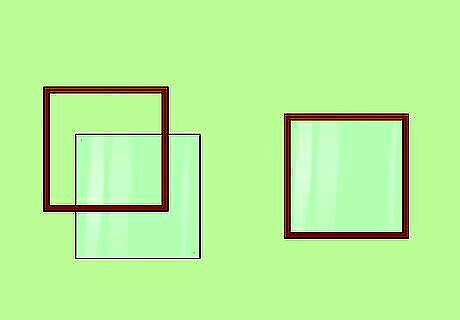
Place the foam tape strips along the inner frame edges. This tape will sit on top of the transparency piece sitting on the frame edge as well. Only adhere one side for now; leave the protective lining of the tape facing the side that will attach to the card backing intact. Don't stick the foam tape too close to the inner edge, or it'll show.
Attach the frame to the card backing. Remove all but the top piece's protective lining from the foam tape. The top piece is left until last because a hole is needed here to add the filler. Carefully center the frame over the backing card, making sure no words are covered up.

Press down firmly on all three sides of the foam tape. As already stated, leave the top foam tape strip still intact until the next section.
Adding the filler
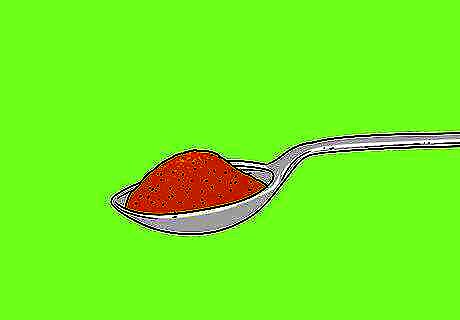
Place the filler item (sand, confetti, glitter, etc.) on a teaspoon.

Carefully open the top part of the frame on the card. This part should still not have been stuck down. Slip the spoon in the gap and add the filler item or items that match the card's theme.

Remove the protective lining from the top foam tape piece. Press down very firmly to seal the filler inside the frame completely. Tip upside down to check that nothing falls out.

Done. The card is now complete. Give it a shake and see how pretty your handiwork is!


Comments
0 comment