
Entering Roblox Studio
Sign up for Roblox or sign in to an existing account. This is necessary so that you can save and publish your game onto the Roblox website and possibly have it become famous.
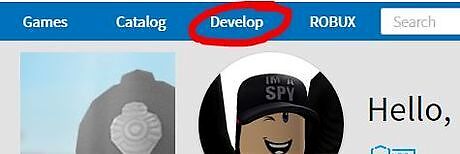
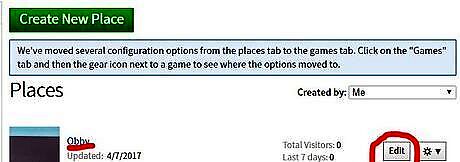
Go to the top blue menu and click on the 'Create' tab located at the top of the page. This is where you'll find all your places and games. If you have one ready, hit the Edit button. If not, create one with the next step.

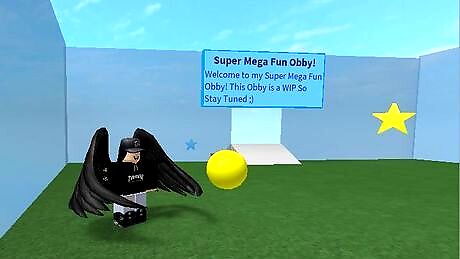
Click on the green button that says 'Create New Place'. This will take you to a menu where you will fill in the information regarding the place. Start off with a simple baseplate; the rest is up to you. When you're done, click 'Create Place' in 'Advanced Settings'. Use a name that's likely to be searched up, eg. 'Mega Obby' '150 Stage Obby' 'Impossible Obby'. Just make sure the names match up to the actual difficulty, stages, etc. Impossible Obbys should be very difficult, but not entirely impossible. Do not allow gear; this will allow people to cheat, and if you're selling it you won't make as much profit. Classic Chat will just post the chat on the top left corner, Bubble Chat will post the chat just above your head, so people near you will only be able to see it, and Both allows both chat types to be in your game. This will take you back to the 'Develop' page and your game should be there.
Select 'Edit'. This will prompt you to either download Roblox Studio, update it, or open it. All of Roblox's programs are safe so if you haven't downloaded Roblox Studio, download it, so you can start working on your obby! Updates are also important so if it prompts you to update, please do so.
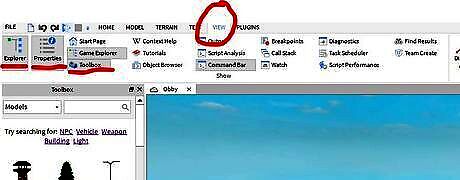
Set up a few things to be prepared for making the obby. Go to the top menu and select 'View'. Make sure you have Toolbox, Explorer, and Properties selected.
Having an Obby System
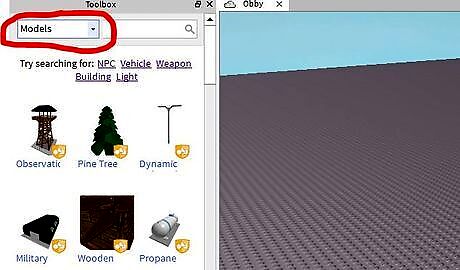
Set up a stage system so your game can work properly. Go to 'Toolbox' and go to the drop down menu. Select 'Models' if not already selected.
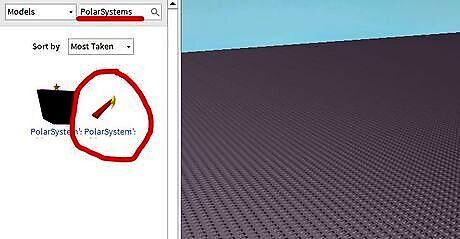
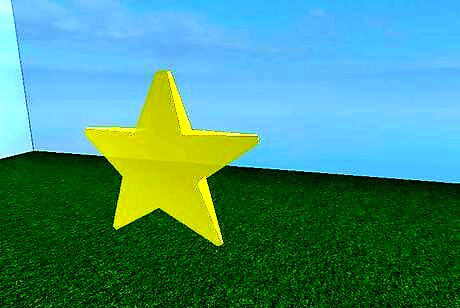
Type in 'Polar Systems'. Choose the second item that pops up.You will now have a sparkling star and a red lava bar in your game.
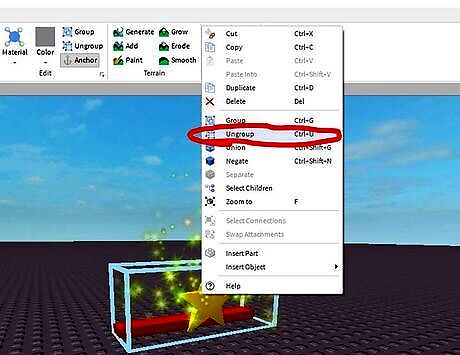
Right click the object and select ungroup.
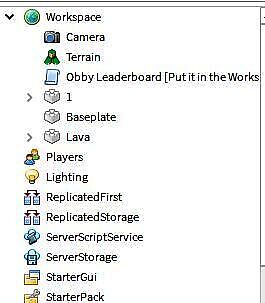
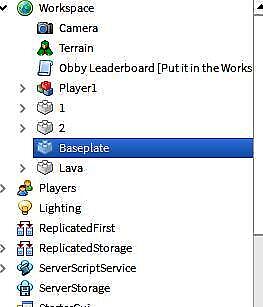
Review the three new items in your Explorer: 1, Obby Leaderboard, and Lava. The star works as a spawn point. The star labelled '1' will be stage number 1 and you will always automatically spawn at where the star is located when you first enter the game or die before you reach star '2'. Wmoos3.75.jpg You can remove the sparkles by going to the Explorer, clicking arrow next to '1' and removing the objects called 'Sparkles'. You can change the shape by inserting the script and auto-spin (if wanted) into another object of your choice. Just make sure to delete the star and rename the new object '1'.
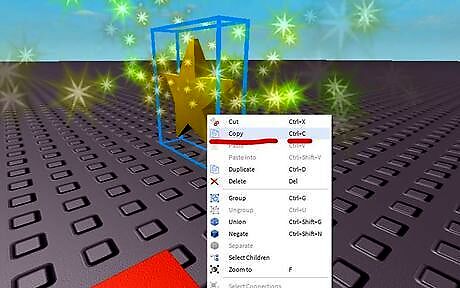
To make Star '2', right click star '1'. Click copy or simply click and press Ctrl+C.
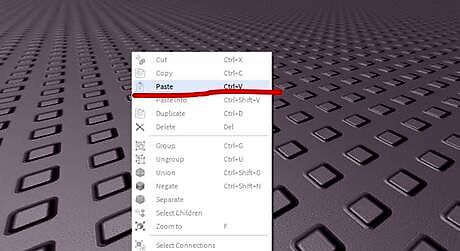
Paste the copy into the game by right clicking the grey baseplate and selecting 'paste' or pressing Ctrl+V.
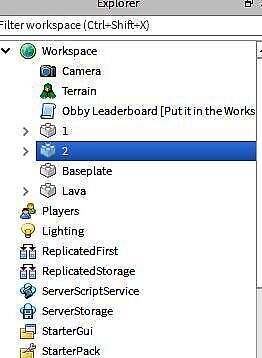
Go to where your 'Explorer' is located and right click one of the '1's. Select 'Rename' which is located under delete and rename it '2'.
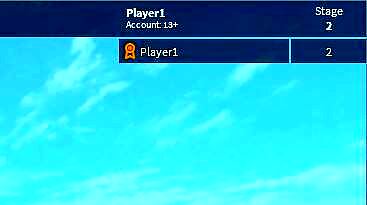
Click 'Play,' located at the top menu and walk over to the second star. You will see in the leaderboard that your stage is now '2'. This is how your obby will work.Wmoos7.jpg
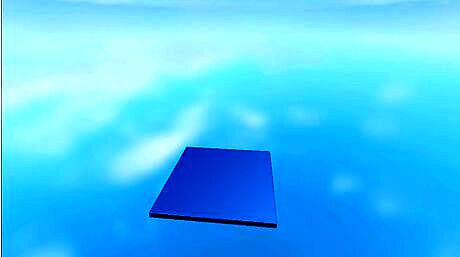
Delete the baseplate so it will be more difficult to complete. You can do this by going to Explorer, right click baseplate, and deleting it.
Making the Lobby
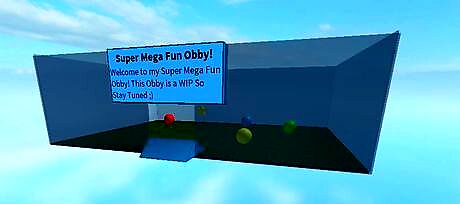
Create the lobby. This is the room where you spawn in and sometimes contains VIP rooms, fun things, etc.
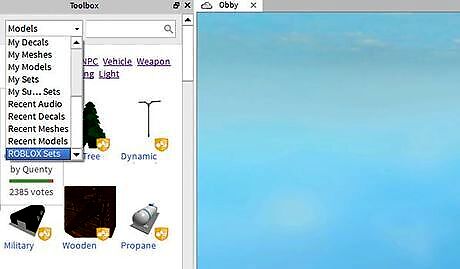
Go to the 'Toolbox' and open the drop down menu. Scroll down until you see 'Roblox Sets' Select it.
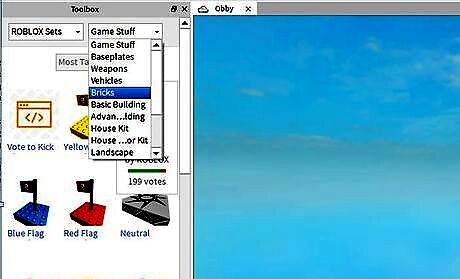
Wait for another drop down menu to appear. Click it and select 'Bricks'.
Choose any brick you want. If you don't want the studs on it. Select the brick and go to properties. Scroll down in properties until you see 'Surface' change all the studs to 'Smooth'.
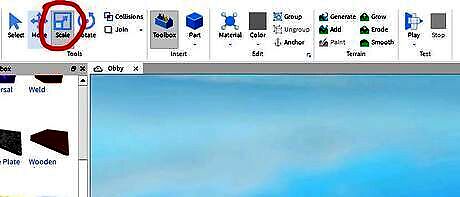
Go to the menu and select scale. Make sure it is the size you would like. Use the colored orbs to resize it. Green orbs are for scaling height and red and blue orbs are for scaling length and width.
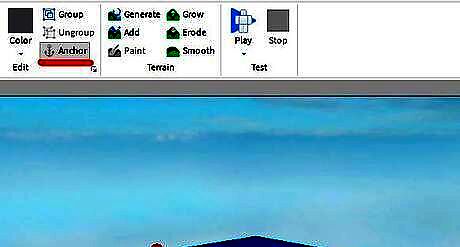
To make sure your brick stays floating, always make sure it is 'Anchored'. You can anchor an object by going to the menu and finding 'Anchor' which is located next to 'Color'. When you select anchor it will not fall or move.
Drag the star named '1' onto it. That is where the player will spawn.
Decorate as you please! You could add rolling balls by going to bricks, selecting a ball, and making sure it was unanchored. Other fun ideas are welcome badges, signs, VIP rooms, advertisements, etc. Just don't make it too crowded!
Making Obstacles
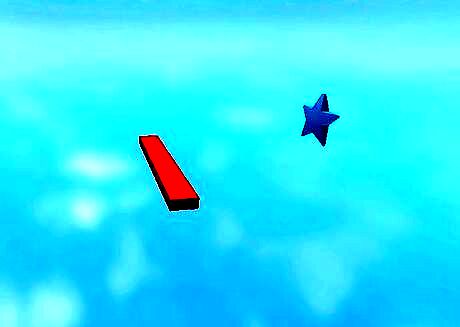
Making Lava Jumps. Lava jumps are those red lines that can be seen in checkerboard patterns or just simply jumps. Your Polar Systems came with a Lava Jump. You can add a block and put those lava jumps over the block .That's a simple lava jump system. Place a star at the end and it's done.Wmomolj2.jpg For a Checkered Lava Jump Obstacle you can just resize the lava jumps and copy and paste them on a bigger block. Wmomolj3.jpg
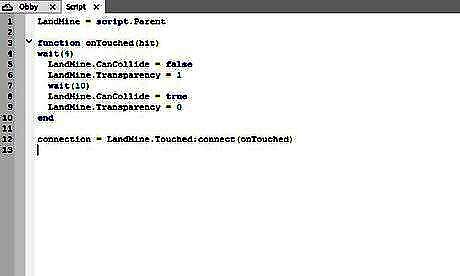
Making Disappearing Stairs. Disappearing Stairs are a common obstacle that needs some, but not a lot of script work. First insert a brick and resize to the size of a single stair. Make sure it is anchored. Right click it and select 'Add Object' and select 'Script'. Now you must type these words into the script: Wmomolj6.jpg Copy and paste the bricks and rotate them so they look like a staircase winding upwards. Wmomolj7.jpg Make sure there is a platform at the top and a star! Wmomolj8.jpg


Comments
0 comment