views
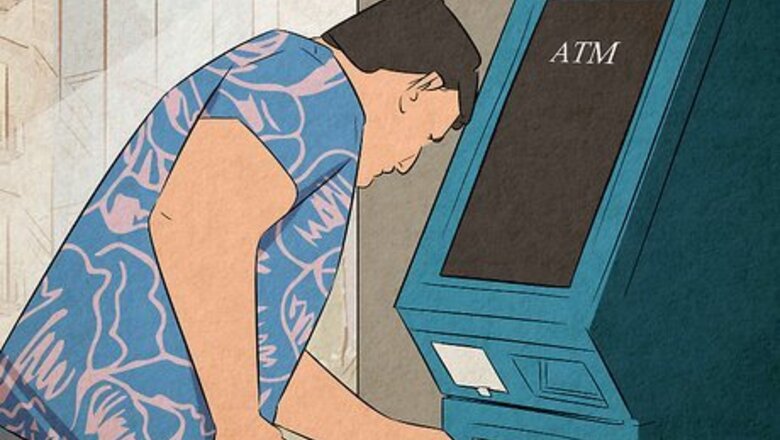
- To deposit money in an ATM, insert your debit card, enter your PIN, and select “Deposit Cash,” "Deposit Checks," or "Deposit Both." Choose an account to deposit your money into.
- Count your cash and sort it with all bills facing up, then feed it into the deposit slot. Let the ATM count your cash, then verify the total onscreen to complete the deposit.
- Endorse your checks before feeding them into the deposit slot. Let the ATM read your checks, then verify the amount for each check one by one to complete the deposit.
Depositing Cash
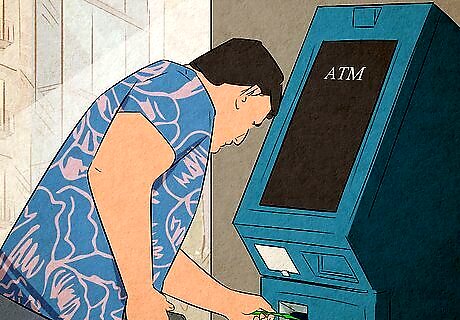
Locate an ATM affiliated with your bank that accepts cash deposits. Check your bank’s website or app to find a list of ATMs that allow deposits. Or call your bank’s local branch during business hours and ask them to point you to the right ATM. If you’re on the road, locate nearby ATMs on Google Maps or Waze by searching your bank’s name, plus “ATM”—for instance, “Chase Bank ATM”.
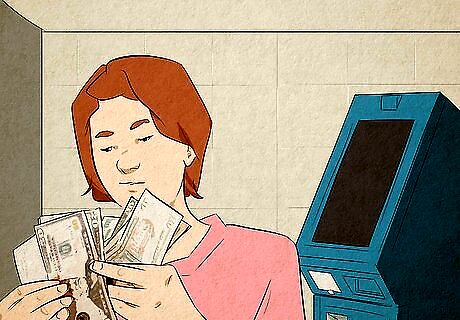
Count your cash and organize it with all bills face-up. Make sure all bills are in the same orientation. Count both the dollar amount and the number of individual bills. For example, if you have two $100 bills and four $20 bills, your deposit will consist of 6 bills totaling $280. Make a note of these numbers. In future steps, you’ll use these numbers to confirm that the ATM has counted your cash correctly. Avoid depositing torn, taped, or heavily soiled bills. These could get rejected or jam the ATM’s mechanical components. Deposit damaged or soiled bills directly with a bank teller.
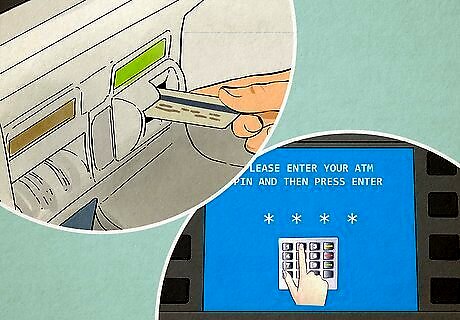
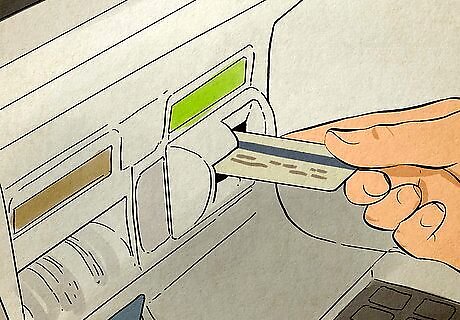
Insert your debit card into your bank’s ATM and enter your PIN. Insert the card chip-first in the orientation illustrated on the ATM’s front panel. Wait for the machine to capture your card, then enter your PIN. You’ll be redirected to a menu with different options, including “Deposit”. In most cases, the correct orientation for your card is chip side up, or turned 90 degrees with the chip side facing left. Always insert the card chip-first.
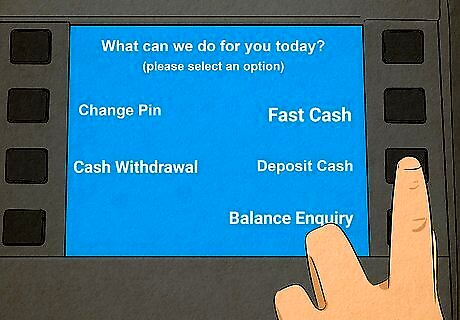
Select “Deposit” from the menu on your screen. You’ll be redirected to another menu. Depending on your bank, you may see an option “Deposit Cash,” “Deposit Checks,” or “Deposit Both.” Select “Deposit Cash” if this option appears. Some ATMs allow you to deposit cash and checks at the same time. If this is an option at your ATM, select the “Deposit Both” option and insert your checks and cash together when prompted.
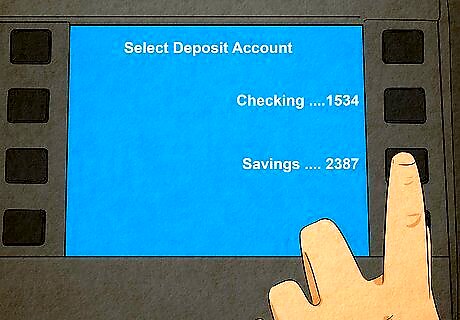
Choose an account to deposit your money into. If your debit card is linked to multiple accounts, you’ll see a menu listing those accounts. Select the account you want, then select “Next” or “Continue.” If your card is only linked to one account, move on to the next step. Depending on your bank, your accounts may be listed under a drop-down menu, or displayed as individual buttons on the screen.
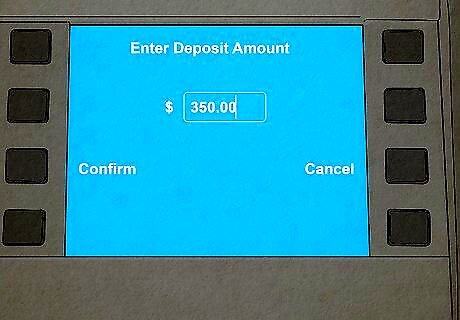
Indicate the amount of cash you’ll be depositing, if prompted. Make sure to enter the exact total. For instance, if you’re depositing $350, enter “$350” when prompted. The ATM will use this information to confirm that all your cash is counted. Then select “Next” or “Continue.” If done correctly, the deposit slot will open on the front of the ATM. Skip this step if the ATM doesn’t ask you to input an amount.
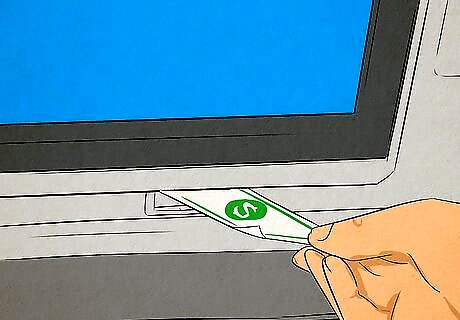
Carefully insert your cash into the open deposit slot. Insert your bills in the orientation illustrated on the ATM (long side first or short side first, depending on the ATM). Insert all your cash at once, or insert a few bills at a time and press “Insert more bills” until you’ve inserted all your cash. When finished, press “Next,” “Continue,” or “I’m done." Most ATMs only accept a certain number of bills at a time—for instance, 100 bills. Avoid inserting more than this number at once. This slot for deposits is separate from the slot that dispenses cash. It only opens up when you’re making a deposit. Some older ATMs require you to place your cash in an envelope before depositing. If your ATM requires an envelope for deposits, use one provided by your bank to ensure it fits in the ATM. Use a pen to fill out the required fields on the envelope, or fill out a deposit slip and place it inside the envelope with your cash.
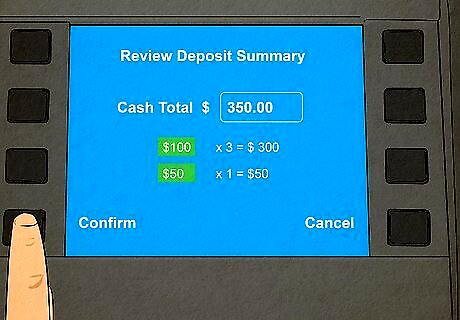
Confirm that the ATM counted your cash correctly. Wait a few moments for the ATM to count your cash, then read the amount displayed on the screen. You’ll see a list showing the totals for each denomination you inserted, followed by the total value of your deposit. If everything is correct, press “Continue” or “Finish Deposit.” For example, you might see $20 in 5s, $200 in 100s, and $37 in 1s, totaling $257. If the ATM counted your cash incorrectly, select the option for “Return my cash,” or press “Cancel” to have your bills returned. Then try the deposit again. If the ATM counts incorrectly multiple times, the machine may be malfunctioning. Try a different ATM, or deposit your cash with a teller during your bank’s business hours.
Retrieve your debit card and receipt when finished. Depending on the ATM, you may be asked something like, “Do you want to do another transaction?” Select “Yes” to check account balances, make another deposit, withdraw funds, and so on. Otherwise, select “No” to have your card returned to you, along with a receipt. In most cases, your cash deposit will appear in your account immediately. Some ATMs only provide receipts if you request one.
Depositing Checks
Visit an ATM affiliated with your bank that allows check deposits. Most ATMs that accept deposits allow both cash and checks. Some even allow you to deposit cash and checks together. Check your bank’s website or mobile app to locate nearby ATMs that allow deposits. Most ATMs that allow deposits accept both checks and cash.
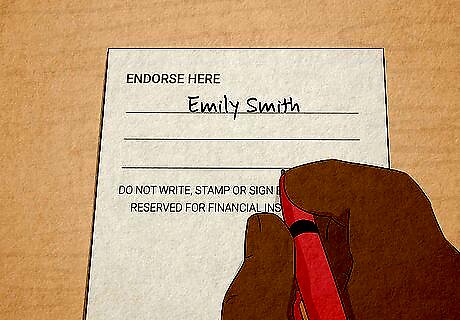
Endorse your checks and add up their values to find the total. Sign your name in the signature box on the back of each check, or write “For deposit only.” Count the number of individual checks, then add up your checks to determine the total amount of your deposit. Note these numbers for later. For example, if you have a check for $100, another for $50, and another for $25, your deposit will consist of 3 checks totaling $175. Make a note of these numbers. Organize your checks face-up and in the same orientation. This will help the ATM scan them quickly. Avoid depositing checks with illegible handwriting, or checks that are damaged or soiled. If some of your checks are in poor condition, deposit them with a bank teller.
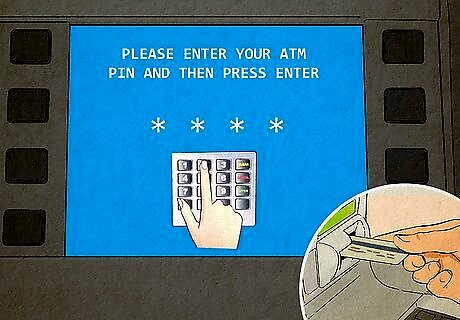
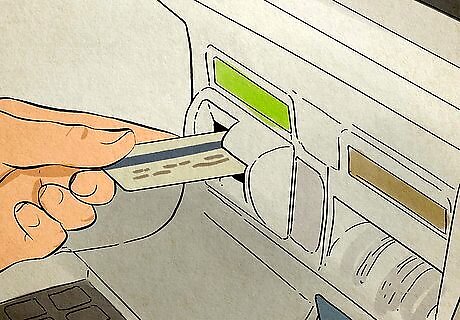
Insert your card into the ATM and input your PIN. Make sure to insert your card chip-first. After entering your PIN, you’ll be redirected to a menu listing multiple options, including “Deposit” or “Deposit Checks.”
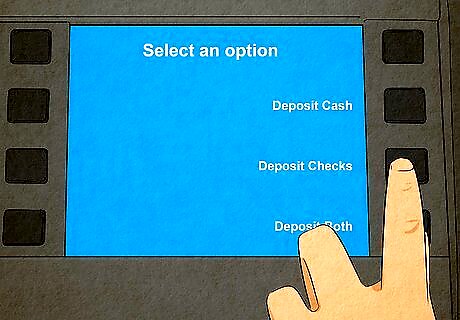
Select “Deposit” on the onscreen menu. Depending on your bank, you’ll be redirected to another menu with options like “Deposit Cash,” “Deposit Checks,” or “Deposit Both,” Select “Deposit Checks.” Some ATMs let you insert cash and checks together as one deposit. If this option is available at your ATM, select “Deposit Both” and insert your checks and cash when prompted.
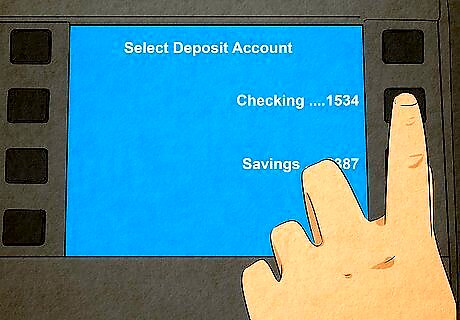
Choose the account where your checks will be deposited. ATMs typically list your accounts under a drop-down menu or display them as individual buttons on the screen labeled “Checking,” “Savings,” etc. Choose the account you want and hit “Next” or “Continue.” The deposit slot will open up on the front of the ATM. If your card is only linked to one account, you can skip this step.
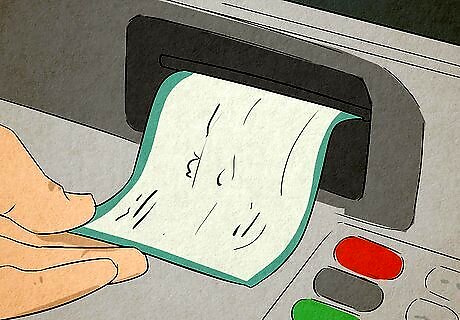
Insert your checks into the open deposit slot. Insert them in the orientation shown on the ATM (either long-side-first or short-side-first). Insert all your checks at once, or insert a few at a time and select “Insert more checks” until you’re done. Then press “Next," “Continue,” or “I’m done.” Many ATMs only let you insert a certain number of checks at a time. This number will be shown on your screen—for instance, it may say “Insert up to 50 checks at a time.” This slot for deposits is separate from the slot that dispenses cash. It only opens up when you’re making a deposit. A few older ATMs require you to deposit your checks in a sealed envelope. If your ATM requires this, use an envelope provided by your bank to ensure it fits in the ATM. Make sure to fill out the required fields on the envelope, or include a deposit slip in the envelope along with your checks.
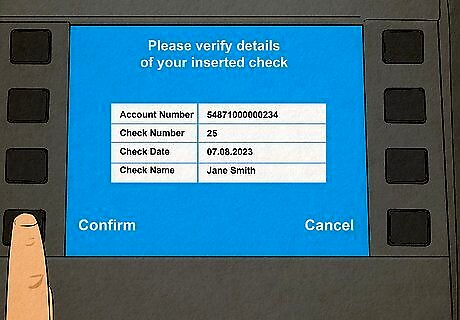
Confirm the number of checks and their amounts. Wait a few seconds while the ATM scans your checks. A prompt will appear asking you to verify the amount for each check, one by one. Read each scanned check on the screen, then input the correct amount and select “Confirm.” Once all checks are accounted for, press “Continue” or “Finish Deposit.” Some ATMs will show the dollar amount of each check and ask you to confirm. Make sure the amount on the screen matches the amount written on the scanned check. If the ATM misreads a check, enter the correct amount and hit “Continue.” The ATM might not accept your check if it’s illegible or damaged. If this happens, deposit the check with a bank teller.
Finish by removing your debit card and receipt. You might see a prompt like, “Do you want to do another transaction?” Choose “No” to get your card back, plus a receipt (if you choose to print one). Select “Yes” if you want to check your account balances, withdraw cash, etc. The money from your check deposit may not be available in your account immediately. Some banks make check deposits available on the following business day. For instance, if you deposit your checks on a Friday night, the money should be available by Monday. In some cases, a bank may place a hold on a check. This can happen for many reasons, including for large deposits or foreign checks.
Can you make deposits in out-of-network ATMs?
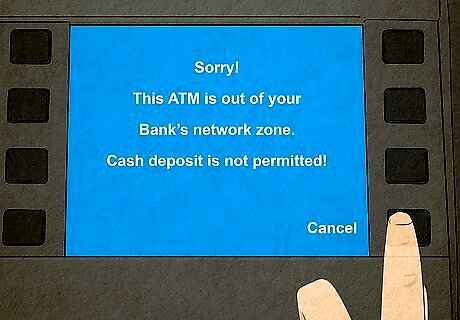
Most banks don’t allow deposits in out-of-network ATMs. Withdrawals and balance inquiries are usually allowed at any ATM, though your bank may charge you a fee. You likely be charged an additional fee by the ATM itself. For example, Chase customers are charged a fee for every transaction on non-Chase ATMs.
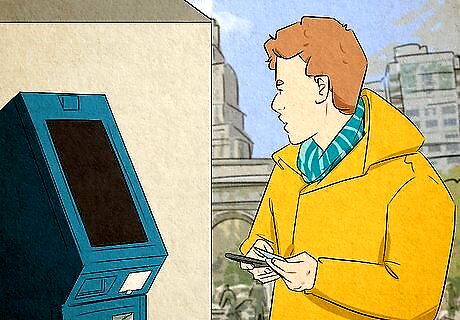
Cash deposited in out-of-network ATMs isn’t available right away. In the rare cases that a bank allows out-of-network deposits, your cash may take up to 5 business days to appear in your account. Cash deposited in an ATM affiliated with your bank is usually available immediately. Note that “5 business days” does not include weekends or holidays. So for instance, if Christmas Day is on a Friday and you deposit your cash in an out-of-network ATM on Christmas Eve, your funds will not be available until January 4th—ten days later.
Are there limits or restrictions on ATM deposits?
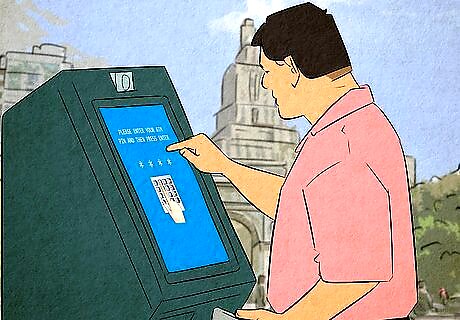
Most banks have no upper limit for ATM deposits. In theory, you can deposit as many checks, or as much cash, as you want into your accounts. But the U.S. Federal Government only insures up to $250,000 per person, per bank, per “ownership category”—that is, per type of account. In other words, if you have $300,000 spread across multiple checking accounts in the same bank, the Federal Government will only insure $250,000 of that money. If the bank goes out of business, you’ll get $250,000 back but lose $50,000. This problem only applies to you if you have more than $250,000 deposited in a single bank.
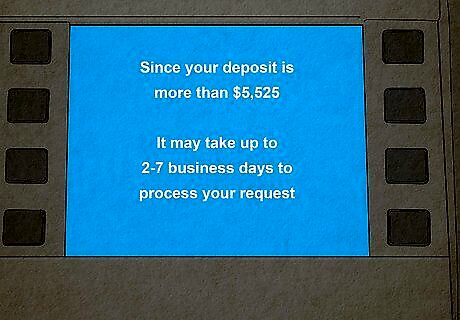
Your money isn’t always available right away. Checks usually clear after 1-3 business days, while cash deposits are often available immediately. But your bank can “hold” a deposit for up to 5 business days under certain circumstances. For example: Check deposits totaling more than $5,525 in one day. Check deposits made to an account less than 30 days old. Any deposits made to accounts that have been repeatedly overdrawn in the precious 6 months. Any check deposits that the bank suspects are fraudulent or cannot be collected due to insufficient funds
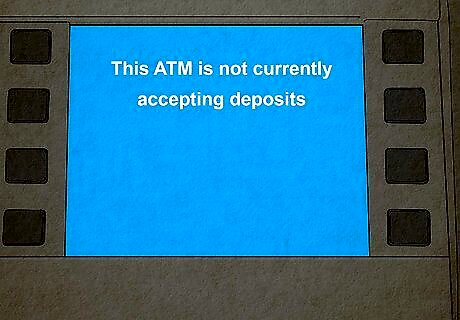
ATMs stop accepting deposits when they get too full. ATMs can only hold a certain amount of cash and checks before they need to be emptied. If too many people make deposits in the same ATM, you may see an error message like “This ATM is not currently accepting deposits.” The error message will remain until bank staff empty the ATM. To void this issue, try depositing funds in a different ATM, or visit the ATM on the following business day.
Depositing Money into an Online Bank
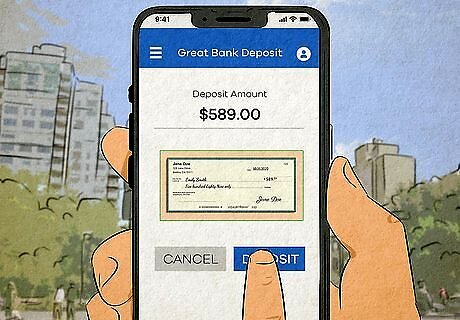
Deposit checks using your online bank’s mobile app. Download your online bank’s app and enable mobile deposits. Follow the instructions on your screen to upload photographs of the check, front and back. In most cases, the check will clear within 1-3 business days. Make sure to endorse the check before uploading.
Use an ATM service that partners with your online bank. Some online banks have arrangements that allow their customers to use certain ATMs, free of charge. For example, Capital One 360 (which is an online-only bank) allows its customers to make withdrawals and deposits at any Capital One ATM, plus zero-fee withdrawals at any ATM on the AllPoint network. AllPoint ATMs around found in CVS, Walgreens, Target, and other stores. Check your online bank’s website or mobile app for a list of zero-fee ATMs.
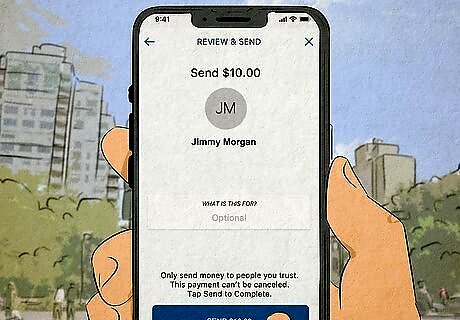
Transfer money from a conventional bank to your online bank. If you have another account with a conventional bank, use Zelle to transfer money to your online bank account in minutes. Or send money from your conventional bank to your online bank by linking both accounts on the non-online bank’s website. Check your conventional bank’s website for instructions on linking to outside accounts.




Comments
0 comment