
views

Make sure your box is undamaged and flat-sided, to avoid a messy looking display. To flatten out rough edges and bended sides, empty and collapse the box, then put it under a heavy book.
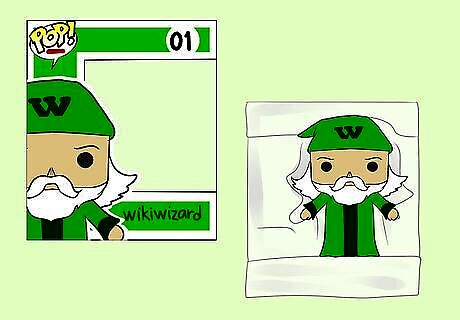
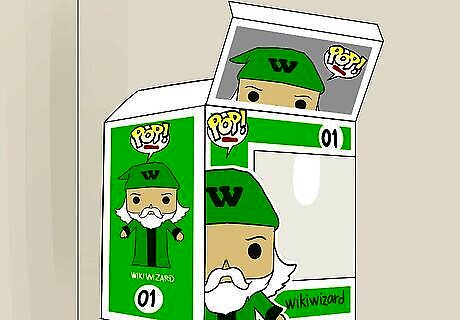
Empty the box and set the figure and plastic packaging to the side.
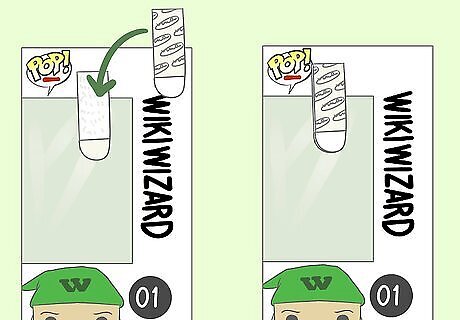
Connect two of the Velcro Command Strips together face-to-face, then remove the green liner from one side. Place the strips on the side of the box you want to connect to the wall. Holding the strips firmly in place for about 15 seconds should suffice to keep them on the box.
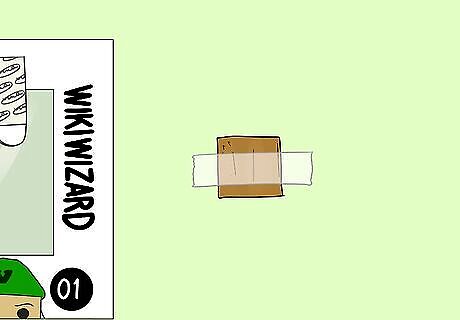
Cut a small piece of cardboard. It doesn't need to be big, nor does it need to be clean cut, because it will also be on the side of the box that faces the wall. Just cut it about 1 inch by 1 inch and cut a piece of tape long enough to go over on both sides (as in the photo).
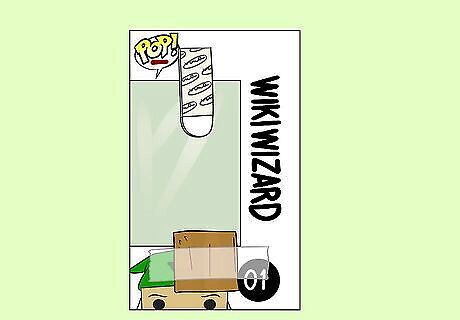
Tape the cardboard sliver under the command strip in the center of the box as shown.
Remove the other green liner from the Command strip on the box, then, using the level, place the box level where you want it on your wall. Place your fingers against the Command strip from the inside, and press firmly for thirty seconds. This is imperative to keep the box on the wall.
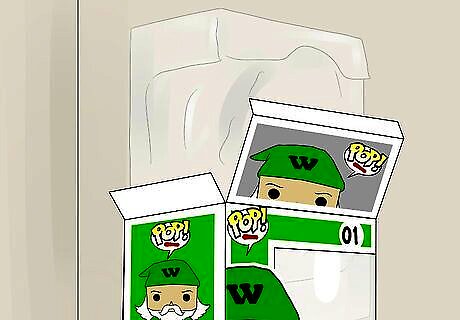
Put the plastic packing frame back inside the box, for stability. This will help keep the box from collapsing under the weight of the figure, or bending to the sides.
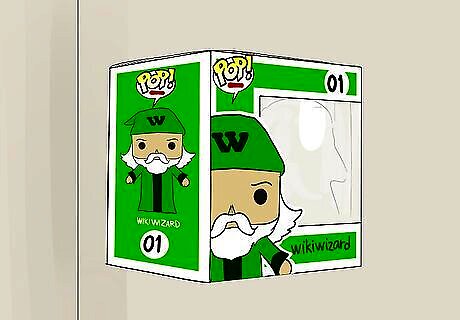
Close the box and leave it on the wall for a minimum of maybe ten minutes. The adhesive on the strips needs time to cure for a while. Without this, there is a fair chance the box will peel off of the wall. You don't want to be woken up by Chewbacca falling on you in the night.
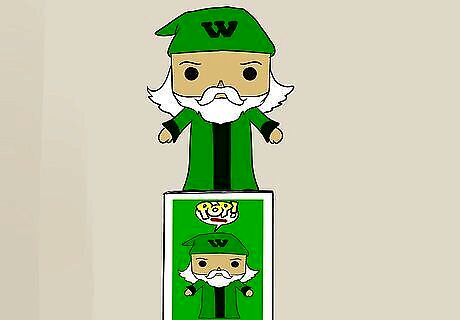
After the adhesive has cured, put the figure on top or back in the box, however you prefer it! Now your figure and its box are levitating on the wall!

Do this for as many figures as you like. Now, enjoy your display!





Comments
0 comment