
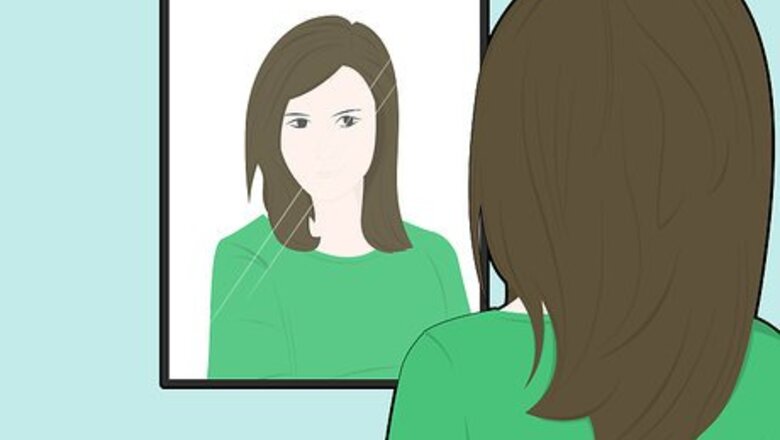
Practice drawing yourself.
Your illustrating skills will transfer nicely when it’s time to paint. Using a drawing paper pad, or even some xerox paper taped to a sturdy board, a conte crayon or piece of vine charcoal (a soft pencil will do, too) and a mirror, sit in front of the mirror and study your features. Set up your working area so that there is a light coming from one side. If you are right handed, the light should be on your left side and slightly above you.
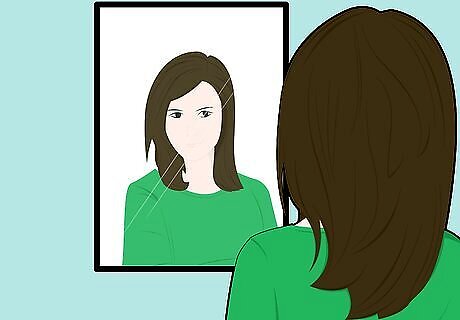
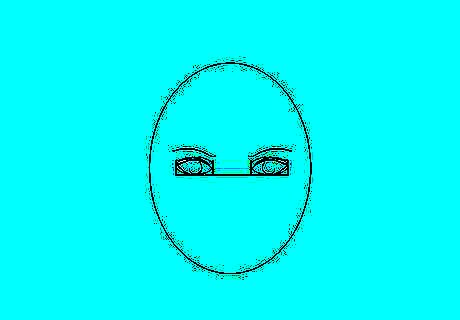
Start with the eye.
There a few ways to start, but beginning with one feature is easiest. Find a piece of paper that is larger than your head so your drawing will be the same size as your portrait subject, in this case yourself. Hold your head steady while drawing. Use your eyes, not your head, to look down at your paper. Don't move your head from side to side. There are several approaches artists use. I will start with my favorite portrait artist's, Richard Schmid's: look at one of your eyes. Study it carefully. You will draw the eye first and work gradually out from there, comparing proportions and measuring carefully.
Develop the key details.
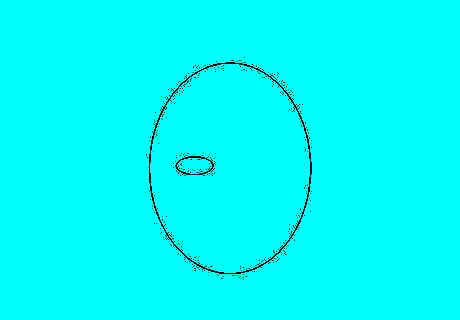
Look at how the upper lid is in relation to the lower one. Is there a prominent fold above the eyeball or not? Are the eyebrows bushy or thin, arched or straight or sloped? Very lightly draw an oval on your paper that is approximately the proportion and shape of your left eye.
Work your way out.
Sketch your way out to the head and neck. It's easier to draw a face the first time if you are looking straight-on to the mirror. Most faces are fairly symmetrical but not perfectly so. Notice the distance from the right eye to the left. Using the width of the eye as a basic measuring unit, gauge the width of that space between the eyes and carefully draw the outline, lid and iris of the left eye, then mark the space between the eyes; then draw the outline and some detail of the right eye. Indicate the direction and width of the eyebrows.
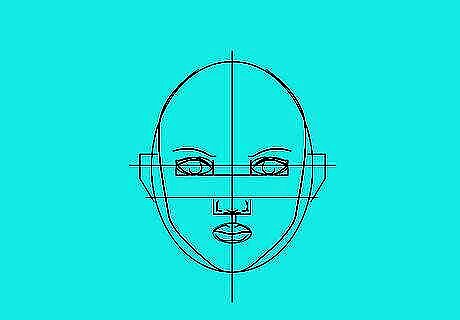
Use a plumb line to keep things even.
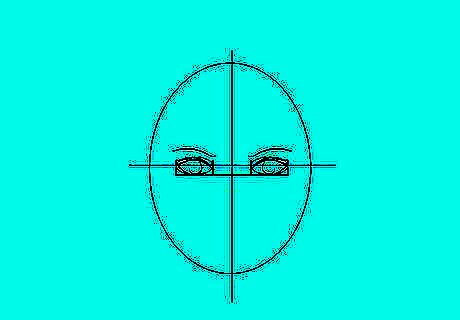
The symmetry of the face relies on a center line. Draw a very light plumb line down the center of that space between the eyes to the bottom of the chin and up to the hairline. This will help keep your drawing symmetrical.
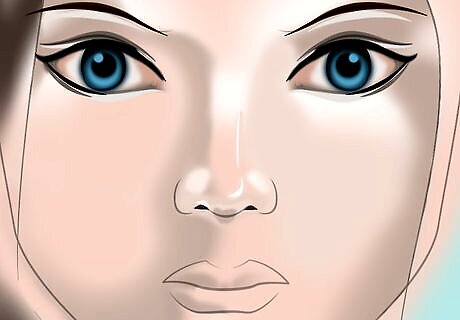
Use the eye-width rule.
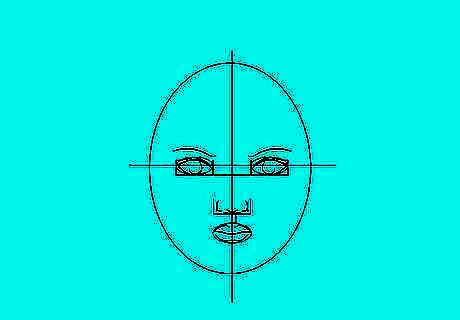
This is a simple way to ensure your features are proportional. Measure your eye-width unit and compare that distance to the distance between the inside corner of one eye to the bottom of the nose. Make a light, short line at the bottom of the nose. Compare the width of the eye to the width of the nose. Make a mark on either side of your plumb line indicating the width of the nose. Then compare the distance between the bottom of the nose and the separation of the lips. Keep checking those proportions! Getting those proportions right is what makes a good portrait or likeness.
Sketch out the cheekbones carefully.
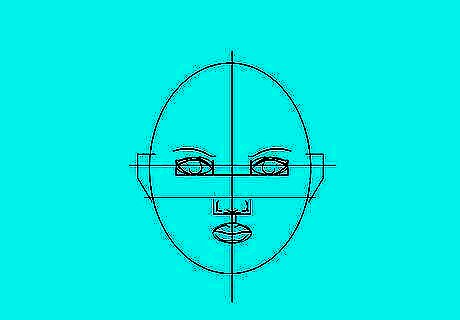
The cheeks and the ears are delicate, so work slowly. Look for the width of the cheekbones and make a light mark to indicate those, then work sideways to the ears. The ear is a very complex thing to draw, and quite unique to each person. The top of the ear is usually somewhere around the level of the eyebrows, but again, look carefully before you draw. Each person's face is unique!
Center the image in the chin and jaw.
These features will give your art some heft and dimensionality. The chin and the jaw are key, striking features that anchor the face.
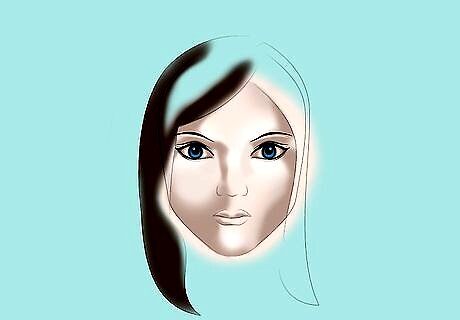
Outline the hair.
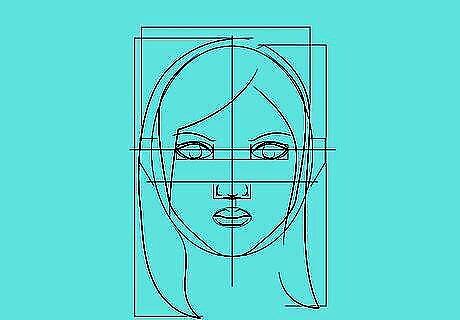
Don’t go overboard with the details—you’ll add those later. Indicate the height and width of the hair, and carefully draw the outline of it, adding masstone in the value of lightness or darkness of the hair. Don't worry about details! When you look at someone's hair, you notice the color and shape, not the individual hairs. It should be the same in your drawing.
Add shadows.
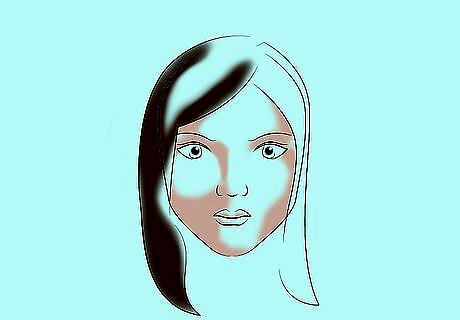
Note how light and dark areas of your face appear. When you have your proportions indicated, look at areas of light and dark in your subject. Gently shade some of the darker areas to get a sense of dimension. Work on the darkest areas first -usually the iris. Leave white for the curved highlight on the iris. Notice that the eyeball is curved and that one side of the eyeball is slightly in shadow. Look carefully at the proportion and location of the highlights.
Shape the eyelids.
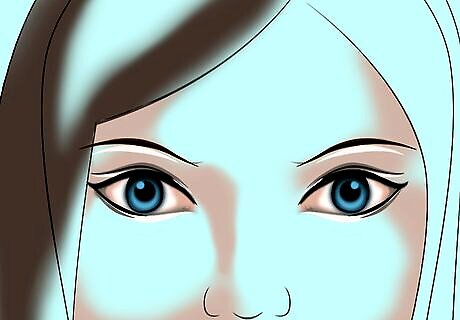
The eyelids are another key feature that communicate emotion. Notice the shape and proportions of the upper and lower lids of the eyes. Don't worry about lashes - they can be gently indicated by a darker line later on.
Shade the skin.
Giving the skin texture will make your illustration a bit more dynamic. Begin by Indicate the shape of the skull and the curves of the flesh that cover it by gradually shading the sides of the face and jaw, the eye sockets, the dip in the skull above the eyes, then pick out some of the lighter areas in the masstones of the hair.
Cast a shadow on one side of the nose.
This will add a ton of depth to your drawing. Gently shade the shadow side of the nose and try to capture the unique shape of it, especially the tip. That is another characteristic point of the face.
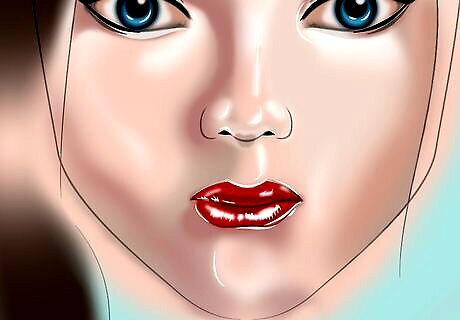
Shade in the philtrum.
The philtrum is that midline groove between your nose and the mouth. Notice the dip between the two halves of the upper lip and gently shade the shadow side of that and the shadow side of the upper lip, toward the corner of the mouth.
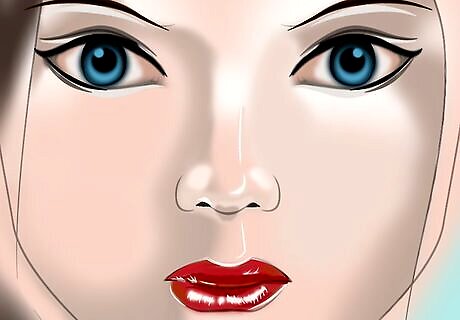
Add detail to the mouth.
The creases and lines on the lips are typically very subtle. Notice the areas of light and dark on the mouth and gently shade those; then the receding area below the lower lip. The lower lip casts a shadow but don't make too much of it. Finally, indicate the shadow side of the jaw, indicate the neck and collar, with some shading on the neck to make it believable and pick out a few lights in the hair with the corner of your eraser. You're finished! But don't stop there! Keep at it! You will only get better! You can pick a photo reference in which the model looks straight at you. Make sure the photo has a clear division between light and shade. You can make the drawing and then transfer it onto the canvas or draw directly on it with a pencil or a brush with thin paint.


Comments
0 comment