
How to Paint Your Fingernails
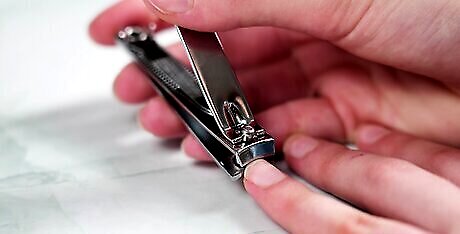
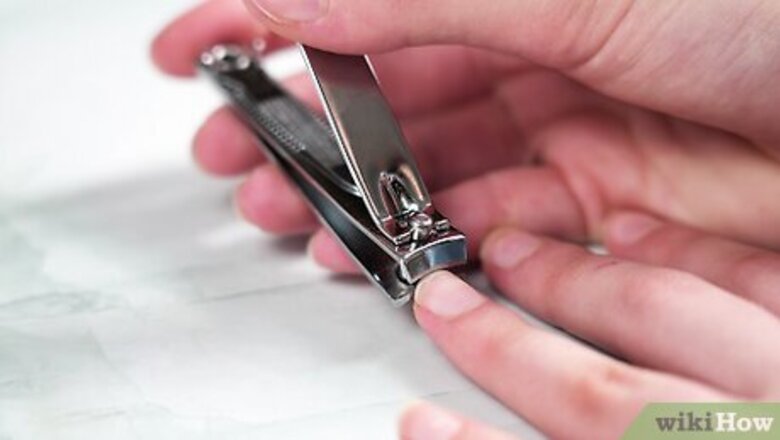
Remove any old nail polish, then trim and file your nails. Soak a cotton ball in some nail polish remover and use it to take off any leftover nail polish from your previous manicure. Even if you don’t have any polish on your nails, it's a good idea to do this to remove any natural oils from your nails—it will help the polish last longer and go on more smoothly. Next, cut and file your nails until they’re your desired length and shape. “If you use nail clippers, don’t cut the entire nail in one go,” says nail artist Marta Nagorska. “This will unnecessarily bend and weaken your nail at the sides. Instead, clip the nail a few times starting at one side and going across the nail to the other side, then use a nail file to create a smooth shape.” Nail artist Mia Rubie explains that the type of nail file you use matters, too. “You want to use a nail file that’s not super rough—something around 180 grit,” she says. This prevents the ends of your nails from looking scraggly.
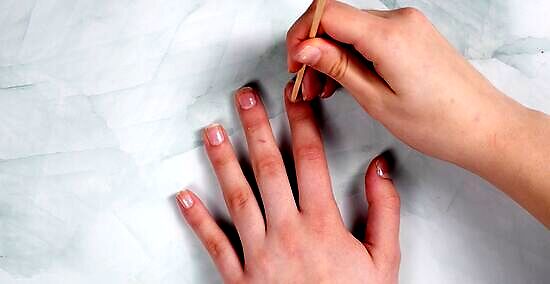
Push back your cuticles. Your cuticles are the little pieces of skin at the bottom of each nail. They can make your nail polish application look messy if they are not pushed back before you paint. It’s easier to push back your cuticles when they’ve been softened, so try soaking your nails in a small bowl of warm water for a minute or two first. Dry your hands and nails thoroughly, then use a cuticle pusher to push the soft skin of each cuticle back to the edge of the nail.
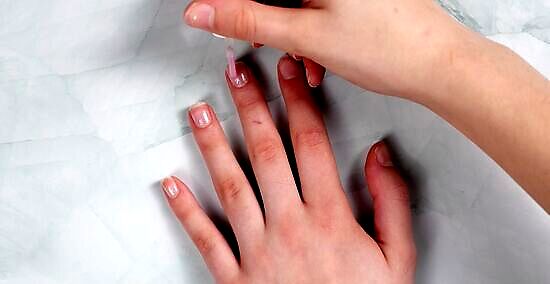
Apply a base coat and allow it to dry completely. Make sure to wipe the brush against the neck of the bottle to remove any excess product, then paint a very thin layer of the base coat onto each nail. A good base coat will give your chosen nail polish a smooth surface to stick to, which helps your manicure last longer and prevents your nails from getting stained by the polish. Here are some popular options to check out: Butter London Horse Power Nail Rescue Basecoat Pros: Helps to repair damage around your nail and promote stronger, healthier nails, dries very quickly. Cons: A bit pricier than the other products on this list. Customer Ratings: 4.3 star average on Amazon.com Essie Strong Start Base Coat Pros: Reinforces weak nails with biotin, vegan formula, reasonably priced. Cons: Some reviewers mention that it takes a bit longer to dry, as the formula is on the thicker side. Customer Ratings: 4.5 star average on Amazon.com. Sally Hansen Ultimate Shield Base Coat & Top Coat Pros: Doubles as a top coat so you don’t need to buy two separate products, least expensive option. Cons: The formula can thicken and become gloopy over time if you don’t close bottle cap tightly enough. Customer Ratings: 5.0 star average on Amazon.com
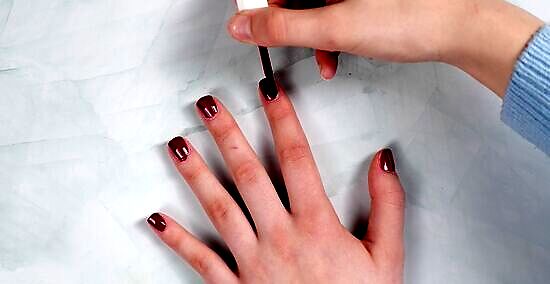
Apply your first coat of polish in a very thin layer. Start by wiping the brush against the rim of the bottle to get rid of excess polish. Next, apply one stripe of polish down the center of your nail, then swipe up either side of that middle stripe (without dipping your brush back in the polish). This is called the 3-stripe method, and it makes for a super neat and mess-free application. Salon owner and nail specialist Kristin Pulaski explains that one of the biggest mistakes people make is applying too much polish for their first coat. “Sometimes people apply [a layer of polish] that’s way too thick because they want to see the pigment right away, but it’s like painting a wall—you do the first coat for coverage, then you wait two minutes and do the second coat to get the true color of what’s in the bottle,” she explains.

Allow the first coat of polish to dry before applying a second coat. Nearly all nail polishes will require at least two layers to achieve the look you’re going for, and some will need three. It’s essential to let each coat dry completely before applying the next, which should take about 5-10 minutes per coat depending on the brand of polish.
Apply your next coat using the same method. Try to be just as careful and methodical as you were with your first layer. If you become impatient and try to finish the job quickly, you might ruin your good work! Allow the second layer of polish to dry completely, then decide if you need to apply a third. If you do need a third coat, apply it using the same method as the first two. Don’t exceed 3 coats—this can cause your polish to peel off and smudge more easily. As you can see, painting your nails is time consuming, and you will need to allow yourself 30 minutes to an hour to do the job well. For this reason, it is a good idea to prepare a snack, go to the bathroom, and turn on the TV before you begin painting your nails so you won't be bored while waiting for your nails to dry.
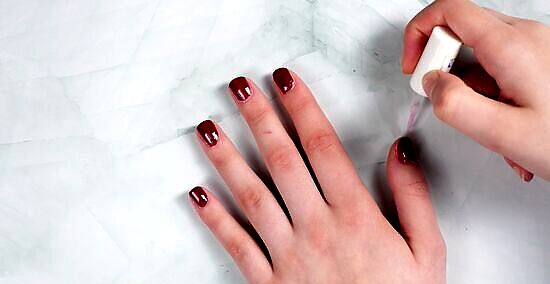
Apply a clear top coat. Once your second (or third) coat of polish is dry, apply a final top coat of clear polish. This will help to prevent the color from chipping and add extra shine. Apply the top coat all the way to the tips, then go around the top of each nail and apply a little clear polish to the underside. This helps to prevent the color from wearing at the top, while providing extra strength and support for long nails. Here are some top coats to check out: OPI Top Coat Pros: Has a super glossy finish, provides a protective top layer to help your manicure last for a whole week. Cons: Not the best choice for people who have nail ridges. Customer Ratings: 4.6 star average on Amazon.com Sally Hansen Insta-Dri Anti-Chip Top Coat Pros: Dries super quickly, easy to use, very affordable. Cons: Some reviewers mention that the formula can become thick and stringy over time. Customer Ratings: 4.7 star average on Amazon.com Butter London Hardwear Shine UV Top Coat Pros: Cruelty-free & vegan formula, UV protection, chip resistant. Cons: Takes a bit longer to dry, pricier than other options. Customer Ratings: 4.3 star average on Amazon.com
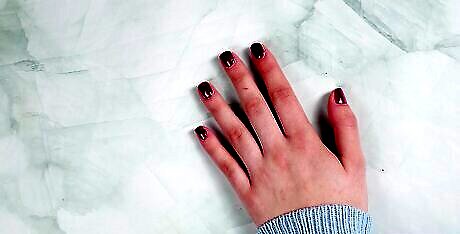
Clean up around the edges with a cotton swab dipped in nail polish remover. Once your nails are painted and fully dry, you can start cleaning up any accidents that might have occurred along the way. To do this, simply dip a cotton swab (preferably one with a pointed end) in some nail polish remover, then use it to go around the edges of each nail, removing any unwanted polish. Rubie recommends purchasing a manicure kit if you want to go all-in on doing your nails at home. These kits come with super useful tools, including one Rubie calls a “clean-up brush.” “It’s a fine-tipped, flat-headed brush that you can dip in polish remover and just clean up around your cuticles and wipe away the mess,” she explains.
Let your nails dry completely. There’s nothing worse than giving yourself a perfect manicure only for it to smudge because you tried to do something before your nails were fully dried. To avoid any mishaps, try to wait at least a full 30 minutes before moving onto any other tasks. If you used a thicker polish or applied a lot of coats, you may need to let it dry for up to an hour to be safe. And that’s it—you have beautifully painted nails! If you’re interested in nail art or more complicated nail designs, we’ll go over some ideas to inspire you below.
Nail Art Ideas

Use nail art tools to create fun designs. “I feel like people are getting more and more curious about nail art and how to do it at home, so I encourage people to give it a try,” says Rubie. For beginners, she recommends starting out with things that are super easy to do, like using a dotting tool. “You can get those for like $1 on Amazon and create perfect polka dots on your nails,” she says. Beyond dotting tools, there are also nail art pens and nail art brushes you can use to create lines and other fun designs. “I encourage people just to experiment and check out the little kits you can buy for nail art and get creative, watch tutorials, and have fun with it,” Rubie says. Reader Poll: We asked 239 wikiHow readers where they find new fashion and beauty trends to try and 70% of them said they follow their own personal style and creativity. [Take Poll] Keep your own style in mind when deciding how you want to decorate your nails!
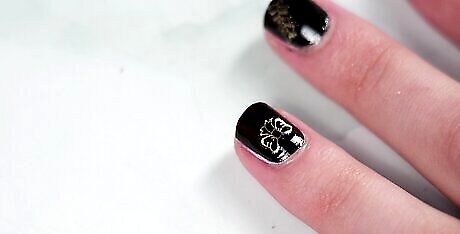
Add some nail stickers. Nail stickers are super easy to apply and are available in an endless array of shapes, colors, and designs. All you need to do is carefully remove the adhesive backing (or in some cases apply a little nail glue) and press the sticker firmly onto the nail for 10-20 seconds to attach. Finally, apply a clear top coat for a long-lasting and professional-looking finish. It can be helpful to use a pair of tweezers to apply nail stickers. This will prevent you from dropping the sticker and help you place it exactly where you want it on your nail. Nail stickers should only be applied once your nail polish has dried completely.
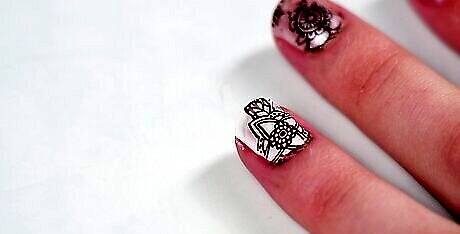
Apply some nail art tattoos. “Most nail art tattoos are water-based decals, and they’re super easy to apply,” explains nail artist Lindsay Yoshitomi. “Once your nails are painted and dry, they’re ready for the decals. Cut each image out, and place them face down in a small cup of water. After a few seconds, the decal will loosen from the paper backing. Use tweezers to transfer the decal from the water onto your nail. Once placed where desired, use a paper towel to blot away the excess water, then seal it on with a top coat,” she says. Water-transfer nail art decals are available at beauty supply stores, and you can also order them online.
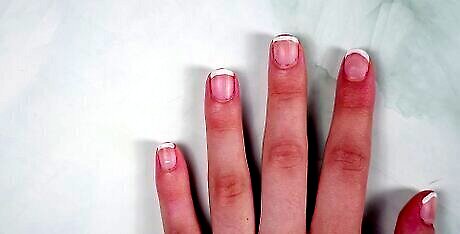
Paint French tips. A French manicure consists of natural-colored pink or peach polish topped off with bright white tips. It is an extremely sophisticated look, which can be achieved at home with a little practice. Contrary to what you might think, the white tip is actually painted on first using a special white polish provided in most home manicure kits, and then topped off with a sheer pink coat and a top coat. These kits may also provide adhesive strips which you can apply to your nails in order to get a perfectly straight white line across the tips. Otherwise you will need a very steady hand! If you want to shake things up, try using other colors, such as pink, purple, or blue, for your French tips. You can even do a different color for each nail if you want to get extra creative.
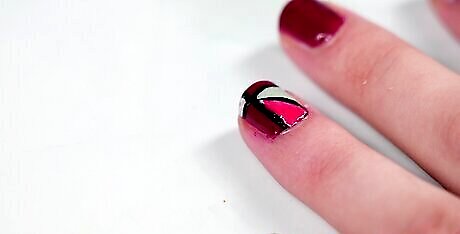
Try a color blocking design. Color blocking your nails involves using two, three or more polishes of contrasting colors to create cool geometric shapes on each nail. You may want to use a thin paint brush or nail art brush, rather than the brush supplied with the polish, in order to effectively and neatly achieve this look.
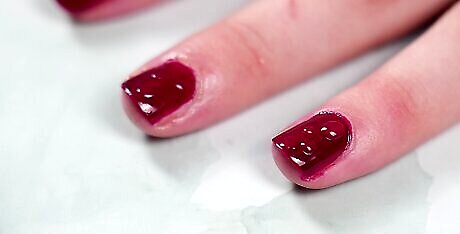
Do water droplet nail art. Water droplet nail art creates a cool 3-D effect that looks like tiny dewdrops on each nail. “This effect is best achieved using a clear top coat,” explains Nagorska. “Once you’ve applied a base coat, a color, and a top coat to your nails, use a dotting tool to dispense a few beads of the top coat on top of your manicured nails. Allow the beads to dry and repeat the process, applying more top coat on top of the beads you’ve created until you achieve the desired raised effect.” “Bear in mind, if the blobs are quite thick, they may need extra time to dry,” says Nagorska.
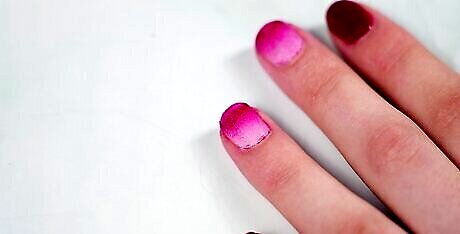
Try out ombre nail art. This type of nail art involves creating a gradient on each nail, so it looks like the paint transitions from a darker shade into a lighter shade. “There are a few different ways to create a gradient, but the easiest is with a makeup sponge,” explains Yoshitomi. Here’s her step-by-step guide on how to do it: To cut down on the clean-up time, apply a latex skin protector around each nail. (If you don’t have this, it’s okay—you’ll just need to clean up around the edges with nail polish remover when you’re done). Start by painting your whole nail using the lightest color that will be used in the gradient. Next, prep the makeup sponge by wetting it and squeezing out the excess water. This will help the colors blend better. Apply two stripes of polish on the makeup sponge, one in a slightly darker shade than your first color, and the second in an even deeper shade. Dab the sponge onto your nail, starting about a third of the way up (so the bottom stays the original base color). This should create a gradient effect with your three shades from lightest to darkest. Allow the paint to dry, then finish with a clear top coat.
Picking a Nail Polish Color
Pick out the nail polish color you want to use. The first step to any at-home manicure is choosing the perfect color. There’s a wide array of nail polish colors available, so you can pick practically any color under the sun. Opt for cheerful yellow, bold red, cool blue, mysterious purple, flirty pink, earthy green—whatever your heart desires! If you’d like, you can take your skin undertones into account when choosing a color. For example, if your skin has cool undertones, colors like blue, lavender, and light baby pink will suit you super well. If you have warm undertones, on the other hand, shades with a hint of peach, gold, or honey in them look especially nice. If you’re not sure what kind of undertones you have, look at the veins on your wrist. In general, blue veins mean you have cool undertones, green veins mean you have warm undertones, and a combination means you have neutral undertones. Set aside about 30 minutes to 1 hour to paint your nails. This may seem like a lot of time, but to truly do the job well and get professional-looking results, you don’t want to be rushed!
Nail Care & Manicure FAQs
How do you apply glitter nail polish without it being patchy? “Instead of painting it on like you would a normal nail color, try dabbing it on to distribute it evenly,” says Nagorska. “You can also use a make-up sponge. Paint a few layers of the glitter nail polish on top of the sponge and then dab it directly onto the nail. You may need to repeat the process a few times to get full coverage.”
What causes a manicure to chip easily? “It could be the formula of the polish, but usually I find that people didn't apply the polish thin enough or let it dry in between layers,” explains Pulaski. “Also, when you’re applying your base coat, your color, and your top coat, you should be capping the edges. So, you should bring the polish onto the edge of the nail, the part of your nail that would hit anything.” This seals your polish in place and helps prevent it from chipping when your nails hit against objects.
Do you put cuticle oil on before or after nail polish? “Cuticle oil should go on after nail polish,” says Yoshitomi. “Putting it on before can prevent the nail polish from adhering properly to your nails and cause chipping.” Yoshitomi also recommends applying cuticle oil often and liberally. “It helps keep your cuticle and the skin around your nails hydrated. No one wants a beautiful manicure ruined by framing it with dry, flaky skin,” she says. You can find cuticle oil at most beauty supply stores and some pharmacies.
Can you revive old nail polish? Yoshitomi explains that it’s possible to revive old nail polish up to a certain point. “Nail polish starts to thicken as it gets old, but this can be fixed by adding some nail polish thinner,” she says. If you don’t have access to nail polish thinner, Rubie says you can add a few drops of nail polish or acetone to revitalize old polish in a pinch, but she does offer a few warnings about this. “It’s not good to do this a ton over time because eventually you’re going to screw up the formula. But, if you really want that pink color and it’s dried up a little bit, it’s not going to kill your polish to do it one or two times,” she says.


Comments
0 comment