views
Finding the Leak
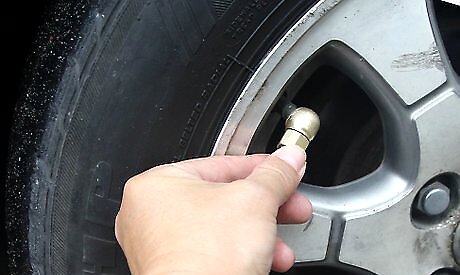
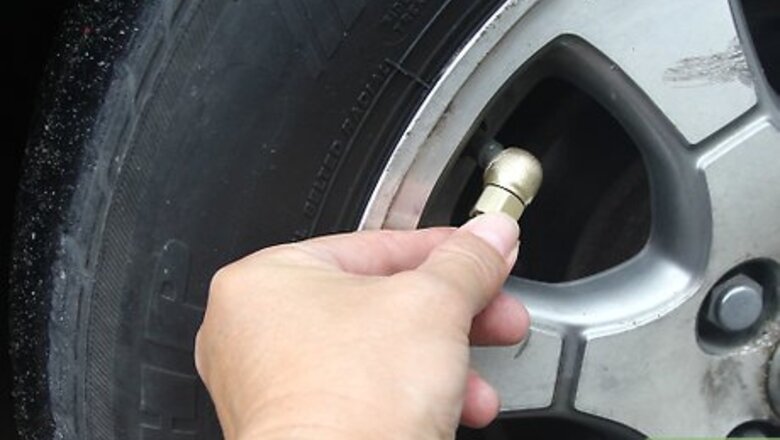
Inflate the tire. In order to find a leak the tire must be properly pressurized. You should inflate your tire with air until it reaches the appropriate pressure (measured in psi) specified in your vehicle’s service manual.
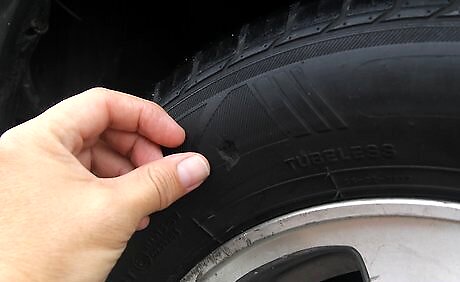
Visually inspect the tire. Before moving on to more time consuming techniques, you should take a moment to look at your tire. If you notice any holes, cuts, or objects protruding from tire then you have found your leak.
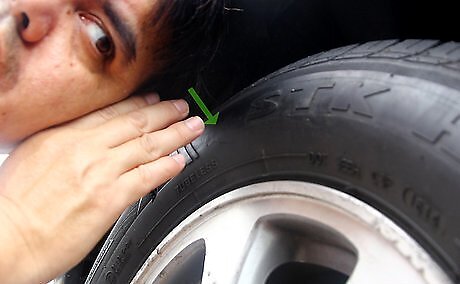
Listen for a hissing sound. Even if you aren't able to see the problem right away you might be able to hear it. A hissing sound is a clear sign that air is leaking from your tire, and can help you locate the leak.
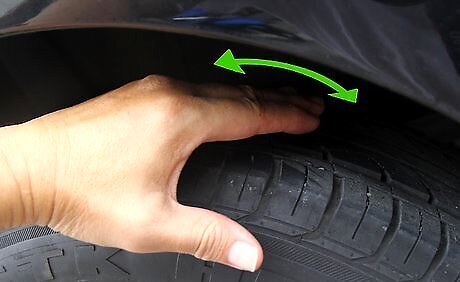
Feel around the tire for air. If you run your hands over the tire carefully you may feel the leak even if you can't hear or see it.
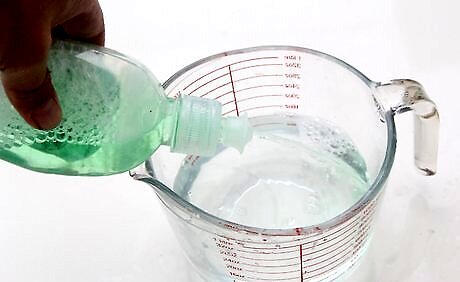
Mix soap and water. If you followed the steps above and you were not able to easily find the leak don’t fear. Spraying the tire with a little soapy water or window cleaner may help. If you see bubbling at any place on the surface of the tire then you have found your leak.
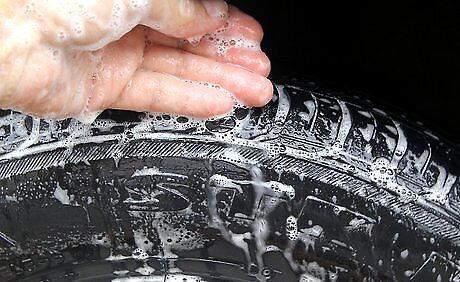
Cover the tire with the soap and water solution. You can use a spray bottle to spray the tire, or if a spray bottle isn’t available you can just pour the mixture over the tire.
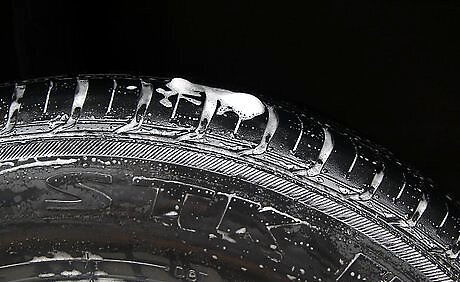
Watch for bubbles. As air escapes the tire and encounters the soapy water mixture it will form soap bubbles. If you notice the soapy water bubbling at any particular place on the tire, you have found your leak.
Removing the Tire
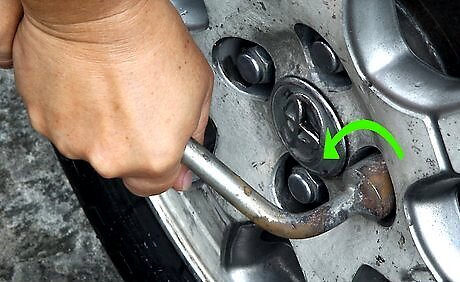
Loosen the lug nuts with a lug wrench (tire iron) or impact wrench. It is important to remember to loosen, or break, the lug nuts before you jack up the vehicle. This way the weight of the vehicle is still on the wheels and it prevents them from spinning dangerously while you turn the lugs.
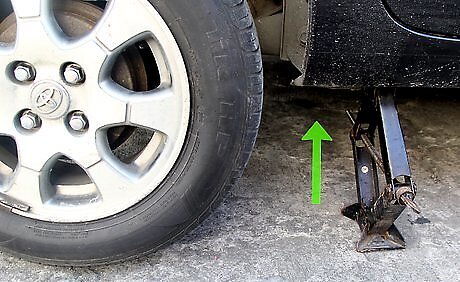
Jack up the car. Once the lugs have been loosened, it will be necessary to jack the care up so that the wheels can be removed. As mentioned above, this should be done on level concrete or some other hard, level surface. Some important things to remember when jacking up the care are: Your service manual will recommend jacking points The most common way to elevate the car is a floor jack, or trolley jack. If you are unsure how to use one visit Lift a Car Using a Trolley Jack. You should use jack stands to stabilize the car. A good tutorial on jack stands can be found at Use Jack Stands. If you have access to a hydraulic lift it will save you time.
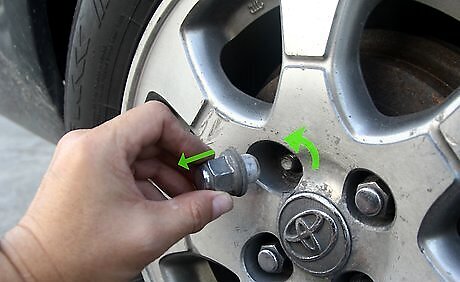
Remove the lug nuts and pull the wheel off of the hub. At this point, the lugs may be loose enough to remove by hand. If not, finish removing the lugs with the lug wrench or impact wrench. Once the lugs are removed, pull the wheel off of the wheelbase. If you are uncomfortable removing a wheel, read about how to Remove Lug Nuts and Tires.
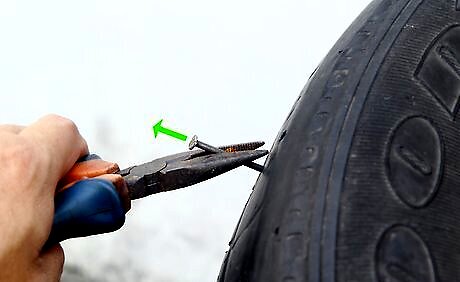
Pull out any protruding object with a pair of pliers. Mark this spot with chalk or markers as it is obviously where your leak will be. When there's no protruding item, follow the above steps for locating a leak and then mark it.
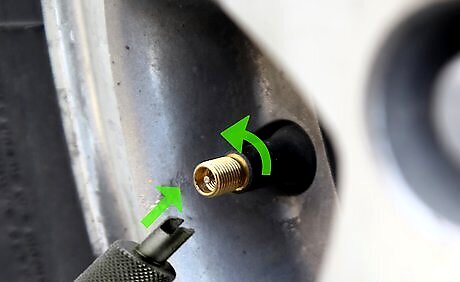
Remove the valve stem core. Use a valve stem core remover to remove the valve stem core. This is a special two pronged tool that you use to unscrew the valve stem core from the center of the valve stem and pull it out. This releases the tire pressure so that you can break the bead.
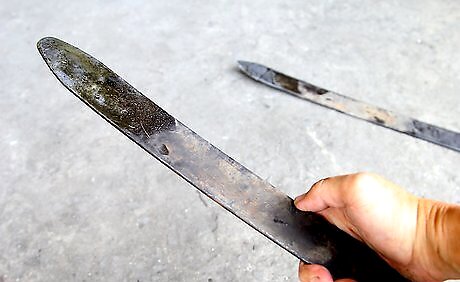
Break the bead between the tire and rim. To remove the tire, use a tire spoon and a hammer to break the bead that seals the tire and rim. You will need to do this on both sides of the tire to completely remove it from the rim.
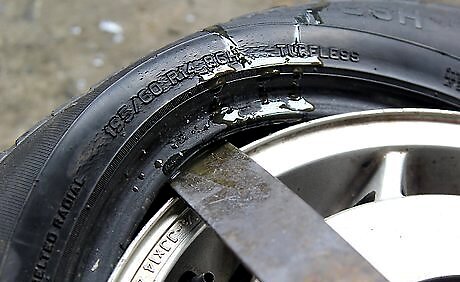
Seat one side of the tire into the groove on the rim. There is a groove on the rim that is made to hold one side of the tire so that you can remove the other side. Once you get one side of the tire into this groove you can use the spoons to pry the other side of the tire off of the rim. Then work the spoons all the way around the tire until you have taken the first side of the tire completely off of the rim.
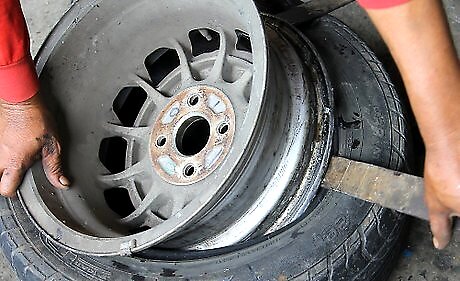
Remove the rim from the opposite side of the tire. Now that one side is completely removed from the rim, flip your tire over and use the spoons to pry the opposite side off of the rim as well. Now your tire will be completely separated from the rim.
Patching the Tire
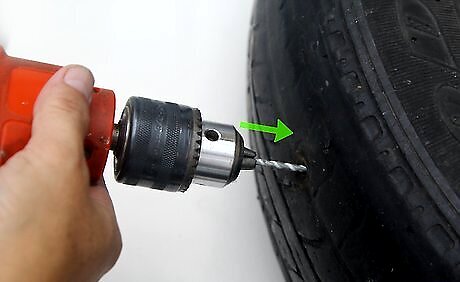
Use your air die grinder to clean out the hole. Select a pointy bit that will fit into the hole where the leak is. This will roughen up the sides and clean the area so that the patch will bond correctly when installed.
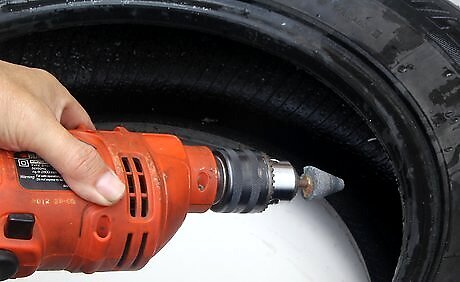
Change the bit on the die grinder to a grinding stone bit. Spray a "Pre-Buff Cleaner" on the inside of the tire where the patch will be installed. Use the grinding stone to clean and roughen up the area around the hole (about two inches in diameter around the hole). This will give the patch a clean surface to make bond with the tire.
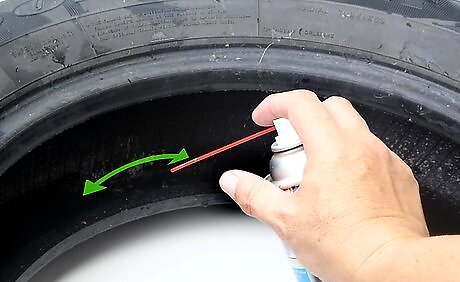
Spray compressed air to the area. This will remove any dirt or debris created by the buffing process. It is important to have a clean surface for the patch to bond to.
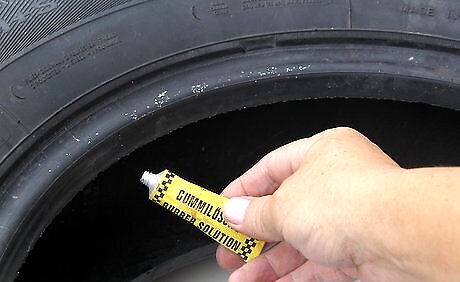
Apply vulcanizing cement to the buffed inner surface of the tire. This will prevent water from entering the hole and moving its way into the tire’s tread. Let stand until the cement is "tacky" to touch.
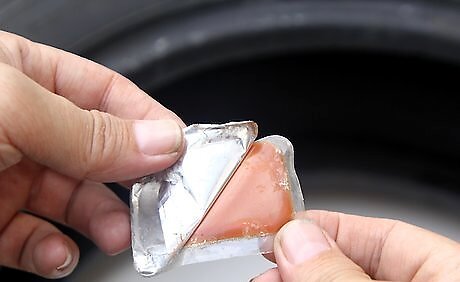
Remove the plastic that is on the sticky side of the tire patch. This is the side that will contact the inside of your tire.
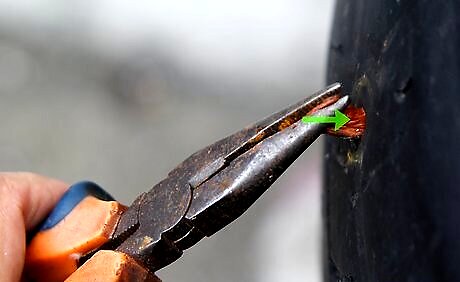
Push the pointy part of the patch through the hole. The pointy part should enter the hole from the inside of the tire and be pushed out through the outside. Use a pair of pliers to grip the pointy side of the patch. Pull this pointy part of the patch out from the tire's tread. This pulls the sticky part of the patch tightly to the inner side of the tire.
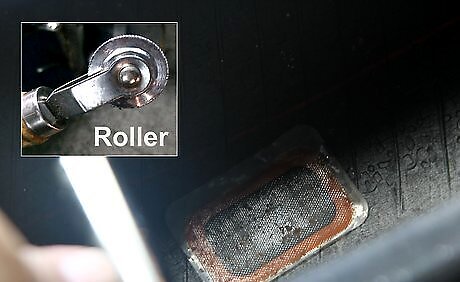
Use a roller on the inner side of the tire patch. This will remove any air bubbles in between the sticky side of the patch and the buffed surface. The patch is now sealed properly onto the tire.
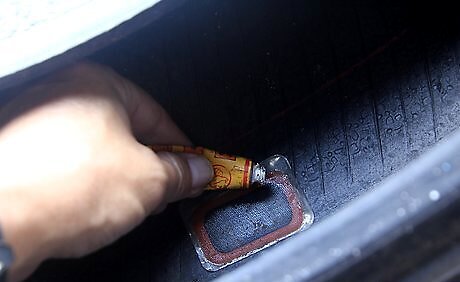
Use rubber patch sealant on the inner side of the tire. You should cover the whole patch and some of the tire. This makes sure that there will be absolutely no leaks!
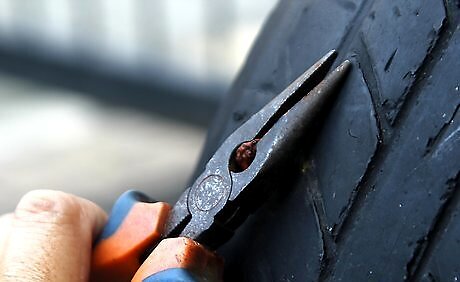
Let it dry. It should only take a couple of minutes. While you are waiting, use a pair of side cutters (or scissors) and cut the stem of the patch to be flush with the top of your tread.
Reinstalling the Tire
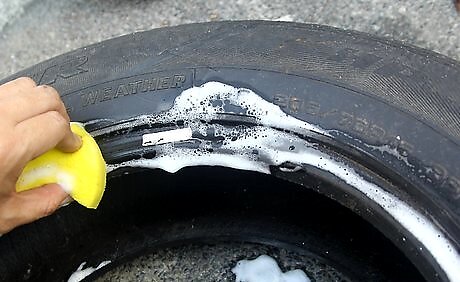
Lubricate the bead. Go around bead of the tire (the inner ring that seals to the rim) and lubricate it with dish soap.
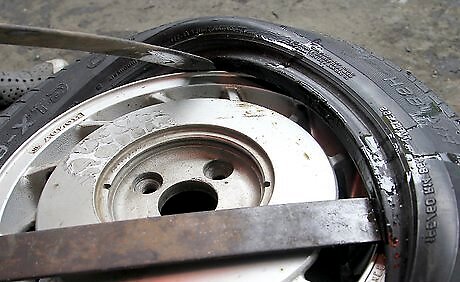
Slide the tire back over the rim. Use the tire spoons to pry one side of the tire open and slide it back onto the rim. Once you have the first side on, repeat the same procedure for the second side.
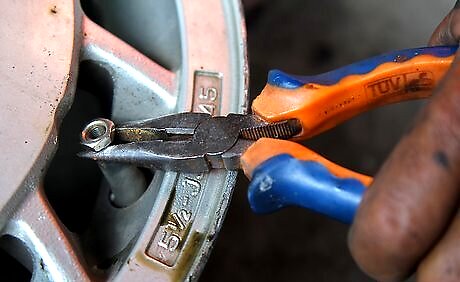
Put in a new valve stem core. It is best practice not to reuse the valve stem core and to simply replace it anytime it is taken out.
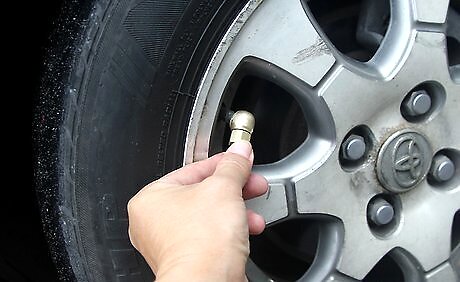
Pressurize the tire. Fill the tire up to the correct pressure as specified on the sidewall of the tire or in your owner’s manual. This pressure will force the tire into the correct place on the rim and seal the bead.
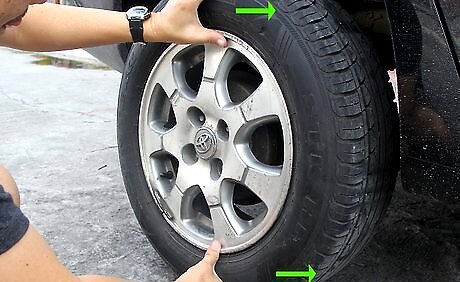
Re-install the wheel. You should slide the wheel back onto the wheelbase and thread the lug nuts on tight enough to hold wheel in place while the car is still on the jackstands.
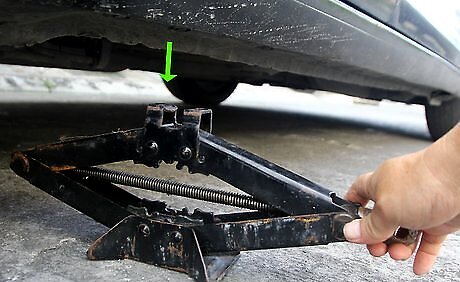
Remove the jackstands. Use the floor jack to remove the jack stands and lower the vehicle to the ground..
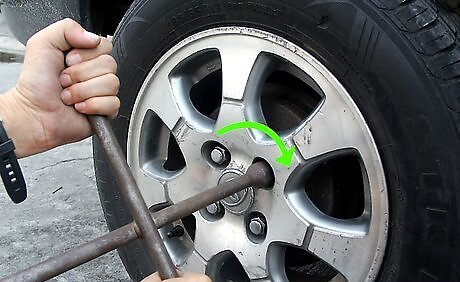
Tighten the lugs to the specified torque. Once the weight is back on the wheels, use a lug wrench or impact wrench to tighten the lugs to the proper torque specifications in your service manual. Be sure to tighten lugs in a star pattern.
Drive your car. As long as the patch was successful, the repair will last as long as your tire is in use.


Comments
0 comment