
Starting the Game
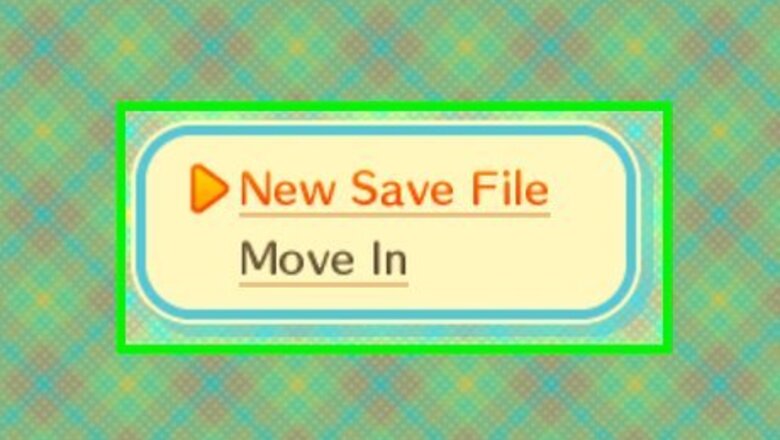
Start a “New Save File”. When you first load up Animal Crossing on your 3DS, you will be prompted to start a new save file. Then, you will find yourself on a train with a stranger who approaches you.
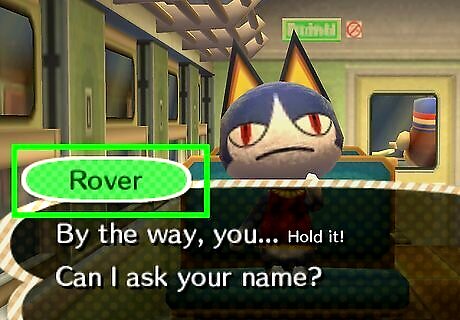
Talk to Rover. This cat, Rover, will initiate conversation with you. While seemingly inconsequential at times, every response that you choose will have an impact on the game.

Give your Name and Gender. First, you give your name, then you’ll have the option of correcting your name should you want to change it, or prompting Rover on your name being “Cool” or “Cute”. Choosing “Cool” will default you to male gender and choosing “Cute” will default you to female gender. It will take you to another dialogue option where you can either confirm the assumed gender or tell Rover that he got it wrong.
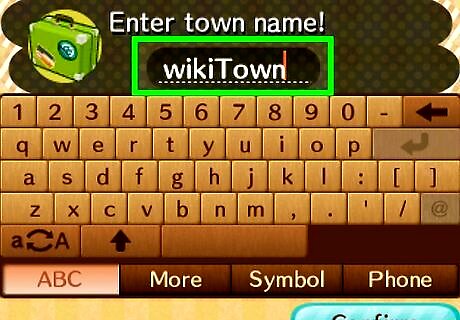
Name your town. Rover will ask where you’re heading, which is your opportunity to name your town. Once you have the name confirmed, Rover will show you a map and ask if that’s the town you’re talking about. Rover will show you four maps total and you must choose one of them. If you don't like any of the four options, you can turn off the power and restart. Map type is simply up to your preference. Any given map will always have a river that goes through your town and a couple of ponds. In these maps, you’ll see the locations of the Town Hall, town plaza, Re-Tail, the beach, and current villager houses (though you won’t know where new villagers might choose to move in, and of course, villagers will move out too). There will be one bridge for the river that cuts through town. Later in the game, you can build up to three bridges, so you may want to take that into account when choosing. You can also demolish bridges, so long as you have at least one bridge in your town. This means if you don't like the placement of your bridge when you first arrive it can be changed.
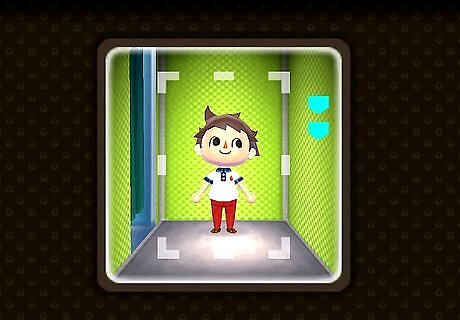
Set your appearance. From here, Rover will ask you a series of questions about your travel. These answers dictate what kind of face your character will have. There are twelve different face types in total (these different face types include different eyes, noses, and hairstyles). You can use an online guide to get the face type you want. While later on in the game you have the potential to change your hairstyle and eye color, you cannot change the face type that you have. Once you’re done speaking with Rover, the train will drop you off your town.
Settling In
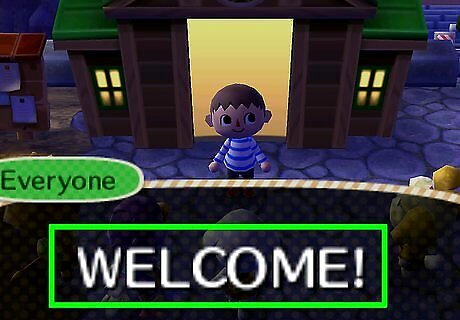
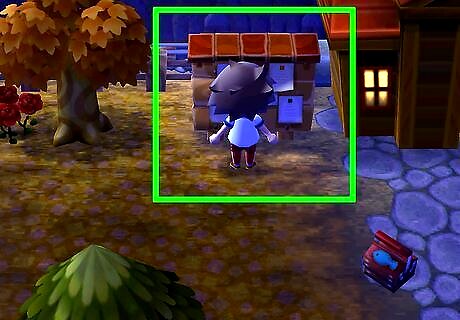
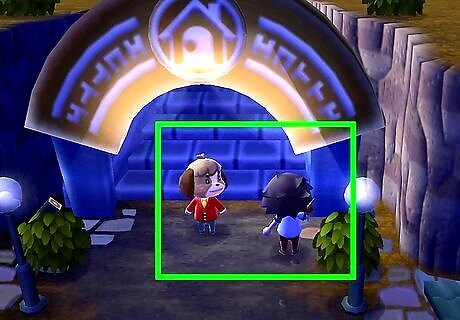
Become a mayor. If you are the first person to move into the town, which you will be if you’re the first one to play the game, then Isabelle and a handful of villagers will greet you. They assume that you’re they’re new mayor! There’s no way of getting out of this, so just enjoy your newfound mayoral status. If you aren’t the first person to move into the town, then you simply become another resident.
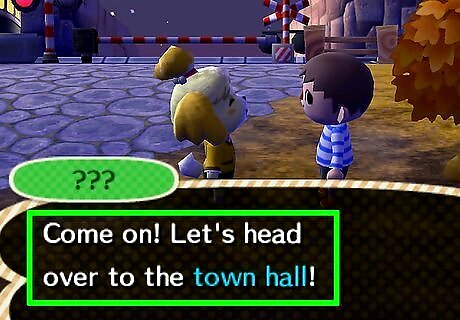
Head to the Town Hall. The game will direct towards the Town Hall, so continue speaking with Isabelle, your assistant. The Town Hall is noted on your map by a purple building. Head there using the directional stick. Enter, and talk to Isabelle by pressing A. She’ll tell you that you need to build a home, and will refer you to Tom Nook.

Talk to Tom Nook. Tom Nook is located at Nook’s Homes on Main Street, which is just past the train tracks at the north end of your town. Once you’re on Main Street, you can see Nook’s Homes on the map as a blue building with a pink home icon on top of it, on the left side of Main Street. Go in there and talk to Nook in order to get a building!
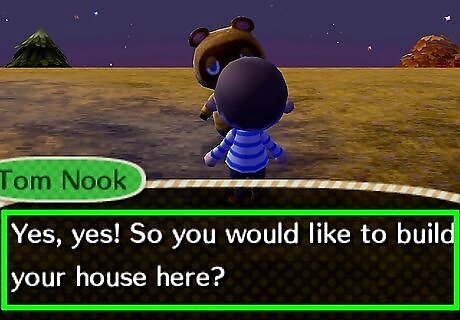
Pick where you want to build your home. Once you’re ready, Nook will walk back to town with you in order for you to pick a spot for your home. You can pick anywhere you want, as long as there’s enough room. When you’re standing on a spot you like, talk to Nook again and he will give you a preview of what your house would look like there. It’s up to you if you want to be near the Town Hall for easy access, by the square for events, or by the ocean for some soothing wave sounds. You can’t move your house once you pick the spot! You cannot have your house too close to other buildings, rivers, ponds, or cliff edges.
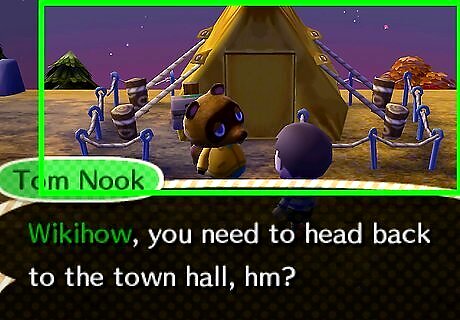
Get out of that tent. Tom Nook is a bit stingy; he’ll only starts you off with a tent and says you’ll need to pay him 10,000 bells in order to upgrade to a house. 10,000 bells is a lot for a beginner, so you’ll need to farm for bells by selling fruit or digging for fossils.
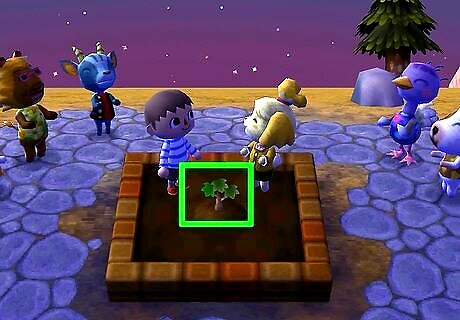
Plant the Town Tree. Planting the Town Tree isn't optional, but it is a nice event to really solidify your new status as mayor of this town. Isabelle will prompt you during the ceremony to plant the tree, which you will accomplish via pressing A.
Selling Fruits for Bells
Gather fruits. Get fruits by standing next to a fruit-bearing tree and pressing A to shake the tree and cause the fruit to fall to the ground. Then press Y next to each fallen fruit to pick it up and put it in your inventory. You can group fruits of the same type together in groups of nine. Open your pockets and drag fruits of the same type together.
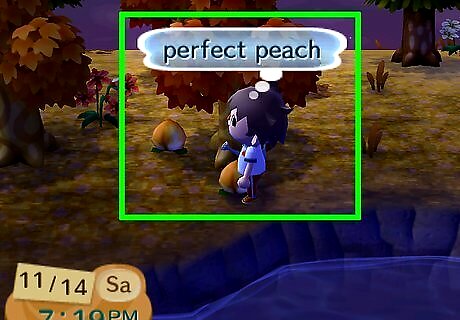
Sell the fruits. Head over to Re-Tail once your inventory is full, denoted on your map by a pink recycle sign, and sell it all off! To sell things, simply face Reese, the pink alpaca, and press A. From there, you have the option to sell items. Each fruit sells for a different price. Take note of which category your fruit falls into. Your native fruit is the first fruit you get in your town. This will either be apples, cherries, pears, oranges, or peaches. These will sell for 100 bells each in your own town. Non-native regular fruits are any of the five fruits which could hav been your native fruit, but wasn't. In your own town, these sell for 500 bells each. Tropical fruits can be mostly found at the island. The fruits found at the island are mangoes, bananas, coconuts, lychees, lemons, and durians. The only tropical fruit which is not found at the island is the persimmon, which can be bought from Leif at the T&T Emporium. Each piece of tropical fruits can be sold for 250 bells. Perfect fruits can come in the form of apples, cherries, pears, oranges, or peaches. They look different from other fruits and are worth more bells. A native perfect fruit can be sold for 600 bells each, and a non-native perfect fruit can be sold for 3,000 bells.
Digging Up Fossils for Bells
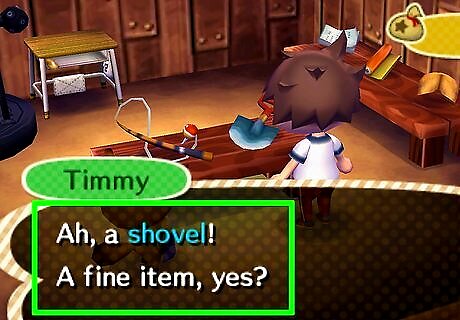
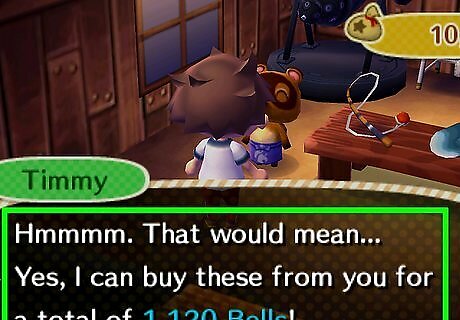
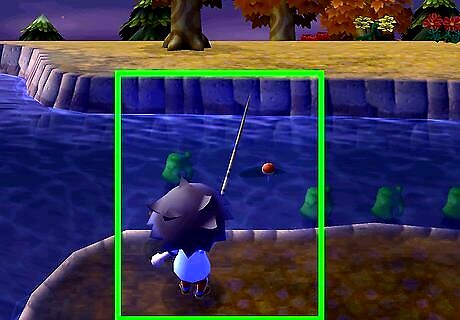
Get a shovel. Fossils require a bit more work. First, you need a shovel. You should be able to purchase a shovel from the convenience store on Main Street for 500 bells. While you do want to be saving bells, the purchase of any tool (including bug net and fishing rod) should be considered an investment that’s well worth your while. The convenience store is called "Nookling Junction" when you start the game, though it can be expanded. It is owned by two raccoon brothers called Timmy and Tommy. It can be found on the right side of Main Street. When you buy the shovel, you can opt to hear instructions on how to use it. Later on in the game, you can get a silver or golden shovel.
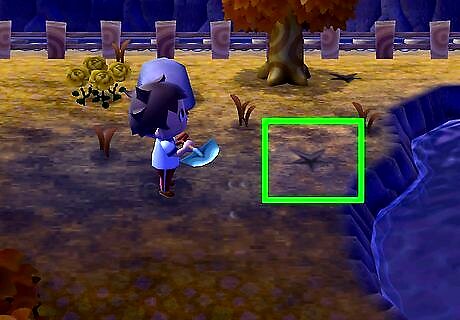
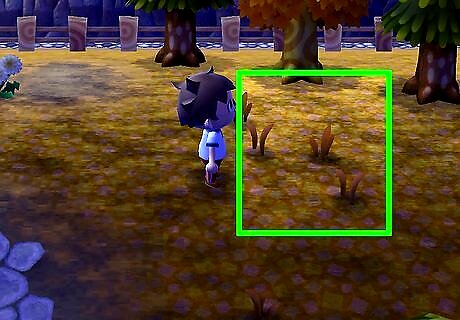
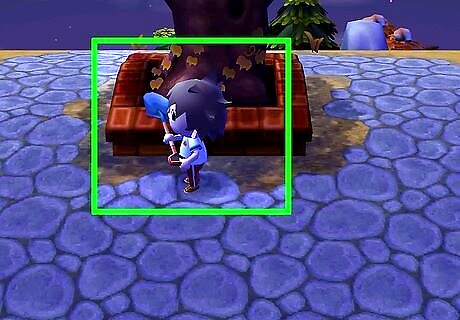
Find fossils. To find fossils, look for little star marks on the ground in your town. Once you see one, equip the shovel by dragging it onto your character from the inventory screen. Every day, there will be four fossils buried in your town.
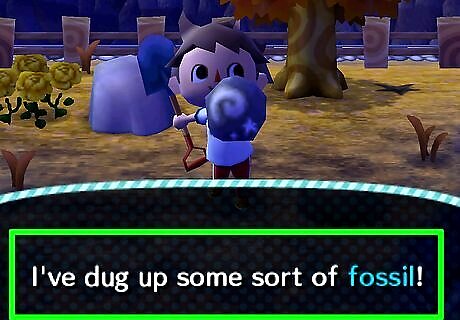
Dig up fossils. Stand next to the star and press A to dig. If you hit your mark, your character will dig up a fossil!
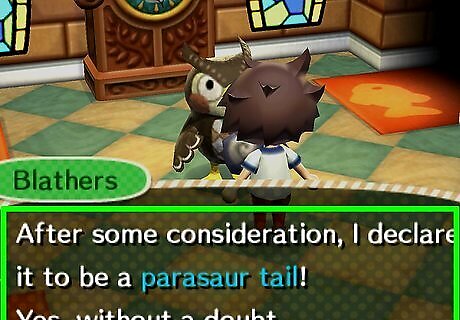
Have the fossils appraised. However, these fossils are beyond your knowledge, and you’ll need to go get them appraised before they’re worth selling for bells. In order to appraise fossils, head over to the museum on Main Street. The museum is on the far left or right of the map. If it’s daytime, the owl inside will be sleeping, but it’s no problem to wake him up by talking to him. He’ll introduce himself as Blathers and explain a bit about the museum if it’s your first time talking to him. Once prompted, ask him to assess your fossils. Blathers will then tell you what types of fossils you have. Assessed fossils are worth more bells than non-assessed fossils. If the museum does not currently have fossils on display (which it won’t if you’re at the beginning of the game; the museum starts empty), Blathers will request that you donate the fossils.
Reaching 100% Approval Rating as Mayor
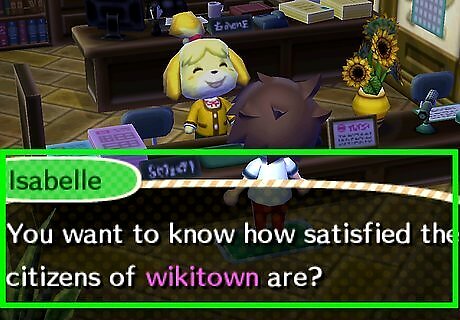
Speak to Isabelle. In order to unlock features such as public works projects and ordinance, you will need to reach 100% approval rating as mayor. In order to see what your approval rating is, speak with Isabelle when she is standing behind the counter in Town Hall and ask her about citizen satisfaction. She will also give you tips on how to increase your rating.
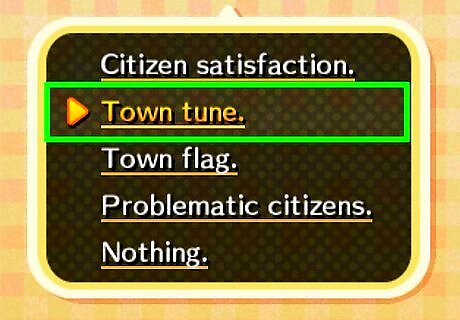
Change the town tune. Changing the town tune can be found as an option in conversation with Isabelle. This is three points. Points are handed out first time only. You can look online for town tune ideas.
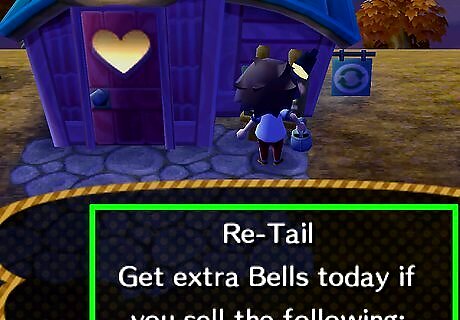
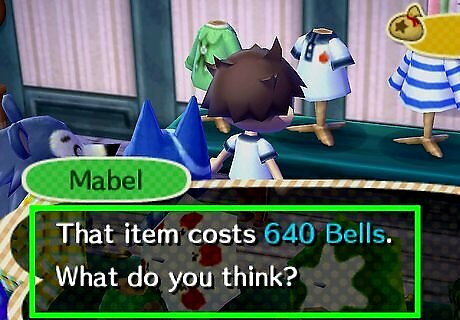
Put something up for sale at Re-Tail. Re-Tail has eight spots in its store for villagers, including yourself to sell goods. If you want to sell something, simply have it in your inventory and then stand next to one of the empty spots and press A. You can also purchase anything else up for sale in Re-Tail. Reese, the alpaca that runs the store, will ask if you have something you’d like to put up. Say yes, choose the item you want, set a price, and you’re set! If you set the price too high, villagers won't want to buy it, but if you set the price too low, you won't make a profit. To ensure a profit and that villager will buy it, sell the item for four times the original price, minus one bell. This is three points. Points are handed out first time only.
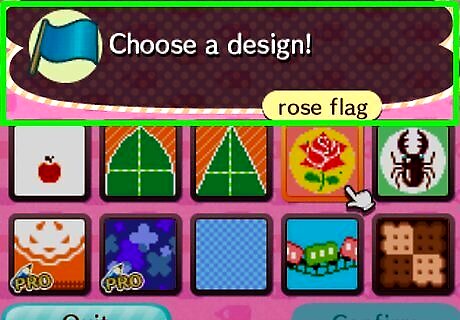
Change the town flag. This is also found as an option in conversation with Isabelle. You can change the town flag to any custom design you have. This is three points. Points are handed out first time only.
Post something on the bulletin board. The bulletin board is located next to the train station. Anyone who visits your town (unless through a dream) can read bulletin board posts, so while it doesn’t matter what you write, it’s good form to keep it tasteful and leave out personally identifying information. This is three points. Points are handed out first time only.
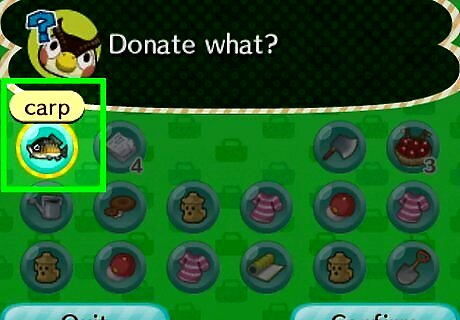
Donate a fish, bug, fossil, or artwork to the museum. We've already been over assessing fossils. You may remember that the other option when speaking with Blathers is to make a donation. Blathers will accept any fish, bug, assessed fossil, or genuine (not the fakes the Redd sometimes sells) art that isn't already on display. This is three points. Points are handed out first time only.
Pull weeds. Pulling weeds keeps the town looking nice and nets you points in approval. To pull a weed, stand next to it and press Y. Once you start playing regularly, you’ll see fewer weeds in your town; that’s a good thing! This is one point per weed. This can also contribute to getting a weeding badge.
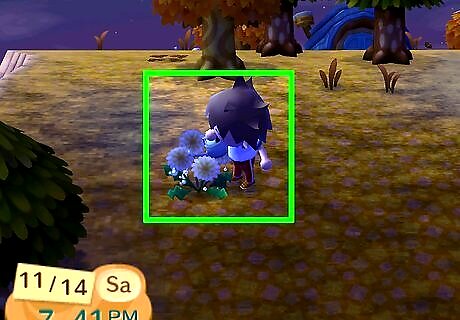
Water flowers. Water flowers by equipping the watering can and pressing A when next to a flower. You can water a flower when it’s perfectly healthy or if it’s dying (greyed out). You’ll know a flower has been watered because afterwards it will shine with little water sparkles. This is one point per day.
Remove trash from the water by fishing. Sometimes, when you fish, you will get junk items. Every time you get one, which is random, you’ll get a point. This is one point per trash.
Introduce yourself to all of your villagers. This involves finding all of the villagers in your town and speaking with them once by pressing A when standing next to them. You’ll net one point per villager. Plus, once you’ve introduced yourself, you have the potential to receive requests from them. You’ll get one point each.
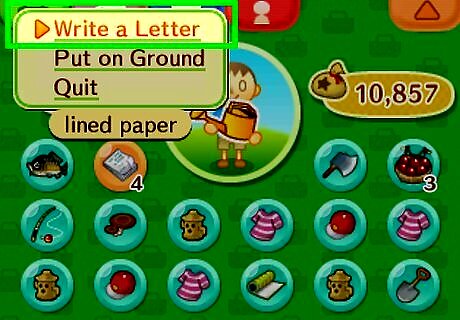
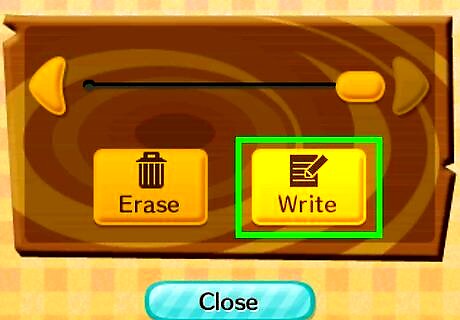
Send a letter. You can send letters to any villager by grabbing some stationary, sold in the convenience store. Then, from your inventory panel, tap on the paper and choose write a letter. You’ll be prompted to choose who you want to send the letter to. Once you choose a recipient, you’ll get to type the message. Villagers often like when they get sent letters, especially if you attached a present! They will, however, also show anyone else they can find the letters that you send them, so be aware of that. If you sent an inappropriate letter, you can complain to Isabelle at the town hall that they are carrying a bad letter, and it will be removed. You will get one point each.
Play each day. This is the easy, passive way to receive approval! You’ll get up to three points per day. Once you do have 100% approval, which shouldn't take more than a couple of days as long as you’re doing some of the things noted above, then you can go and sit in the mayor chair and Isabelle will tell you about public works projects and ordinances. This can contribute to getting a letter badge.
Maintaining Your Town
Check the Bulletin Board often. Check it every time you log in. If there’s a new post on the bulletin board, you’ll see a little bird sitting on top of it. If there’s no bird, then you can safely move along knowing that there is nothing new. If there is a bird, make sure to look! The bulletin board is where town events get announced. Sometimes, there will be sales in the shops on Main Street. Other times, there may be a fishing tournament coming up in a week or so. There is a maximum of fifteen posts on the bulletin board before they delete older ones.
Participate in the economy. Buy and sell items at the shops. The covenience store upgrades over time when you spend certain amounts of money there. Kicks, the shoe store will open up once you’ve spent a set amount of bells at the Able Sisters shop. Also, donate items to Blathers. Once you’ve donated one of each type (one bug, one fish, one fossil, and one piece of art), he will talk about opening up a museum shop. Essentially, if you want things to improve, be willing to spend your money and time cultivating the shops on Main Street.

Celebrate holidays. Animal Crossing incorporates a number of real life holidays that offer unique events in-game and often the ability to gather fun sets of furniture. For example, on Easter, a bunny will appear in town and will send you on an egg hunt. Participating results in a set of egg-related furniture. Other holidays in New Leaf include Festivale, April Fools' Day, Halloween, Harvest Festival, and Toy Day (Christmas, which is celebrated on Christmas Eve).
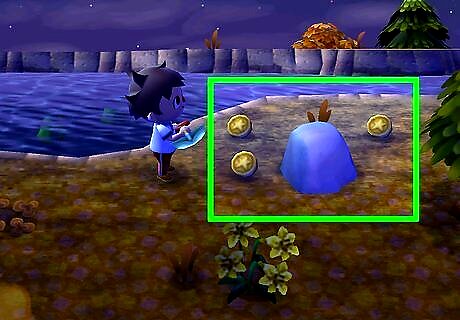
Find money rocks. Every day, there will be one rock on your map that, when hit with a shovel, produces bells. The number of bells that you receive is based off the hidden luck stat. You can gain luck by wearing the daily lucky item. You can speak to Katrina to know what it is. An easy way to keep making money is thus to equip your shovel and go around hitting every rock you find until one gives you a set of bells. Then, hit it until it stops giving you bells.
Visit the town plaza. The town plaza is where you planted the town tree and it’s an important location to be aware of and check every day. When you hit holidays, that’s where characters will appear and events will be held. Otherwise, there are two visitors that can randomly set up a tent on your Town Square. This includes Crazy Redd, who sells art. Beware, however, as a good portion of his art is fake and thus won’t be accepted by Blathers for donation in the museum. There is also Katrina, a fortune-telling panther who will tell your fortune for a small bell fee.

Join the Stalk Market. On Sunday, from 6 AM to noon, a character named Joan will show up and wander around your village. She sells turnips for a random price. If you like the price she’s selling at, you can buy them and then attempt to sell them at Re-Tail during the week. Selling and buying prices are both random. So while it is possible to make a large profit, it is also possible to operate at a loss. When speaking with Reese at Re-Tail, you can choose to ask her about turnip prices. Make sure you know what you bought yours for. If she’s offering more, then enjoy the extra bells. If she’s offering less, you may want to hold on to your turnips for a little longer to see if she’ll offer more another day. Turnips will go bad after one week! They will spoil the next time you hit Sunday at 6 AM. If you attempt to time travel by turning the 3DS clock back, your turnips will also spoil and you’ll have lost your entire investment.
Continue exploring. There are various possibilities in Animal Crossing to discover; play the game and enjoy yourself! There are different events to try, and you get different activities to do in each season. For example, in winter you get the option to make snowmen. Consider getting the free Welcome Amiibo update from the Nintendo eShop. The update has many new features, most notably a campground where you can order exclusive furniture.


Comments
0 comment