views
- Download the Oculus app, Steam, and Steam VR on your Windows 10 or 11 computer.
- For wired, connect your headset and PC. On the Oculus, launch SteamVR and select a game.
- For wireless, open Settings in the Oculus headset. Toggle on Air Link, select Oculus Air Link, and select your computer.
Preparing Your PC
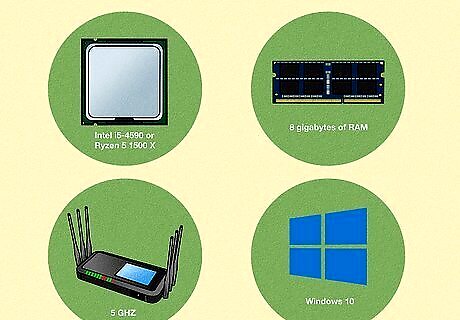
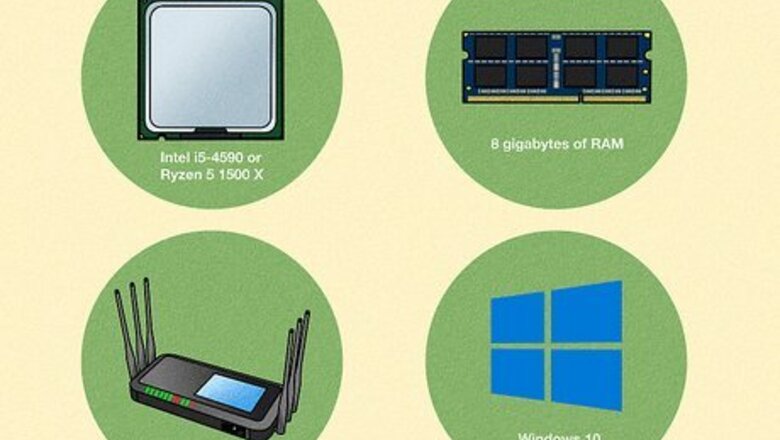
Make sure you meet the requirements. To play Steam games on an Oculus Quest 2 as smoothly as possible, your system and Wi-Fi must meet the minimum requirements. Operating System: Windows 10 or 11. This will not work on macOS. Processor: Intel i5-4590 or above or AMD Ryzen 5 1500 X or above. Graphics: NVIDIA GTX and AMD 400 and above Memory: 8GB RAM or above Internet: 5 GHZ Wi-Fi or Ethernet connection

Download the Oculus app onto your computer. You can find the download on the official website here. This program is needed to connect your Oculus headset to your computer. You should already have Steam and any VR-compatible game downloaded to your computer. If you don't, install it first.
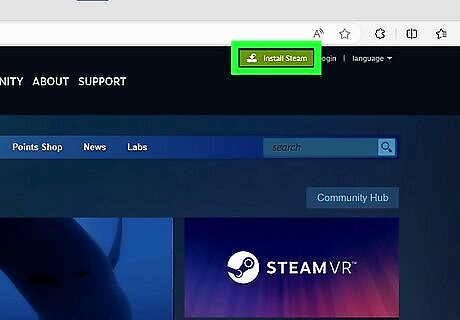
Download SteamVR. You can find this in the Steam library. Search for "SteamVR" and download it to your computer.
Using Wireless Connection
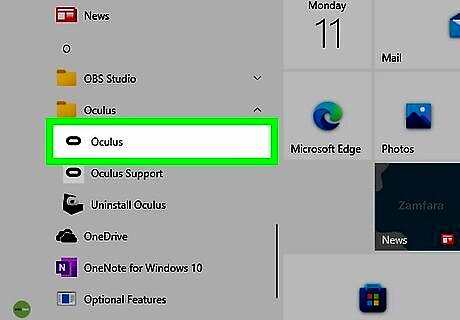
Open the Oculus app on your computer. This should be open while you connect your Oculus via Air Link.
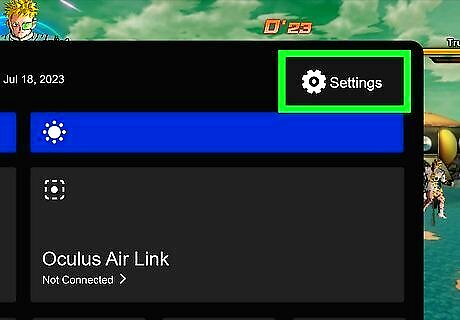
Put on the Oculus headset and go to Settings. This will be in the top-left corner of the Apps window.
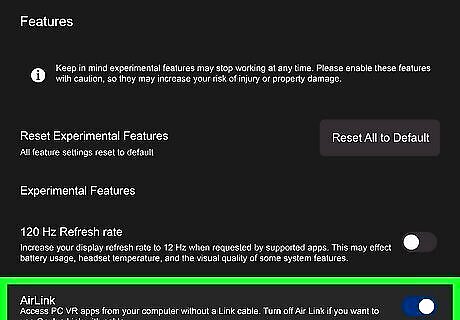
Toggle on Air Link. This will be on the Features tab.
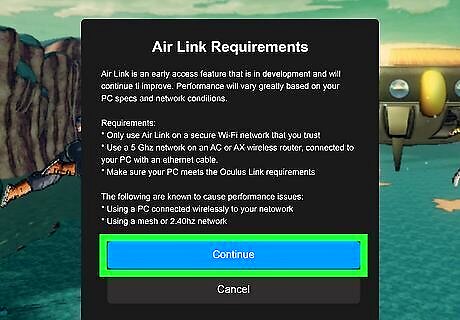
Select Continue. A new window will open with a menu.
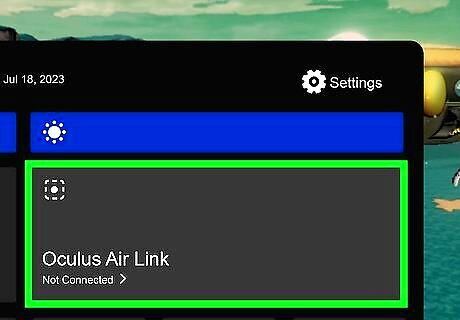
Select Oculus Air Link. This is the square on the right side of the window.
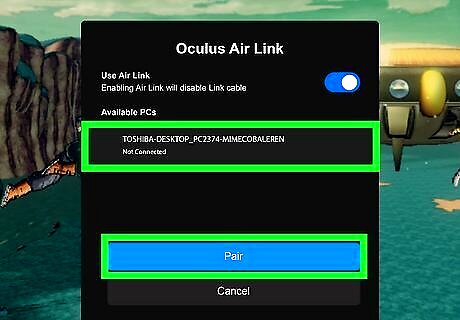
Select your computer name and select Pair. You should see your computer name underneath the Available PCs header. This will take a moment to connect. When it does, you'll see a code on both your computer and headset.
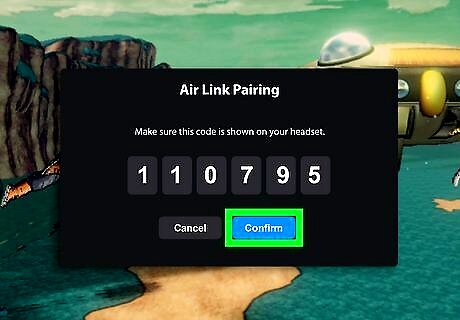
Select Confirm. Make sure the codes match. If they do not match, select Cancel and try again. Make sure you're selecting the correct computer. Your Oculus headset is now connected to your computer.
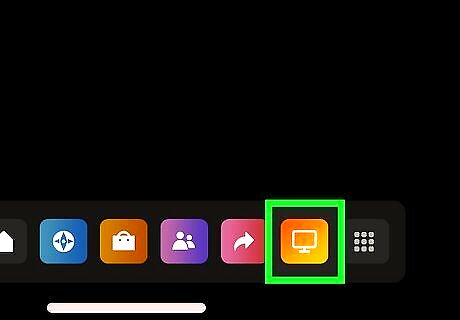
On the Oculus, select Desktop. This is the monitor icon in the row of apps at the bottom of the screen. You'll need to use the Oculus to open the necessary programs through your computer.
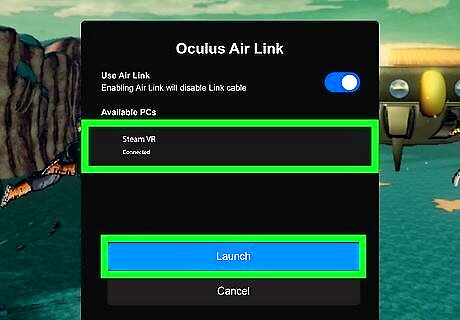
On the Oculus, find SteamVR and select Launch. SteamVR will open with a completely new background. The window will show your Steam library.
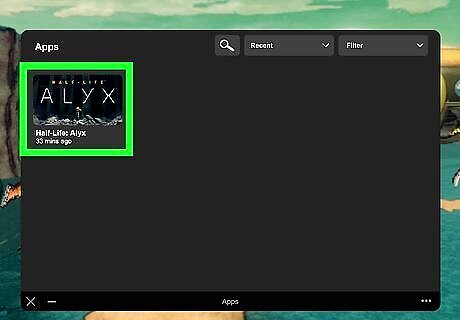
On the Oculus, select a game. This must be a VR-compatible game, such as Phasmophobia, Among Us, or another game. The game will launch on your Oculus headset. For the best, immersive experience, use headphones as you play.
Using Wired Connection
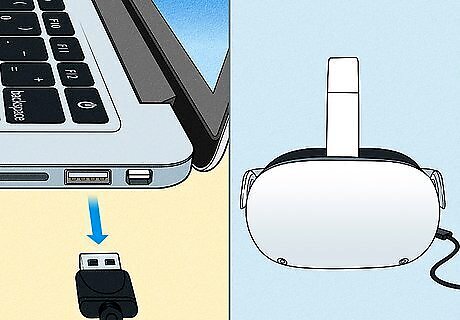
Turn on and connect the Oculus Quest 2. Use a long USB-C to connect your headset to your computer.
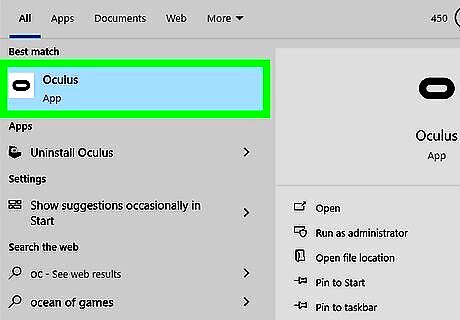
Launch the Oculus app. You'll see a list of tabs in the left panel.
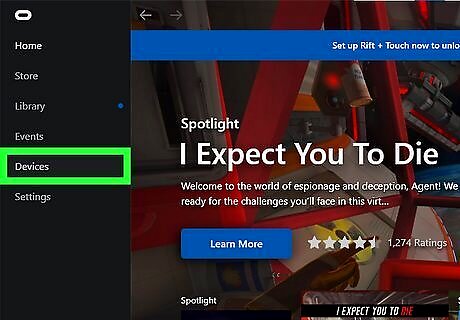
Click Devices. This will be below Events.
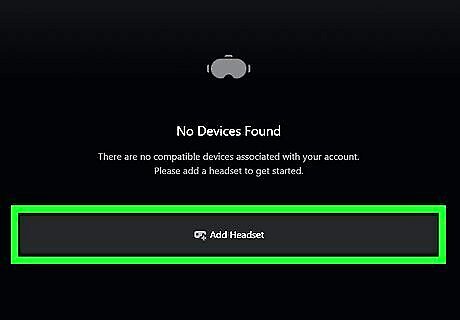
Click Add Headset. This is at the bottom of the screen.
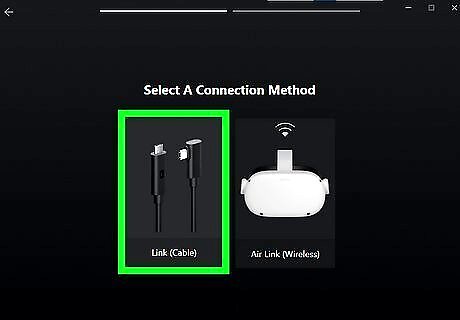
Click Link (Cable). This is the left option. You may need to click Continue a few times to finish connecting.
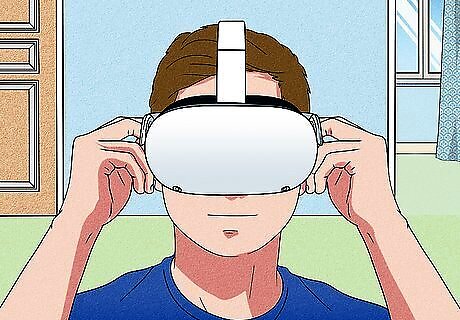
Put on the Oculus Quest 2. Your computer's desktop will now appear in the headset. If it doesn't immediately appear, select the monitor icon in the bottom-right corner.
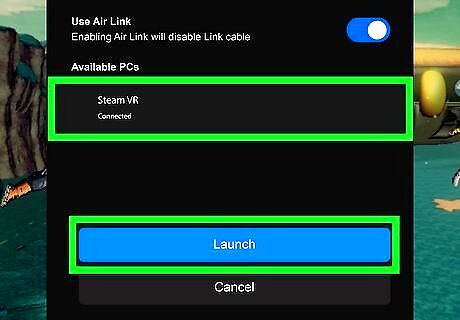
On the Oculus, find SteamVR and select Launch. SteamVR will open with a completely new background. The window will show your Steam library.

On the Oculus, select a game. This must be a VR-compatible game, such as Phasmophobia, Among Us, or another game. The game will launch on your Oculus headset. For the best, immersive experience, use headphones as you play.


Comments
0 comment