
Finding Your Wall Studs
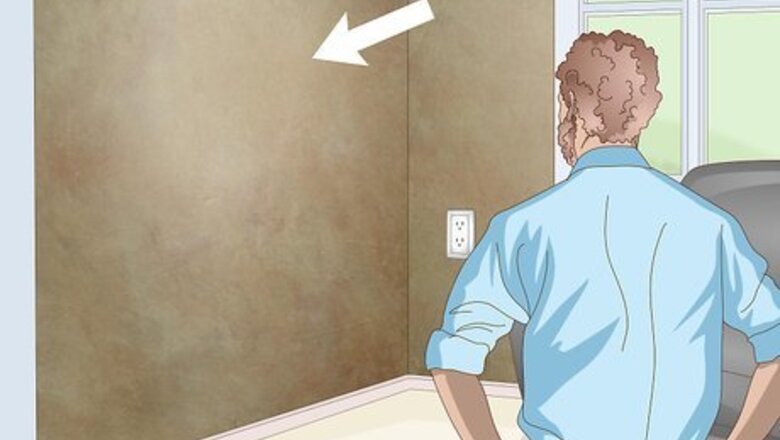
Pick out an open spot along the wall to situate your shelves. The exact position of your shelves is mostly a matter of preference. However, there are a couple important factors you’ll want to consider when choosing a mounting site, such as proximity to the nearest wall studs and the size of your shelves in relation to nearby objects. If the shelves you’ve picked out are especially deep, for example, it may not be a good idea to mount them near doors or high-traffic areas where someone might bump into them. A good rule of thumb is to mount display shelves at around eye level (5–6 feet (1.5–1.8 m), in the majority of cases) to enable easy access and make them a focal point of the room. If you're going to be stacking multiple shelves, it's best to do it in an area where you have enough room to space them about 12–18 inches (30–46 cm) apart.
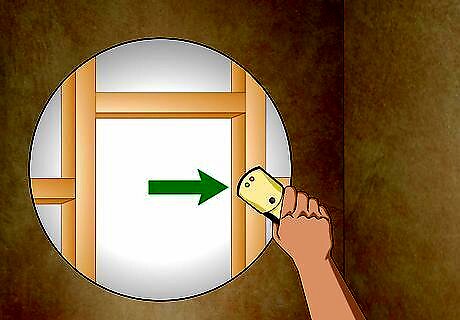
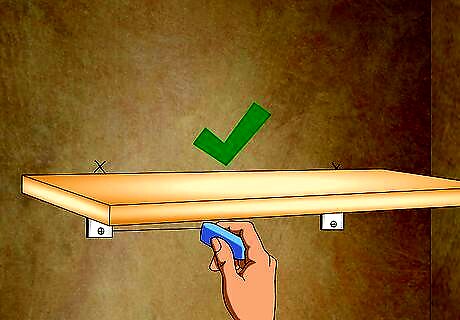
Use a stud finder to locate the 2 wall studs closest to your chosen spot. Turn on your stud finder and hold it flat against the wall about 1 foot (0.30 m) to the left of where you want to put your shelves. Once it’s in position, press the button on the thumb side to activate it and begin slowly sliding the tool to the right. When it flashes or beeps, it means it’s detected a stud underneath. You can get a basic stud finder at your local hardware store or home improvement center for around $30. More advanced models with multiple modes and precision features may run you closer to $60-70. The term “stud” refers to one of the vertical boards that comprises the inner structure of the wall. It's important to locate your wall’s studs anytime you’re putting up shelves, as drywall isn’t meant to support much weight and in time may collapse under strain.Tip: Ideally, you want to have at least 2 studs to stabilize your shelves. If the shelves are shorter than the distance between studs, you can use a single stud as a centerpoint instead.
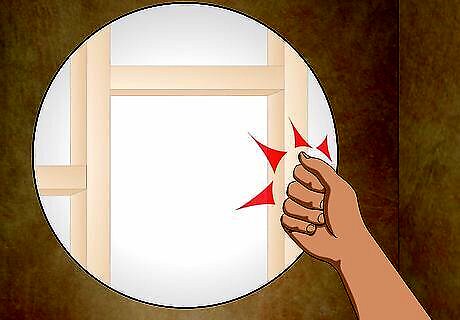
Perform a tap test to find your studs if you don’t have a stud finder. In most homes, wall studs are spaced 16–24 inches (41–61 cm) apart. One thing you can do to track down a stud without tools is simply measure this distance outward from an adjacent doorframe, then tap along the wall in a 3–4 in (7.6–10.2 cm) radius with your knuckle until you hear a difference. A stud will make a dull thud when struck, unlike the hollow drywall, which tends to produce a louder, deeper sound. Light switches and electrical outlets are almost always mounted to a wall stud. If you’re not having any luck finding a stud, try measuring 16–24 inches (41–61 cm) from a nearby switch or outlet, then tap the surrounding area until you get a hit.
Mark the location of the studs with a pencil. Once you’ve successfully pinpointed your stud or studs, put a small dot or “X” at each site. The marks you make will serve as a visual guide for when you begin drilling. They’ll also function as a helpful reminder so you won’t have to hunt for the studs again if you happen to lose track of them. Only make your stud marks in pencil, and avoid bearing down so hard that you have trouble erasing them later. If you don’t want to draw directly on the wall, press a strip of painter’s tape to the wall and mark the tape instead.
Positioning Your Shelves
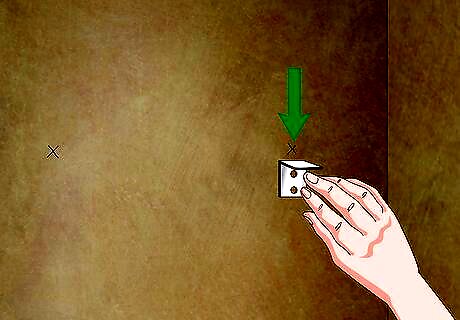
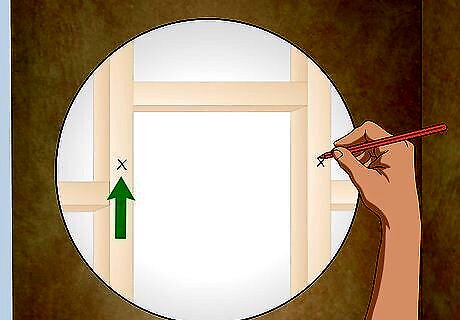
Hold up one of your shelves’ mounting brackets at the desired height. Eyeball the placement of the bracket to see how it looks and adjust it by moving it higher or lower if necessary. Again, where you put your shelves is largely up to you, so long as you stay between the studs. The brackets are the supportive frame pieces that actually attach to the wall. Once they’re mounted, they’ll cradle the shelves from underneath, bracing against the wall studs at an angle. Most shelf brackets are mounted somewhere between chest and eye level, but you could also hang your shelves higher or lower depending on the specific use you have in mind for them. Don't rush the decision on where to hang your shelves—it's a lot harder to move them after you drill the holes.
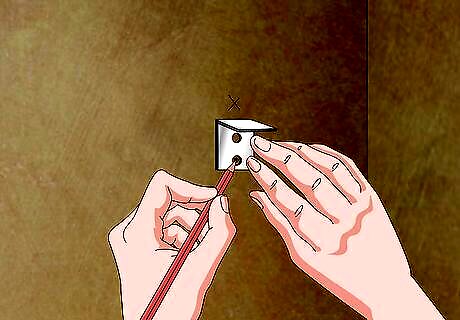
Mark the position of your bracket’s screw holes on the wall. Make sure the screw holes are in line with the studs. When you’re satisfied with the placement of your first bracket, insert the tip of your pencil into the screw hole on the backside and scribble a dot on the wall. You’ll be using this mark as a reference point for drilling your first pilot hole, and to line up your second hole. If your shelf brackets have more than one screw hole, go ahead and mark them as well for greater precision. For stacked shelves, mark all of your pilot hole locations vertically along the same stud at one time, making sure they’re spaced consistently.Tip: If you’re installing floating shelves, which don’t have screw holes, simply mark the spot on the wall where the mounting hardware will go.
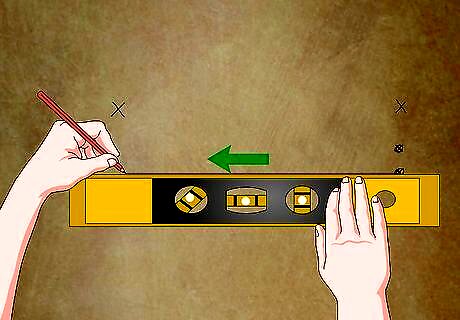
Draw a line from your first pilot hole mark to the opposite stud. Hold a carpenter's level out horizontally beside your first pencil mark, taking a moment to make sure it’s centered correctly. Run your pencil along the top of the level until you reach the mark you made to indicate the position of your second stud. This line will correspond to the top of the shelf. Stop and reset the level when you run out of room. Remember to check its orientation to ensure that your line is straight and uniform. Repeat this step at a different height for each set of shelves you plan on installing.
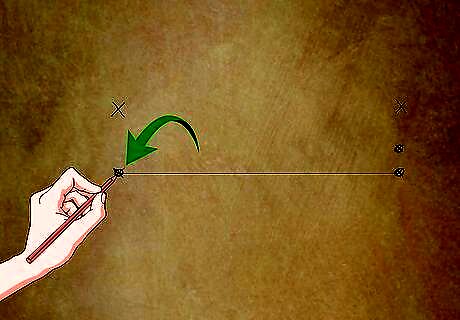
Make a second mark where the other pilot hole will go. You’ve now clearly marked where you need to drill each pilot hole for your shelf bracket and connected the 2 points with a straight line that will help you make sure your shelves are level. At this point, you’re ready to begin drilling.
Installing the Shelves
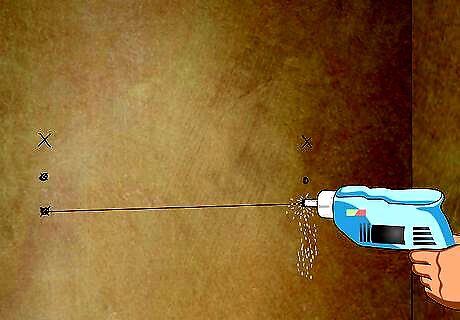
Drill the pilot holes for the bracket screws. Center the tip of each screw with its corresponding pilot hole mark. Use a power drill or screwdriver to drive the screws into the underlying wall stud to a depth of about 1 inch (2.5 cm). Then, remove the screws from the wall carefully. Use the screws that came packaged with your shelf brackets. If your brackets didn’t include their own fasteners, 1.25 in (3.2 cm) wood screws will be a good fit for most average-sized shelves. Boring pilot holes is easier, neater, and more precise than trying to screw directly into the bracket holes in one shot.Tip: For maximum efficiency, drill all of your pilot holes at once.
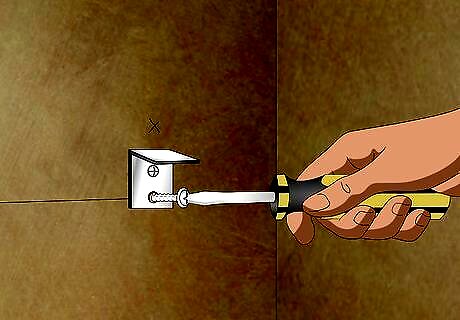
Fasten the brackets to the wall using the pilot holes you just drilled. Align the screw holes of each bracket with your pilot holes and reinsert the screws. Tighten the screws with your drill or screwdriver until they’re seated snugly in the wall. Be sure to double-check that your brackets are straight and even before you cinch them down. Avoid overtightening your screws. Doing so could damage the surrounding surface and weaken their connection as a result. Hold off on putting up your shelves until you have all of your brackets in place. If any of the brackets are misaligned, it will be much easier to fix them if you haven't already installed the shelves.
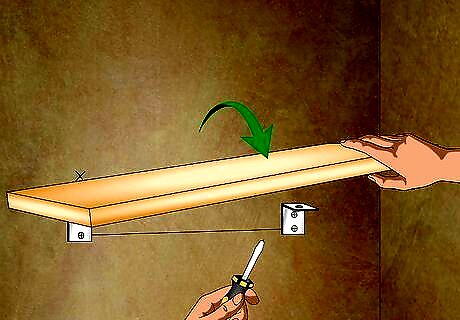
Put your shelves in place on top of the brackets. Depending on the style of your shelves, you may be able to simply rest them on top of the brackets and call it a day. If your shelves are designed to be anchored to the brackets, insert screws in the appropriate slots and fasten them down. Most of time, these slots will be located along the tops of brackets where the shelves sit. Use your level to make sure your shelves are even. If they're off level by more than a small amount, it may be necessary to drill a new pilot hole for one of your brackets. As long as the brackets are seated securely in the wall studs and you're using anchors of an appropriate strength rating, your shelves should have no problem supporting the amount of weight indicated in the product specifications.
Erase any visible pencil marks left on the wall. Inspect the area around your newly-mounted shelves for traces of the markings you made while searching for your wall studs and positioning your shelf brackets. If you find any, rub them out gently with the eraser end of your pencil. Afterwards, congratulate yourself on a job well done! If you opted to put up painter’s tape to protect your wall, simply peel it off and throw it in the trash.


Comments
0 comment