
Repairing The Neck

Find your problem. In this example everything that can become a problem with the neck that inhibits the playability has happened except for a warped neck or anything that involves removing frets and/or major repair of the truss rod. If you have a warped neck or major truss rod repair, obtain a genuine replacement neck be it the neck alone or from a donor guitar with a thrashed body beyond restoration.
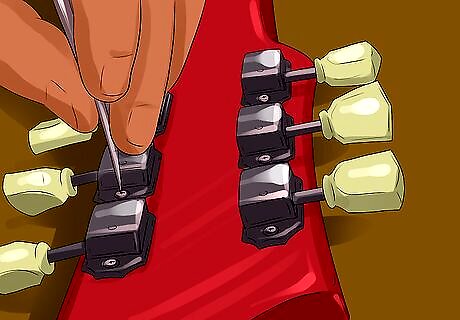
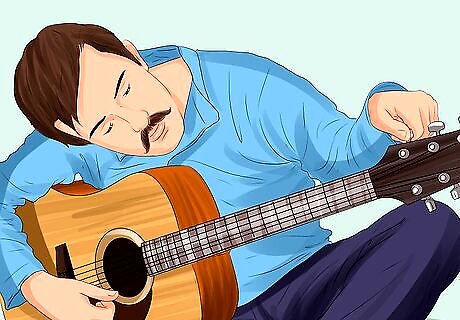
Replace its tuners. What kind of tuners you purchase is entirely your choice and also how they are arranged. Les Paul and other similar headstock are called 3 x 3, three tuners on one side and three on the other and normally are in a different orientation than 6-in-line tuners on a Stratocaster type of headstock. In the event you have a different setup involving an uneven number of tuners, find that same exact set in the same orientation. You can also use in-line tuners but they will be left or right depending on how you play, but you are able to tune normally.
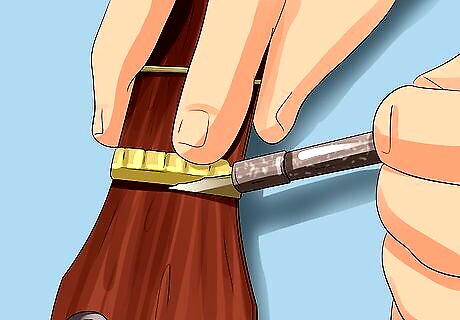
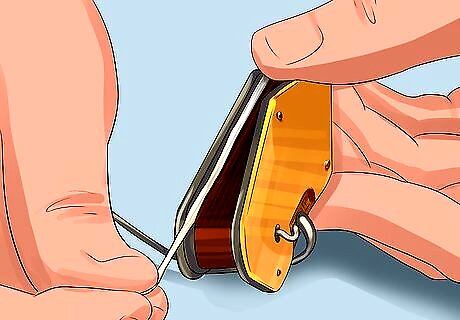
Replace the nut. If necessary, replace your nut with any material of your choice. Many times a Les Paul nut type will break at both E strings because of string tension forcing pressure to break the nut. Also, the nut may break or has broken because of dry rot to the material or any defective pieces. Unless it's broken and will need to be replaced, start with obtaining a new nut that is anything to your liking, preferably a blank nut rather than a pre-cut to avoid improper string height. If cutting a blank try copying your old nut and make adjustments if needed using the neck as a guide after cutting out the nut. To do this take a sharp blade that is easy to work with such as an X-acto and cut the finish that holds the sides of the nut. Make sure to cut all of the finish as it will break apart when you take out the nut. Next, using a striking tool such as a regular screwdriver and a hammer gently tap out the nut. When the new nut is ready to be placed in, mix together a small amount of water and wood glue (50% glue/ 50% water) and coat the bottom of the nut cut in the neck and fit in the nut.

Redress frets. Be very cautious when trying to do this if you don't have experience and always tape or protect your fingerboard until you have gained enough skill. When trying to find high frets, mark each one with a permanent marker and then take a sanding block that has 120 grit sandpaper and simply sand off the marker. If the maker comes off early that's a high fret, if it doesn't come off that's a low fret, if a bundle comes off those are properly placed frets. If you need to detangle frets use a series of files and carefully scrape across the neck in the angle of the fret ends. Always reference other tutorials for dressing frets or replacing them.
Repair bolt-on holes. If the screw holes in your neck are stripped or are larger than the threads, place in pre-glued toothpicks or scraps of wood and how many depending on what you need into the hole and wait for it to dry, then try re-threading the hole by screwing in the bolt.
Making Repairs to the Body
Repair body wings. These wings form the main body shape and may have been broken by dropping the guitar or other damaging methods. If you do not properly glue in the wings you will need to use extra caution as to not break the bond. Repairing wings or any body wood is rarely necessary, especially on a thick guitar body such as a Les Paul Standard. It may be needed on a smaller bodied guitar much like a Les Paul Junior.
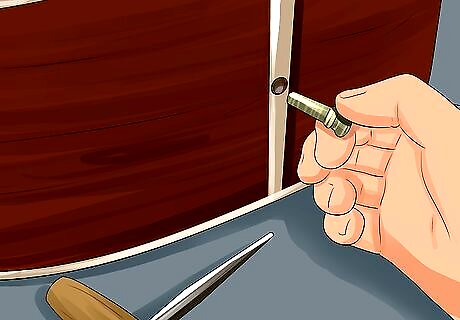
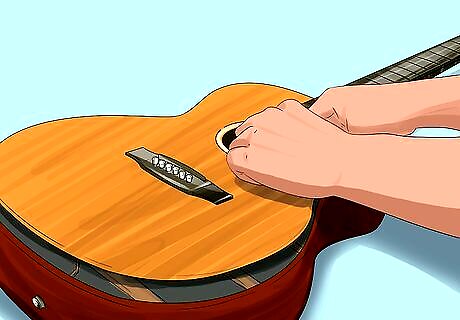
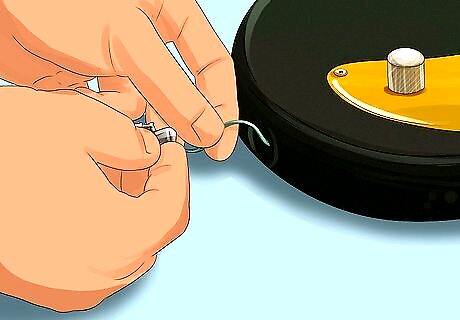
Repair strap buttons. Many times strap buttons become loose and eventually come out. Use the same method as repairing a bolt on neck hole mentioned above, be careful not to over-tighten any screw and always use an appropriate screwdriver.
Repair bridge holes. Rarely does this occur but sometimes if an inexperienced tinkerer had stripped the Tune-O-Matic and/or stop-bar you will need to follow the same method as to repairing a strap button.
Repairing or correcting the neck joint. Sometimes a neck joint can break at the sides or at other cuts and if this happens repair them properly and the same method as repairing body wings. If the bottom of the joint where the screws bolt on is damaged in any way then you must repair the body properly or replace it entirely.
Repairing or Restoring Electronics
Repairing pickups. You do not have the option of repairing and salvaging the pickup beyond re soldering the coil wire. If you do this be aware you are not repairing but instead customizing. However, to repair or restore pickups start by re-magnetize the coil magnets using strong earth magnets. If you need to re-solder the coil wire, unwind the pickup tape and properly re-solder in the wire appropriately.
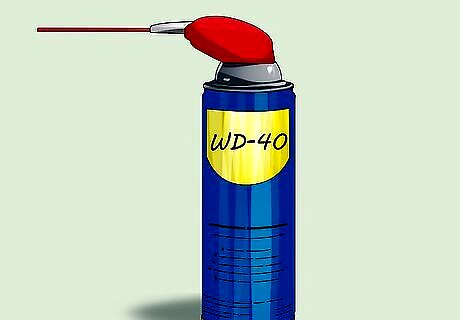
Clean or replace switches. To clean switches use solvent such as contact cleaner in a spray into the toggle itself, you may also use other solvents such as WD-40, always work the solvent around by using the switch as indented. To replace switches first obtain a proper switch that applies with your guitar, then soldering in accordingly. Work in a well-ventilated space to avoid harmful fumes from solder or solvents.
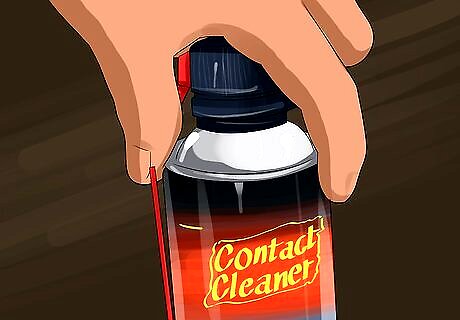
Clean or replace potentiometers. To clean pots use solvents such as contact cleaner or other solvents in a spray can and spray into the small indent on the base of the pot, always work the solvent around by using the switch as invented. To replace pots first obtain a similar pot that applies with your guitar that has the same reading (usually 50k in ohms, written on the ground plate), then soldering in abidingly. Work in well-ventilated space to avoid harmful fumes from solder or solvents.
Clean or replace jacks. To clean jacks use solvents such as contact cleaner or other solvents as a spray and spray the metal parts, clean any excess solvent with a rag. To replace jacks first obtain a similar one that complies with your guitar, then soldering in properly. Work in well-ventilated space to avoid harmful fumes from solder or solvents.
Restoring or Replacing Hardware
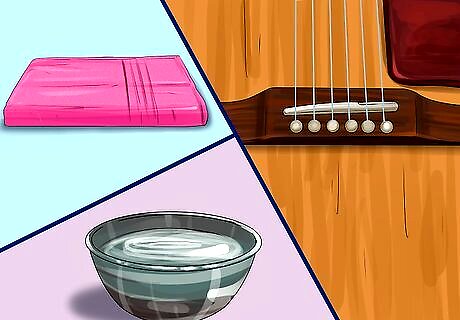
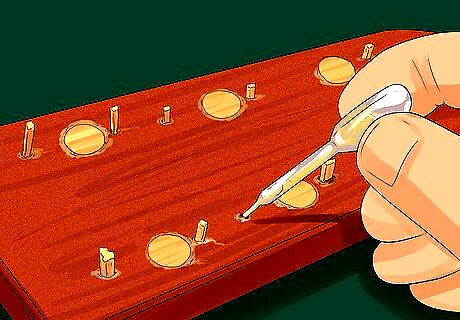
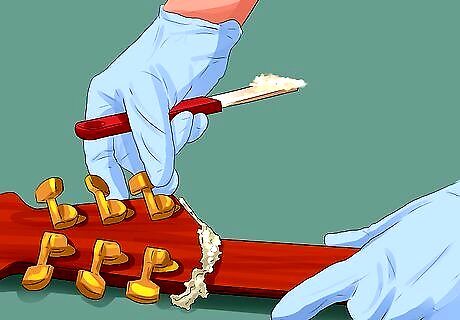
Start with the bridge. Plated or painted bridges and stop-bars (gold plate, black painted, and similar) should be cleaned with non-abrasive means such as using plain water and a microfiber towel to dry and remove spots. Chrome and non-plated metal can be restored to a shine with fine steel wool (0000 grade).
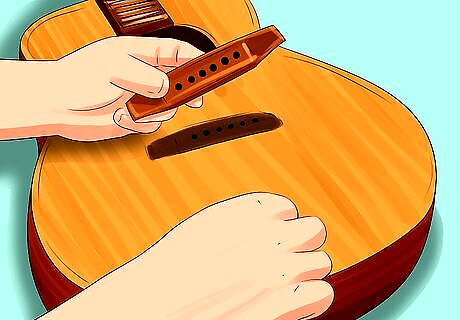
Replacing pickup rings and restoring covers. These rings are usually plastic and cannot be restored but covers are normally metal on Les Paul styles. You may not want to rub steel wool across your covers so follow the method of cleaning painted bridges to avoid unwanted scratches. Also, replace your pickup rings properly with rings that are the same length and/or color and make sure the screw holes do not need to be resized.

Replacing or repairing knobs. Knobs are covers for your pots so you can easily turn them, if any of your knobs are unable to be correctly placed on try due to broken or enlarge holes, place a good amount of tape around the pot's shaft that covers it and try to keep the the knob on the tape. If you cannot do so then you may need to replace your knobs.
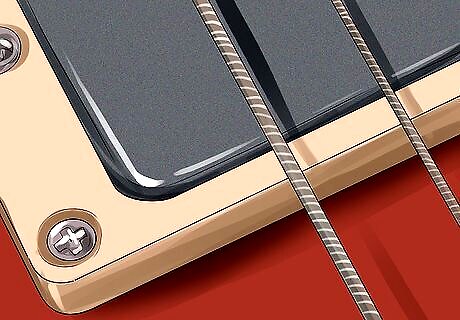
Replacing switch and jack covers. These are the plastic or metal covers that hold the jack and tells you which switch is treble or rhythm. The switch cannot be repaired and will need to be replaced, however, a metal jack plate can never break and only will need to be cleaned. A plastic plate will need to be replaced or the screw holes need to be resized, do so properly and make sure every fastener is snug including screws and nuts.


Comments
0 comment