views
Removing the Old Bathroom Fan
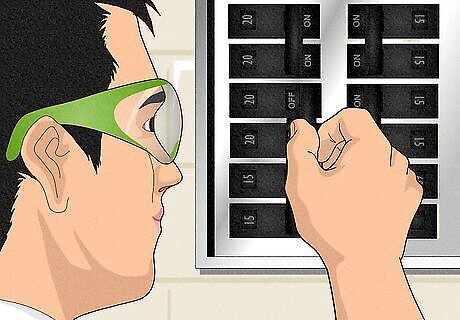
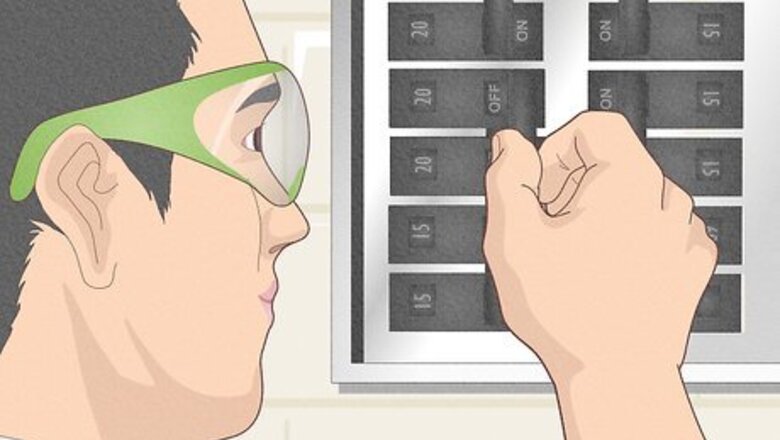
Put on eye protection and turn off the circuit breaker. Wear safety glasses to protect your eyes from falling dust. Switch off the circuit breaker that powers your fan. In most cases this job won't put you in contact with any live wires, but powering off the fan at the circuit box will protect you in case of faulty wiring or freak accidents. If you cannot access the circuit breaker, turning off the local switch that powers the fan is usually enough to protect you. If you need a ladder to access the fan, make sure the ladder is stable before you climb.
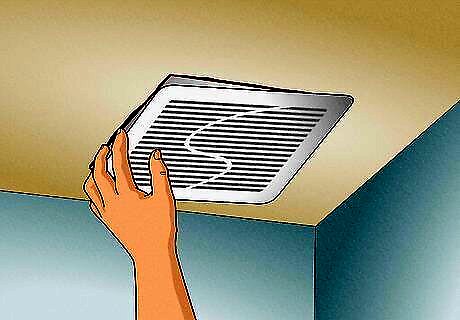
Remove the grille cover over the fan. If you can move the grille with a gentle pull, reach around the edge and feel for a pair of flexible metal rods, then pinch them together to release them from their slots and free the grille. Otherwise, look for screws holding the grille down. These might be hidden under the grille, accessible through the vent slots. On combination fan + light fixtures, wait for the bulb to cool, then unscrew the bulb to get access to a screw or nut holding the whole motor assembly in place. Remove this, then skip ahead to the troubleshooting instructions.
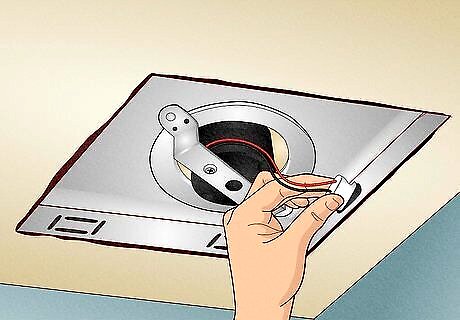
Unplug the wire on the fan housing. On many home bathroom fans, the power cord and outlet are visible as soon as you remove the grille. This could look like an ordinary electrical cord, or a few wires attached to a plastic clip. Either way, just pull it out of the outlet to disconnect the fan from the power supply. If you can't access this wire yet on your model, then removing the fan could put you in contact with your wall wiring. In this case it is especially important that the power is off at the circuit box, not just the bathroom switch.
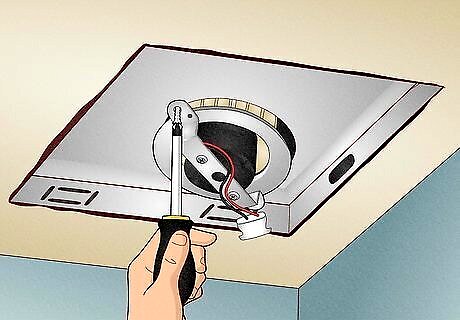
Remove the mounting bracket if there is one. If the fan and motor are held in place behind a metal bracket screwed to the rest of the housing, you're in luck. All you need to do is unscrew this bracket on either side of the housing. Now you can pull the bracket out of the housing with the fan motor and impeller attached. Skip down to the instructions for testing the motor.
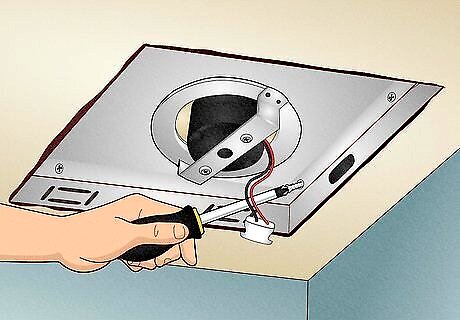
Unscrew the whole plate if there is no bracket. Typically, the motor in a small bathroom fan sits on a plate held in place by one or more screws. Start by unscrewing these. If you have a high-output fan, you might just see one large plastic unit held in place by several screws. Unscrew these, then remove the entire unit from the housing. If there's no obvious way to access the motor inside, look for a model number stamped on the unit and order a replacement for the whole piece.
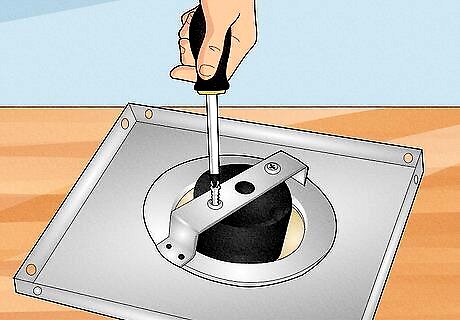
Lever out the tabs with a flathead screwdriver to release the plate. Once the screws are gone, there are only a couple of tabs holding your appliance in place. Look for these metal tabs around the edges of the hole. Pry them out by with a flathead screwdriver. You can now pull out the whole plate, with the fan blades and motor attached. If none of the info above matches your fan's description, you might have a less common model. Look for additional clips, screws, or other fasteners holding the motor in place. Some motor assemblies need to be rotated by hand before you can pull them out.
Testing the Fan for Easy Fixes
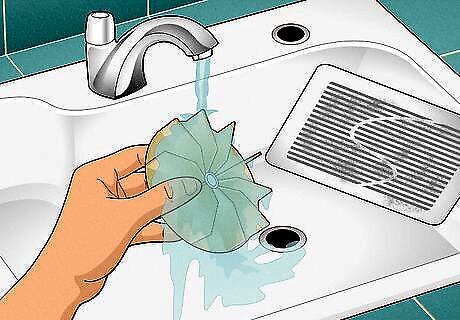
Clean the fan blades and the grille. If the fan was running, but making too much noise or not drawing enough air, it might just need a clean. Clean any caked-on dust off the fan blades with the brush attachment on your vacuum cleaner, or using compressed air. Wash any dirt off the grille vents with soapy water while you're at it.
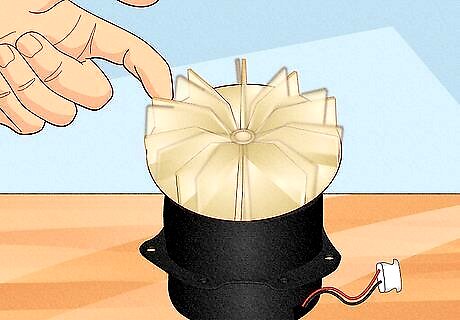
Check the motion of the fan blades. Leaving the blower on the motor shaft (but detached from the ceiling and power supply), spin the fan blades or blower wheel with your finger and look for any obvious problems. Occasionally, you can fix the fan by removing small pieces of debris, remounting it if it's misaligned on the motor shaft, or lubricating a stuck piece. Even if this doesn't fix the problem, it's useful to know. If the fan blades themselves are bent or broken, you'll need to replace this part as well as the motor. If the assembly has an ordinary power cable attached to it, you can plug it into a wall socket to test it more thoroughly.
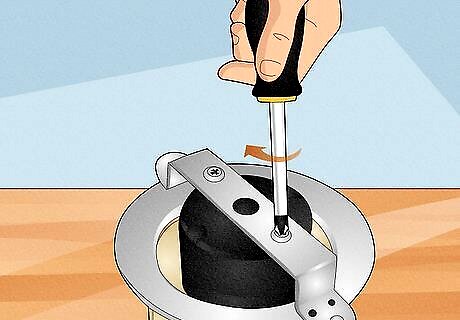
Tighten all screws to stop vibration noises. If the problem was a buzzing noise, you might not need a new motor. Check the fan and motor assembly, the housing the motor sits on, and the grille cover for screws and bolts. Tighten all of these securely, then run the fan to see if the noise has improved. If the previous installation attached the appliance using nails, replace these with screws. Nails can easily vibrate loose and add to the noise. If your fan has an ordinary power cable attached, you can test whether the buzzing noise is gone by plugging it into a wall outlet. Otherwise, you can reinstall it in your ceiling as described in the next section, then turn on the power. If the buzz is still there, turn off the power at the circuit breaker before you remove the fan again.
Installing a New Motor
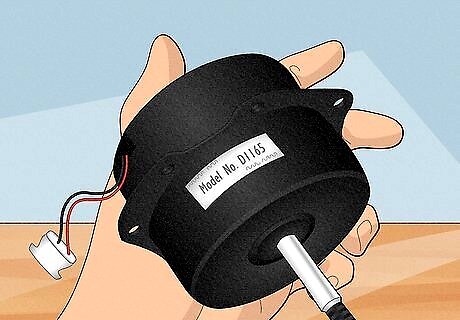
Check the motor for a model number and order a replacement. The motor itself should have a model number printed or stamped onto it. Use this to order a replacement part if you just want a new motor, and the rest of the fan works fine. If you can't find the part online, or can't make sense of the product codes, bring the motor assembly and housing into a hardware store and ask for advice. Most models are very straightforward, with just one motor and blower assembly sitting alone inside the housing. The motor is connected to the shaft that spins the fan blower, with wires coming out the side or back. If you don't see a product code, try pulling the blower off the shaft to reveal more of the motor. If the metal or plastic housing around the unit is worn down, you might want to replace the whole thing. In this case, look for product information stamped onto the metal plate that the motor sits on, or on the plastic cover around the fan/motor assembly.
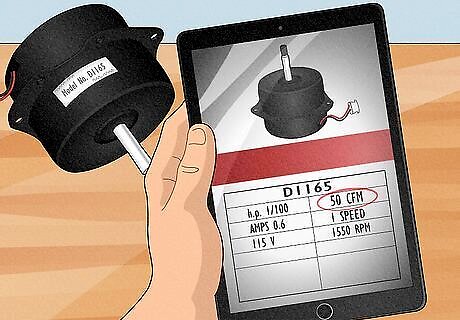
Look up the specs for air flow and noise level (optional). If you think your old model might be too noisy or too weak even when the motor is working correctly, use the model number to find its product specifications online. If your doubts are confirmed, you can look online or at a home improvement store for a new motor compatible with your old housing, or for a whole new fan assembly. There are two important ratings you can look up: CFM (cubic feet per minute) is a measure of the fan's air flow. Bathrooms need a fan with at least 50 CFM or 1 CFM per square foot of floor space, whichever is bigger. Outside of the US, the air flow is more likely measured in l/s, liters per second. Sones are a measure of the fan's noise level. If you want a quiet fan, look for a replacement rated 1.0 sones or less (about the volume of a fridge).
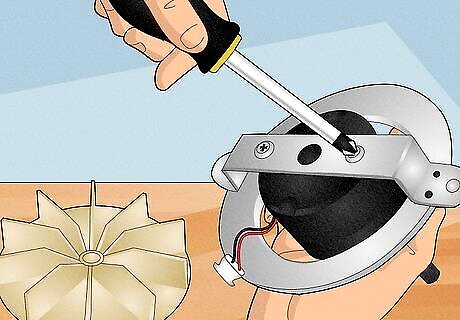
Attach the new motor onto your fan assembly. Once you have the new motor, slide the blower onto the motor shaft to attach it. Reattach the motor to your fan housing by replacing any bracket or screws that were holding the old motor in place. If the motor has an ordinary power cable attached, plug it into a wall outlet to check that it's working. If the blower is wobbly or you hear rattling or buzzing, unplug it and double-check that all pieces and screws fit tightly together.
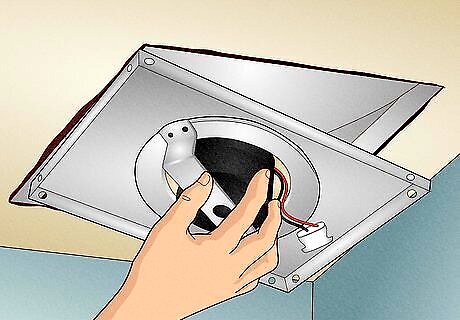
Reinstall the fan assembly in your bathroom. If you removed your fan housing from the ceiling, lift it back into the vent. If the plate was held up by tabs, raise one side to insert the metal tab into its slot. Push up the other end of the plate steadily until the whole thing clicks into place. Reinsert all screws to attach the plate to its housing and plug the power cable back in. Reinsert the grille cover by pinching the metal rods together and inserting them into their slots, or by tightening the screws holding it in place. Once you've finished the installation, turn the power back on to check whether the fan is running smoothly.


Comments
0 comment