views
Managed Chromebooks
Understand the process. If the Chromebook is managed by an enterprise account, such as in a school or workplace setting, you won't be able to reset the device unless you have administrator access. If you are the administrator, you can use this method to reset the device. If your Chromebook is for personal use, see the next section.
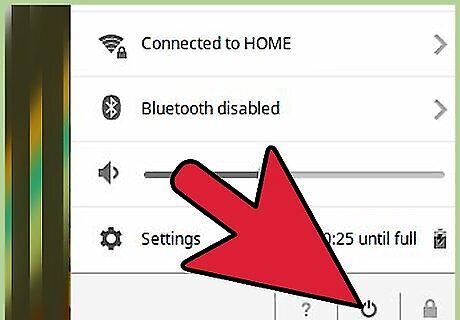
Power off the Chromebook. Make sure that the power adapter isn't plugged in.
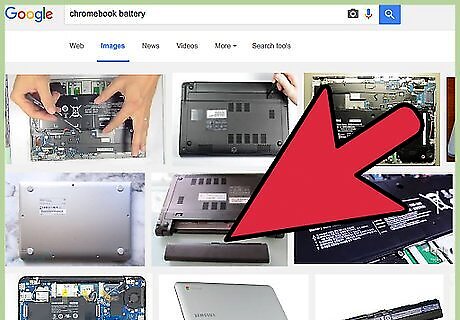
Remove the battery and then reinsert it after several seconds. Take the battery out of the back of the laptop, and leave it out for at least five seconds. After five seconds have passed, put the battery back in.
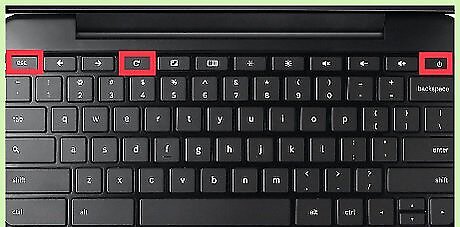
Press and hold "Power"+"Esc"+"Refresh". The Refresh button looks like an arrow in a circle. Press and hold these three buttons until the "!" page appears.
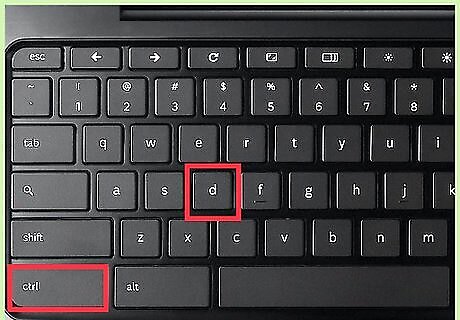
Press .Ctrl+D on the page with the yellow "!". Press this on the screen that reads "Chrome OS is missing or damaged". Press ↵ Enter to confirm. This will restart the Chromebook and allow access Developer Mode. If "Forced re-enrollment" is enabled (which it is by default on newer versions of ChromeOS), you'll see a notice that you won't be able to enter Developer Mode. This process will still wipe the device, and you'll be forced to enroll the device before you can use it.
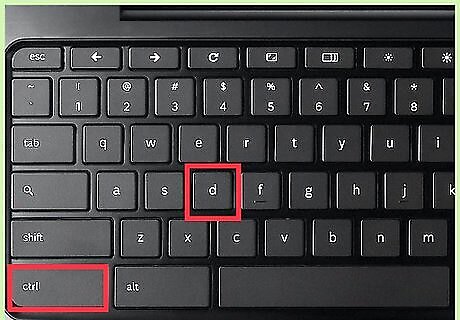
Press .Ctrl+D again after rebooting. Do this on the screen that reads "OS verification is OFF". This will boot the Chromebook into Developer Mode, which will take about 15-20 minutes to complete.
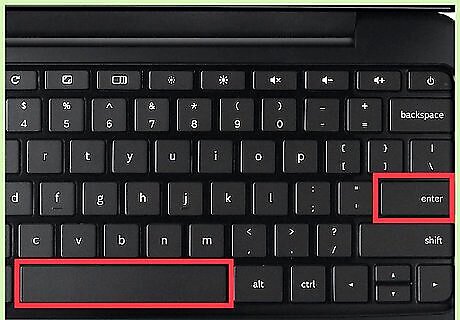
Return to Verified Mode. After the wipe process is complete, you'll be prompted to reboot the Chromebook and enter Verified Mode. Press Space and then ↵ Enter to wipe the data.
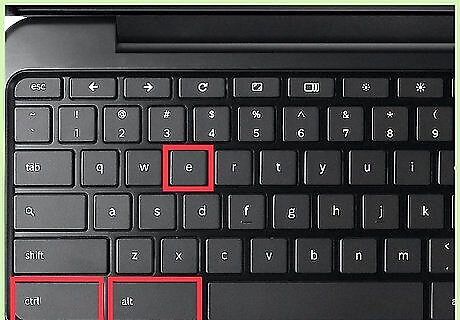
Re-enroll the computer. Before any user signs in, including an administrator, you will need to enroll the computer. Press Ctrl+Alt+E at the Google sign-in screen. This will open the Enterprise sign-in page. If you log in with a regular user account before enrolling, you won't be able to enforce any of your group rules on that Chromebook, and will need to restart the process. If forced re-enrollment is enabled, you'll have to log into the enterprise account before you can sign in as a user.
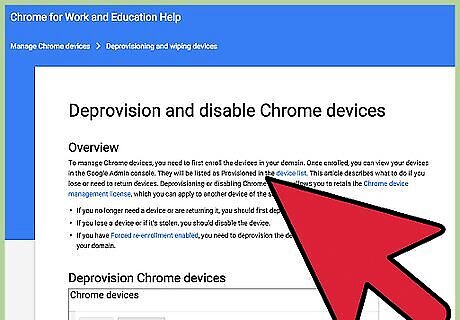
Deprovision devices that your organization no longer uses. If you're planning on selling or donating some of your Chromebooks, make sure that you have deprovisioned them through the administrator dashboard. This will allow other people to sign into the Chromebook without having to enroll through your enterprise. Log into your dashboard and select your Device List. Check the boxes next to the Chromebooks that you want to deprovision, click the "More Actions" button, and select "Deprovision".
Personal Chromebooks
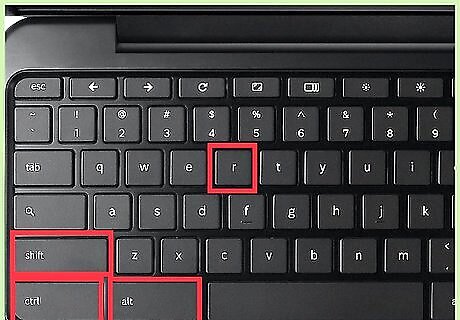
Sign into the Chromebook. You can use the Powerwash tool to quickly wipe and reset the Chromebook. If you can't sign into your Chromebook, press Ctrl+Alft+⇧ Shift+R while on the Login screen to start the Powerwash process. You won't be able to backup any data unless you are able to login.

Backup any important data. Any data that is stored locally on the Chromebook will be deleted when you reset it. Save all of your important data to Google Drive before proceeding with the reset process.
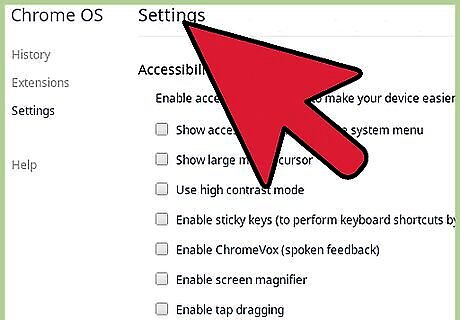
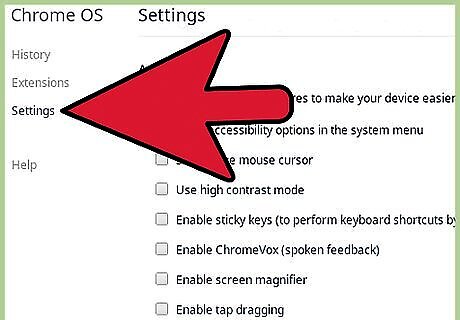
Click your account picture and select "Settings". This will open the Chromebook Settings menu.
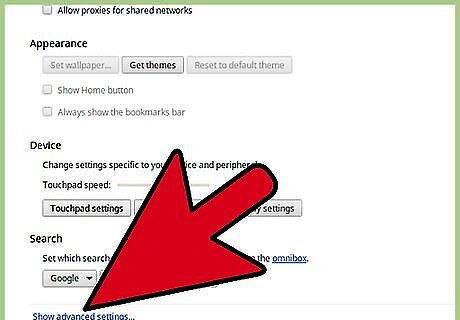
Click the "Show advanced settings" option. Additional settings will be displayed.
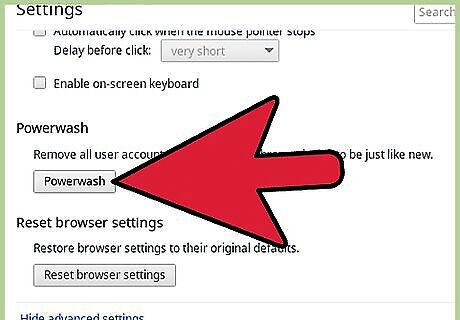
Find the "Powerwash" section and click "Powerwash". Click "Restart" to confirm.
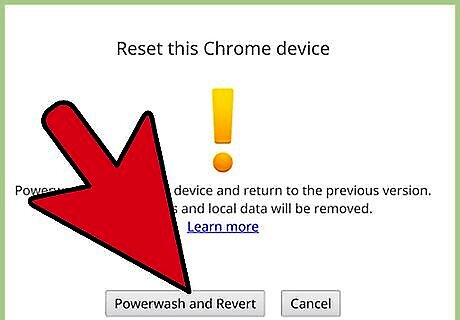
Click "Reset" in the new window that appears. This is the last chance to back out of the reset process.
Wait for the setup screen to appear. After a few moments, you'll be taken to the Chromebook's Setup screen. You can setup the Chromebook as if it was new and enter in your Google account information.
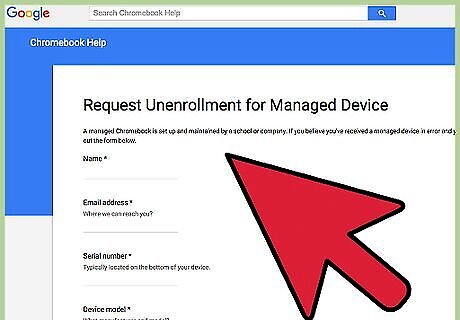
Request for your device to be un-enrolled (if necessary). If you've picked up your Chromebook secondhand and are faced with the Enroll screen, you'll need to request for the device to be un-enrolled. This will remove the device's serial number from whatever organization is managing it, allowing you to use it as you wish. You can fill out the un-enrollment request form here.


Comments
0 comment