
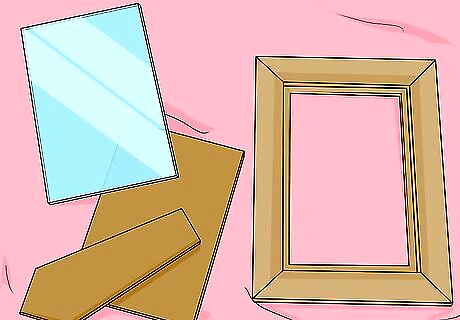
Finding Your Supplies

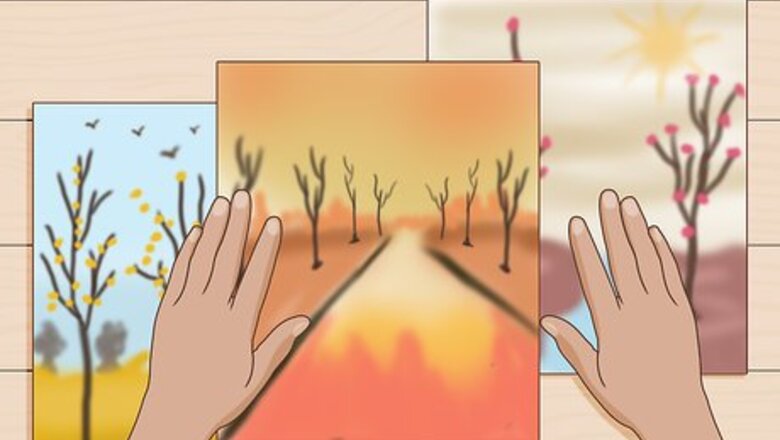
Select a picture or art work to display in the frame. Find an art piece or photograph that needs to be framed and displayed. Set it up and study it for a few minutes, asking yourself these questions: What is the all over mood of the piece? What type of frame do you visualize being ideal? What colors predominate? What style or period does it reflect? What space will it fill? In what room will it be hanging? Does it have to coordinate with other frames? Or complement other furniture pieces?
Go frame shopping. Check the back of the frame to see if it will come apart. Many are glued and the pieces impossible to separate. If there is paper over the back, carefully lift a corner and look underneath to see if there are staples or nails that can be removed. Beware of plastic imitating wood, it can look wonderful, but be impossible to work with. There are so many wood frames to pick from so go with the real thing.
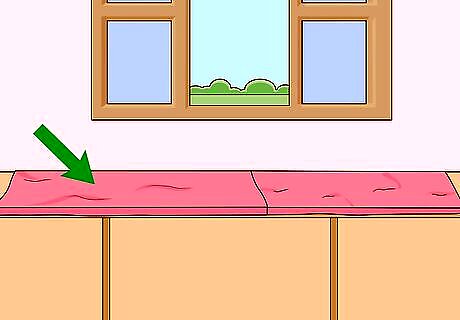
Find a solid, generous work space. You will need to have plenty of room to set the parts of the frame out, since each will be approximately the same size as the frame. If you need to transform the work space back to how you found it, for example, a kitchen or dining room, you'll want to be extra organized so you can accomplish the entire restoration in one work session. Make an area covered with a soft towel and away from the work space for the glass piece to reside and dry after you clean it.

Assemble your tools. A pair of needle nose pliers, a hammer, screw drivers, a ruler/yardstick, pencil, small container to hold clips, nails, etc., hammer, a drill, framing hardware such as metal hangers, picture wire, glass cleaning solution, an Exacto or sharp craft knife, sandpaper, cloth rags and paper towels.
Deconstructing and Cleaning the Frame
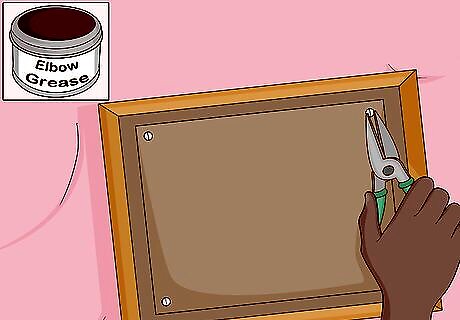
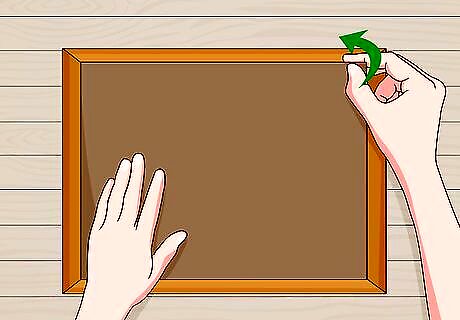
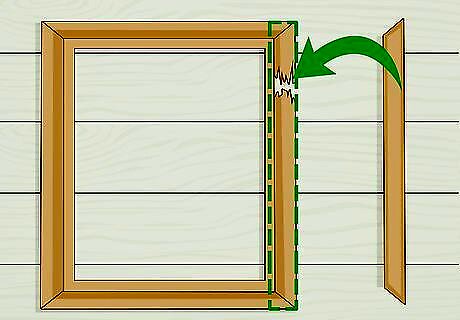
Take the frame apart. Turn it over on a protective surface. No need to distress the frame's front more than it is already, so use cardboard and/or a cloth padding covering for the work table. Depending on its age and where it has been stored, removing the nails or staples from the back might require a little elbow grease. Needle nose pliers usually work well for this job. Save all things you remove in a small container, some can be reused, but keeping a neat work area is important.
Carefully and gently separate all parts. Remove and set aside the backing, the filling or padding, the photo or picture, and the glass. Keep everything because you might be able to reuse the backing and most often the glass is salvageable.
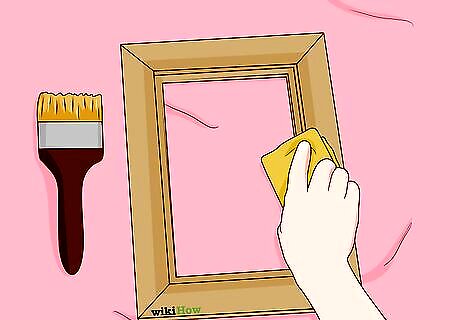
Clean the frame. Turn the frame over and examine it. Use a slightly dampened rag to wipe away grime and dust. Take a stiff bristle paint brush and go over the surface of the frame, especially if there is carving or ornate portions. Wipe it down and decide how much you want to alter it. Will you simply restore the wood or need to take drastic measures and paint it?
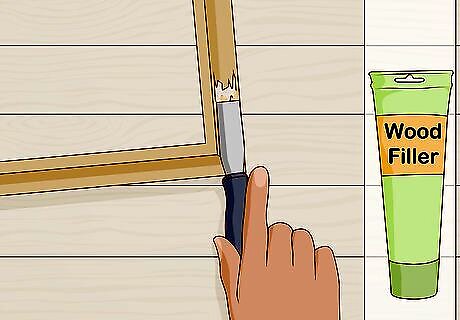
If needed, restore the missing pieces. This is the time for creative thinking. Small shapes of soft wood can be purchased at the craft store and adapted, so think outside the box. Depending upon how much needs replacing, it might be better to remove small bits or to add on pieces and redesign the surface. Investigate whether commercial wood filler might work as a medium for molding and restoring small ornaments. Wood glue, such as Elmer's can be mixed with wood shavings or sawdust to make a filler.
For simple wood frames, fix scratches. If they are deep, fill them with wood filler or purchase a kit of wax sticks in various colors designed for fixing furniture to smooth out scratches. Paste shoe polish works well and is cheap, easy to obtain, and comes in many colors. Magic markers in a matching color can sometimes be used to color and fill scratches. Acrylic paint can be mixed to the exact shade needed and applied to wood frames. Nicks on edges can be sandpapered down and smoothed out. If the frame is in really bad shape, consider distressing or aging the piece for a trendy finish.
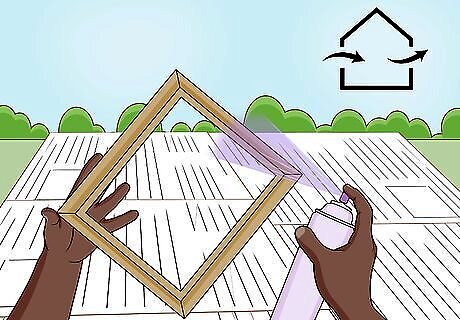
Decide if a total paint job is in order. If you use spray paint, do it in outdoors or in a well ventilated garage or other space. Protect surfaces from the over spray. Be sure the surface of your frame is clean, dry and in drastic cases, light sandpapering might be in order. Never do a heavy one coat spraying. Always do very light handed spraying, let it dry and respray as many times as you need to. The last thing you want is drips and running paint to mar the frame's beauty.
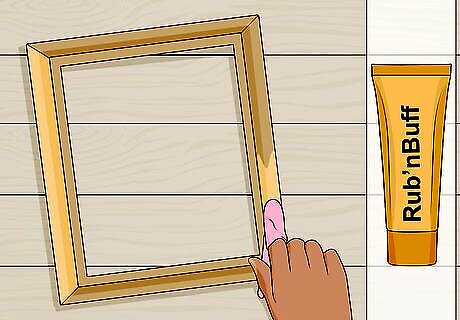
Mimic gilding with metallic paint. Once the base coat is down, mix a darker shade of acrylic paint and accent low areas, adding to and enhancing the shadow areas. A product called Rub and Buff can sometimes work miracles.
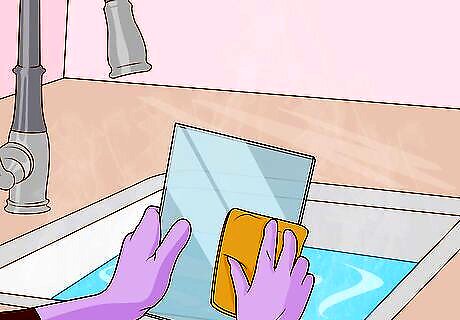
Wash the glass using the utmost care. Perhaps a pair of rubber gloves would be useful to protect your hands. If the glass is damaged or chipped, replace it with new window weight glass or lightweight plexiglass. Take the empty frame with you when having glass cut as old frames are not always what they seem when it comes to measurements. Letting the glass cutter have the frame will save frustration and return trips to the store when cut glass doesn't fit properly.
Putting Together Your New Picture and Frame
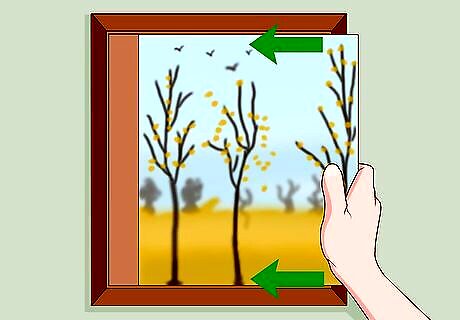
Slip the art work into the frame. Watercolors are meant to be shown behind shiny, not non reflective glass. Oil and acrylic paintings require no glass, but their surface ought to be sealed with transparent acrylic sealer.
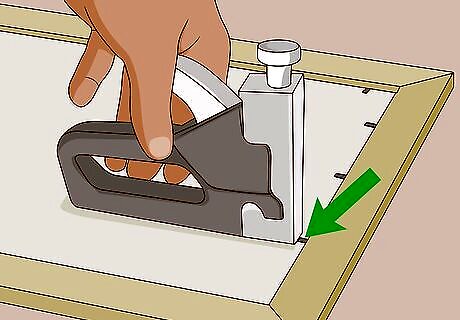
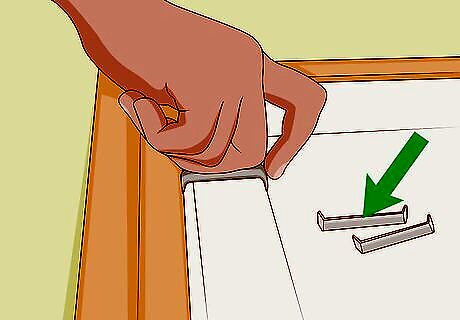
Decide how you will secure the back. Each frame will require its own special method for attaching the glass. Glazier's or framer's points work well in most cases. A point pusher tool is invaluable. Work on a protected surface and away from yourself. An electric staple gun is a great tool, but worth buying only if you plan to use it a lot. It uses heavy duty staples and makes stapling a breeze. Thin, framer's nails are the most common way to attach the glass. A tool especially designed for pushing nails is a big asset, but only works on flat frames. Original nails ought to be disposed of in a thoughtful manner, not tossed randomly into the trash. Staples on frame backs are designed to be bent a number of times and will go back to shape. When they stop doing the job, pull them out and replace them with nails.
Browse the framing department for special supplies. If you are framing an oil or acrylic painting, there are clips to attach the stretched canvas to the frame. If it is a canvas board, simply follow the procedure for securing with nails or points. No glass is required, though.
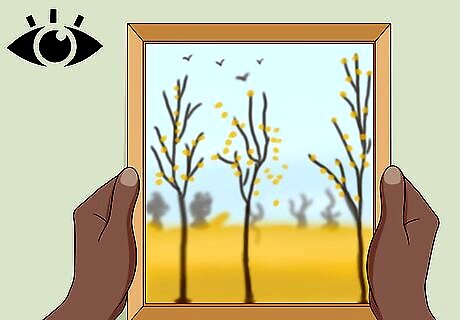
Take a good look to ensure perfection. Before completely securing the glass, turn the piece over and give it a hard look to remove any imperfections or make adjustments. Check for trapped lint, hairs, places that need erasing on the mat, uneven places or shifting, your signature if it is your art work, etc. Don't skip this as it is far easier to discover problems early than to undo an entirely nailed back.
Hanging Your New Piece
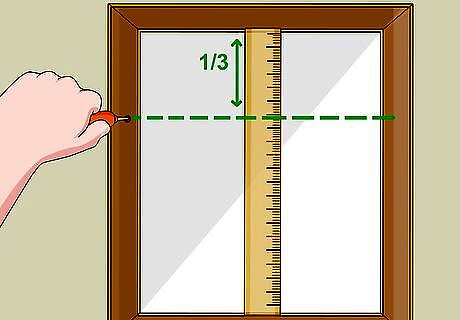
Rewire it for safe hanging. Definitely, use a ruler to measure down from the top edge of the frame. Go down about 1/3 of the way and mark where you will be screwing the clip or eyelet that holds the wire. Use magic marker if pencil marks are too faint. Don't guess at this. Use the drill first or an awl to punch the first holes for the screws. This will avoid splitting the narrow wood. If more than one screw is needed in the hardware, use matching ones, don't mix standard and Phillips on the same frame. Just be consistent and neat. If you don't have a dedicated punch, simply use a slightly larger nail, tap gently and remove to make the pilot holes. Metal eyelets work well in many smaller frames.
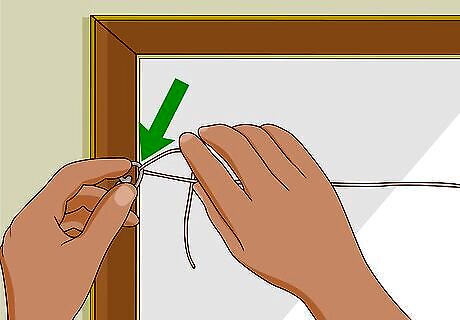
Wire the back. Don't plan for much slack in the wire. It should never show above the picture at the top when hanging. Do allow a lot of extra picture wire to loop through the eyelets on each side. Guide it through an eyelet, double back and twist. Twist again and twist any excess wire along the hanging surface of the wire. Keep it neat looking. Fold over and tape the ragged ends for safety.
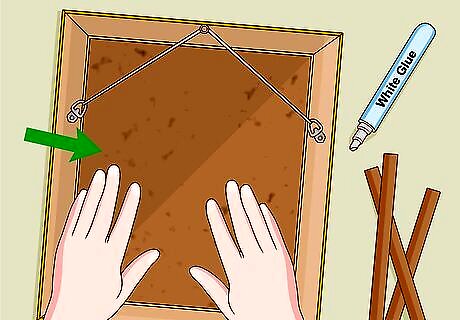
Adopt a framer's tricks for a professional looking finish. If you desire, cut a piece of brown craft paper larger than the back, cutting small notches where the wire attaches to the frame. Run a tiny bead of white glue all around the frame's edges. Go underneath the wire and place the paper lightly against the wood of the frame. Press paper down against the glue. When dry, cut remove excess, overhanging paper by cutting along the frame's outer edge with a craft knife or scissors. Lightly mist the paper with plain water and a spray bottle. Let it dry and it will shrink to tightly fit the back and cover all the hardware and nails for a professional look.
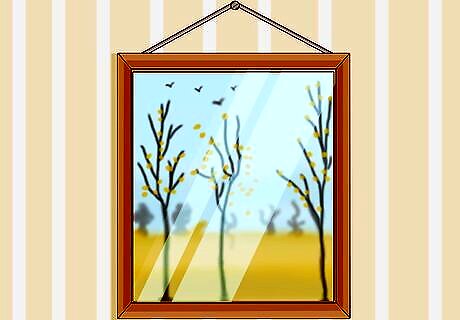
Hang and enjoy your new art piece. This hobby is addictive so you will probably find yourself planning the next project. You will gain a new appreciation of the beauty and resilience of the lovingly chosen wood for these old frames. At the thrift shop, you won't blithely pass by the frames waiting to be taken home and restored. Their uniqueness, impossible to find in standard commercial frames, will call to you and with little effort you will have restored a little piece of history.


Comments
0 comment