views
Choosing Sprouts at a Market or Store
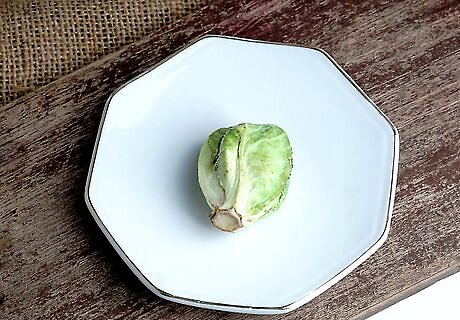
Look for flavorful sprouts through spring, winter, and fall months. Brussels sprouts have a relatively long growing season, and growers will harvest them over about a 6- or 7-month window. So, if you live in North America or Europe, you can find fresh Brussels sprouts between September and March. Major grocery stores may stock Brussels sprouts year round. However, if you purchase sprouts out of season (in summer), they’re more likely to be flavorless.
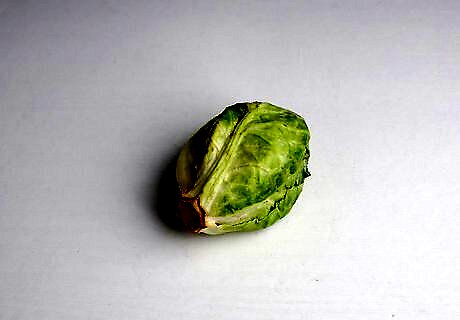
Buy Brussels sprouts still on the stalk for longer-lasting sprouts. Brussels sprouts grow on a long stalk, although they'll usually have been plucked off of the stalk by the time they reach your produce aisle. However, if you do manage to find a stalk with sprouts on it, these sprouts will be richer in flavor and will also keep longer in your fridge. You’re more likely to find Brussels sprouts still on the stalk at a local farmers market or co-op.
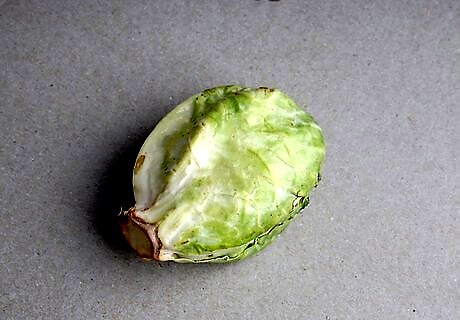
Purchase sprouts harvested after the first frost at a farmers market. Sprouts that were on the vine for at least 1 winter frost will be sweeter than those harvested prior to the frost. If you’re buying sprouts at a farmers market and you can speak with the farmer who harvested the sprouts, ask at what point in the season they made the harvest. If you’re purchasing Brussels sprouts at a large grocery store, the produce venders may not know whether or not the sprouts were harvested after a frost.
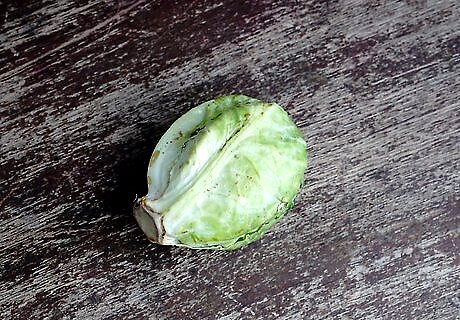
Purchase brightly colored Brussels sprouts. A bright green color indicates that the sprouts are young, healthy, and have plenty of flavor. Avoid purchasing any sprouts with yellowed leaves. If you see mostly yellowing sprouts, you’re looking through a batch of old and no longer fresh sprouts. It’s okay to use yellowing sprouts in dishes like a stew or casserole. The sprouts’s age and texture won’t matter as much in these dishes, since they’ll be cooked and blended with other ingredients.
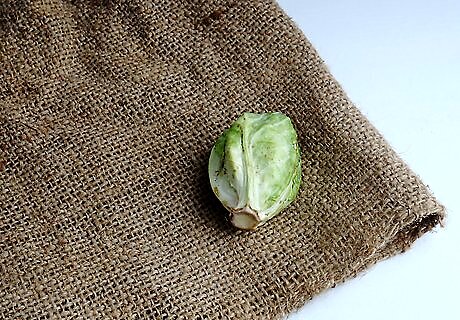
Choose sprouts that are firm and fully closed. As Brussels sprouts begin to age, their overlapping leaves will begin to loosen. Older sprouts will have less flavor and will go bad more quickly in your fridge. So, only purchase firm, tightly-closed sprouts. Test the sprouts’ age by feeling them. A quick 2-finger squeeze will tell you if the sprouts are young. Sprouts should feel firm and have little give when you squeeze them.
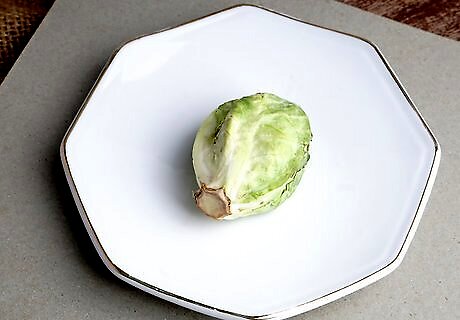
Select smaller Brussels sprouts for a sweeter and more flavorful sprout. As with the majority of fruits and vegetables, smaller sprouts have a sweet, pleasant flavor. Look through the Brussels sprouts bin until you find a few that are about 1 inch (2.5 cm) long. Larger sprouts will have a tougher consistency and will be largely flavorless.
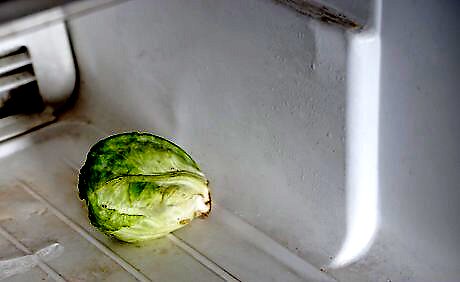
Find sprouts of a uniform size without lumps or blemishes. If you find a lumpy, uneven Brussels sprout, put it back in the grocery store bin. Uneven sprouts will cook unevenly, leaving you with sprouts that are fully cooked in parts and still raw in others. Also avoid selecting sprouts with black or brown patches or that have been eaten by insects. The sprouts that you select don’t need to be completely symmetrical, but every side of the sprout should be proportionate to the other sides.
Refrigerating Sprouts
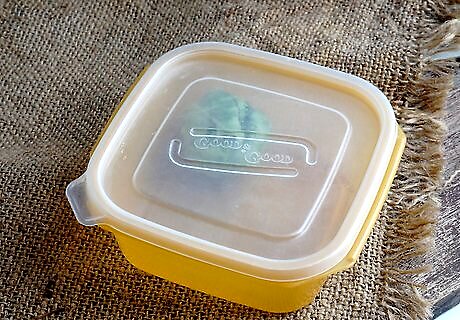
Break Brussels sprouts off of the stalk before storing them. It would be impractical to save the stalk in your fridge, due to its size and the sparse distribution of sprouts along the length of the stalk. So, break off the individual sprouts before storing them. Throw away or compost the stem. If you bought the Brussels sprouts after they’d already been removed from the stalk, you can skip this step.
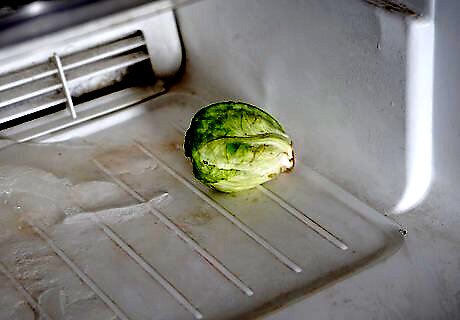
Seal Brussels sprouts in an airtight container or plastic bag. If you’re using a bag, squeeze as much air as you can out of the bag before sealing the zipper shut. The less air you leave in the bag, the slower the sprouts will go bad. If you’re using a container, you just need to put on the lid and seal it shut. You can purchase airtight plastic bags at any supermarket and at most drugstores.

Place the bag of sprouts in the coldest part of your fridge. As long as they don’t freeze, Brussels sprouts will keep the longest in a cold part of your fridge. For most refrigerators, the top of the back shelf is the coldest part. Or, try placing them in your vegetable crisper drawer. If you’re worried about the sprouts freezing, check on them every 1-2 days to make sure they’re still soft.
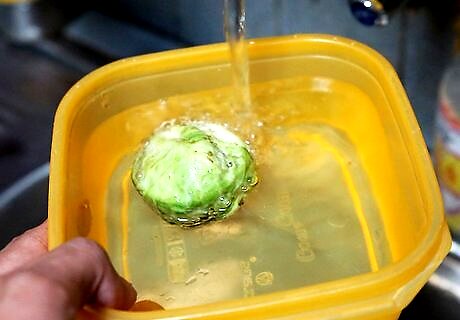
Use the Brussels sprouts within 3-4 weeks from the date of purchase. As sprouts age, they lose their freshness and develop a strong, slightly pungent flavor. After 4 weeks, the Brussels sprouts will lose their firmness and they may begin to mold. If you bought sprouts still on the stalk, they’ll last for about 5 weeks before beginning to turn bad.
Blanching and Freezing Brussels Sprouts
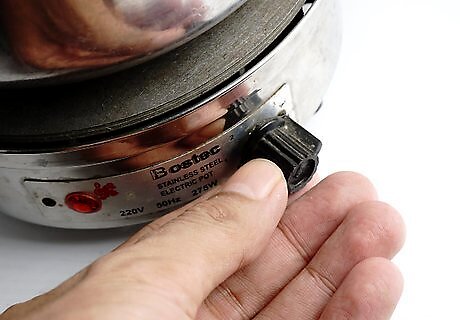
Rinse dirt and dust off of the sprouts. If you like, you can rinse the sprouts by holding 4-5 at a time under running water. Or, put all of your sprouts into a large colander and rinse them all at once. While the sprouts are under the tap, rub the outer leaves with your fingers to remove any remaining dirt.
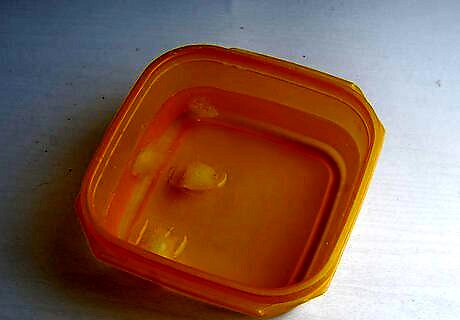
Blanch the sprouts in a pot of boiling water for 3–5 minutes. Boil about 3 cups (0.71 L) of water in a large saucepan. Once the water is at a rolling boil, drop in your sprouts. Let them cook for 3–5 minutes, depending on the sprouts’ size. Large sprouts will need to blanch for the full 5 minutes, while smaller sprouts will be done after 3. If you freeze the Brussels sprouts without blanching them first, the sprouts will lose their color and flavor in the freezer.
Submerge the blanched sprouts in a bowl of ice water. Fill a large bowl with water and ice and, once the 3–5 minutes of blanching have finished, dump the sprouts into the ice water. Leave them in the water for 3–5 additional minutes to cool the sprouts down and stop them from cooking further. If you leave the sprouts in the boiling water for too long, they’ll overcook and become mushy.
Place the wet sprouts on a clean towel to dry. If you freeze the sprouts while they’re still wet, they will become icy and get freezer burn. The sprouts will only need about 15–20 minutes to dry fully on top of a dry towel. If you’d like to accelerate the drying process, use another dry towel to gently pat the tops of the sprouts.
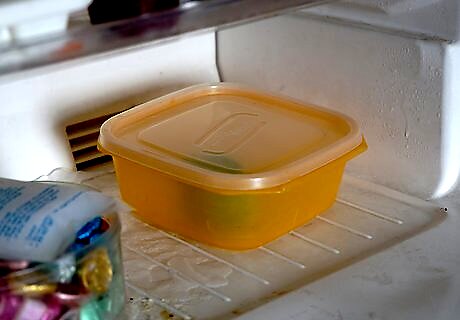
Spread the sprouts on a cookie sheet and freeze them overnight. Separate the sprouts by at least ⁄2 inch (1.3 cm) so they won’t freeze together. They will need a full 8 hours to freeze, so it’s best to leave them in the freezer overnight. If you have more sprouts than will fit on a single cookie sheet, try placing 2 or 3 sheets of sprouts side by side in the freezer.
Put the frozen sprouts in a freezer-safe container or sealable bag. Then, return the bags of frozen sprouts to the freezer. They should last for at least 6 months if properly blanched and sealed. Just thaw the sprouts before serving, and they’ll be ready to cook or eat. The size of the freezer bags or containers that you use is up to you. You could use large gallon bags if your family eats large amounts of sprouts at once, or smaller bags if you’re only freezing individual servings.


Comments
0 comment