views
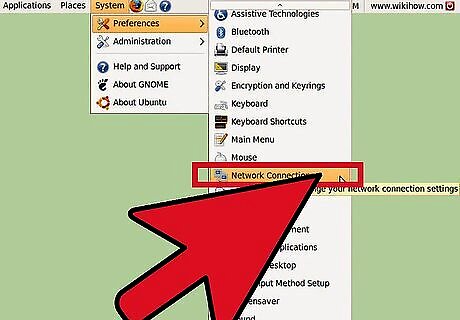
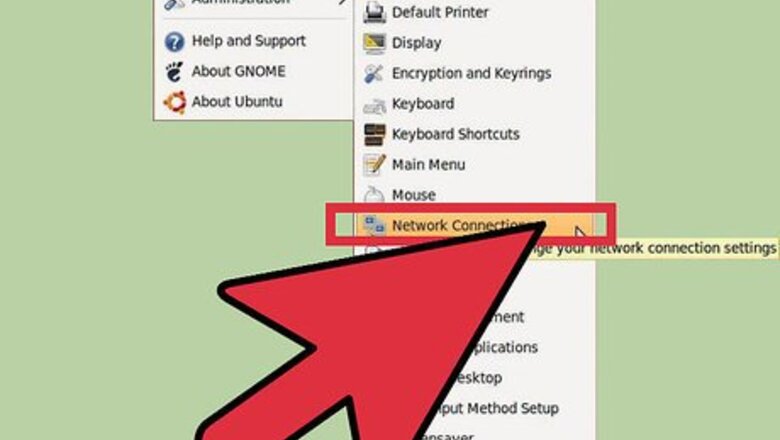
Open Network Connections to set up network settings in Ubuntu. Go to “System”, “Preferences” and chose “Network Connections."
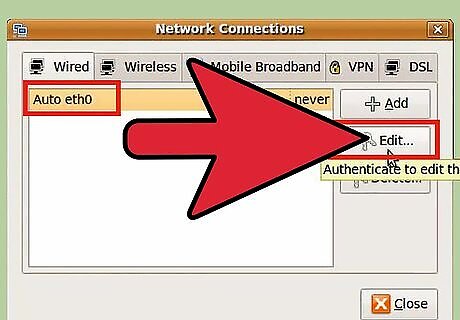
Under the “Wired” tab, click on “Auto eth0” and select “Edit."
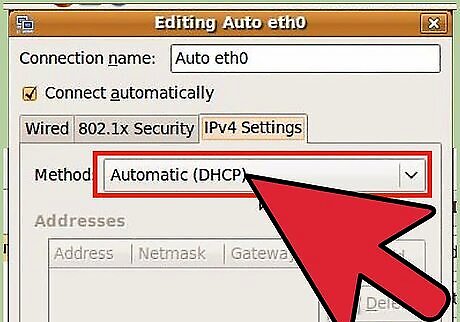
Click on “IPV4 Settings” tab. Chose the “Automatic (DHCP)” option if your network has a DHCP server. The DHCP Server has automatically assigned the IP address to your system. Click "Apply." You also chose the “Manual” option from the Method drop-down list and assign the IP address, netmask and gateway manually. You'll also have to assign the DNS Server address. Click "Apply."

Check the IP address settings. Go to “Applications” “Accessories” and chose “Terminal."
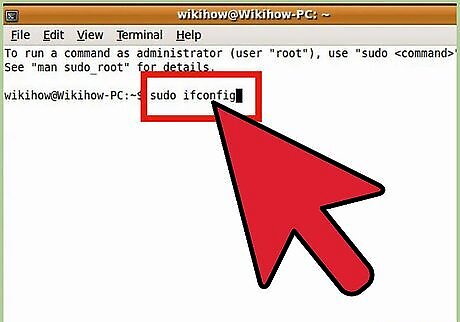
Type the following command into terminal: “sudo ifconfig” without quotes.
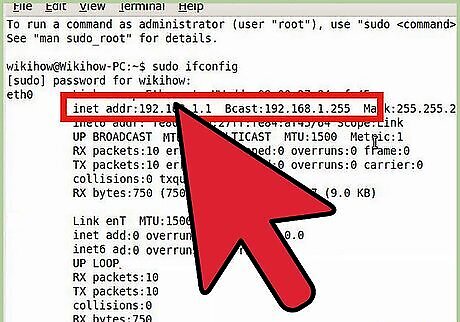
Get your new addresses. The Ifconfig command will show the inet address, broadcast address and mask address.


Comments
0 comment