views
Two Holes
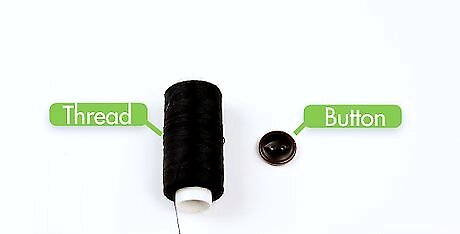
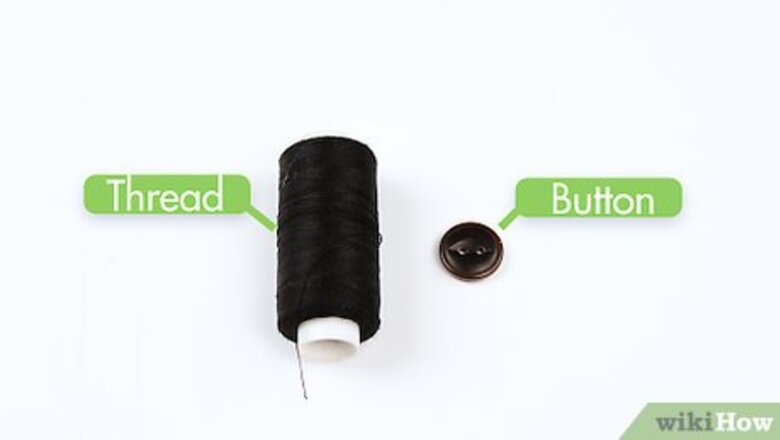
Choose your button and thread. Select a suitable button and thread that matches the button, the garment, and any thread used to sew on other buttons. If you like, you can double the thread to make this job quicker.
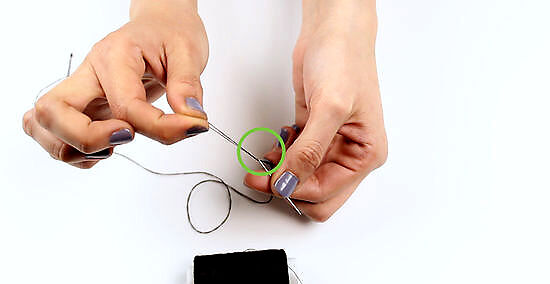
Thread the needle. Simply pull the thread through the needle so that there is an equal length of thread extending from both sides.
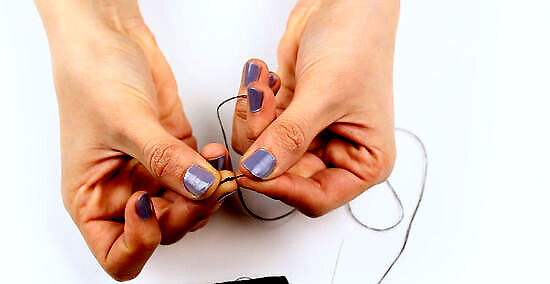
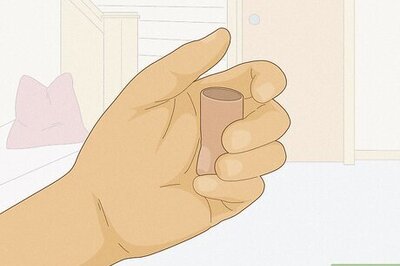
Tie a knot at the end of the thread. One way to tie a knot is to wrap the thread around your finger as shown, roll the thread between your fingers, and pull it tight. If you doubled the thread, tie the ends together. Leave a long tail of thread, whether you are doubling the thread or using a single thread to sew the button.
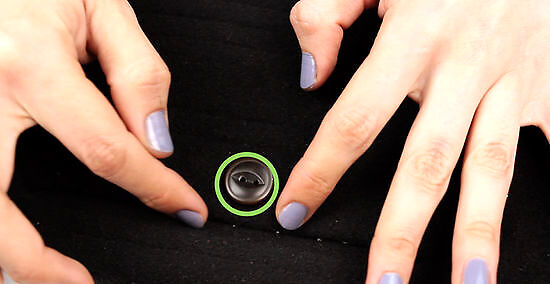
Position the button on the fabric. Line the button up with the other buttons on the garment. Also check the buttonhole. Close the opposite flap or panel where you want it and make sure that the button lines up with the buttonhole.
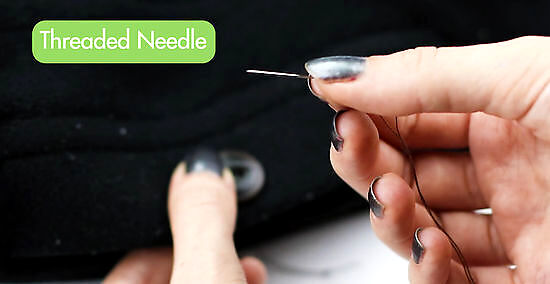
Push the threaded needle up through the fabric and through one hole in the button. Pull the thread all the way through on each stitch.
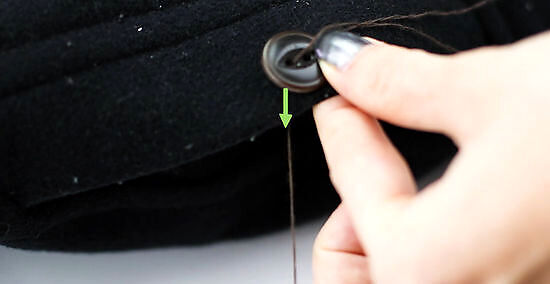
Place a straight pin. Place a straight pin beneath the button, between the stitch you have made and where the next stitch will go, in order to keep the button from being stitched too tight. Then, push the needle down through the next hole and through the fabric. Pull the thread all the way through. It's best to hold the button in place so it does not move.
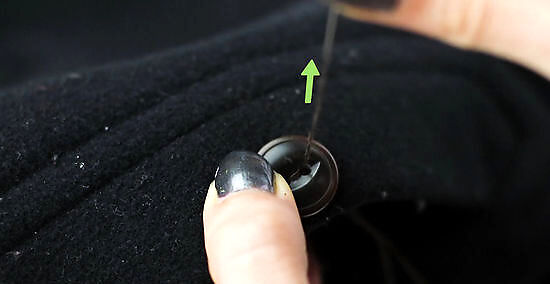
Restart the process. Bring the needle up through the first hole again and pull the thread all the way through the fabric.
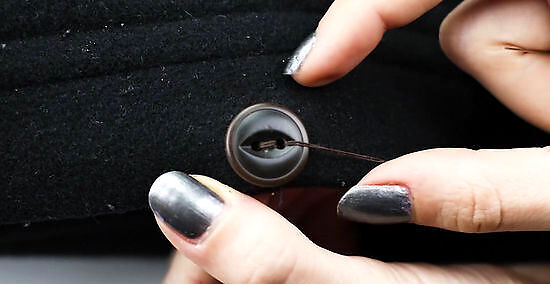
Strengthen the button. Repeat the sewing process enough times to make sure the button is securely in place.
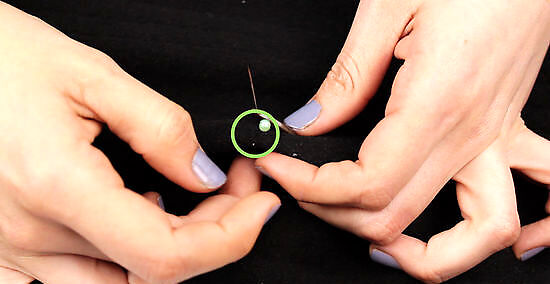
On the last stitch, push the needle through the material, but not through a hole in the button.
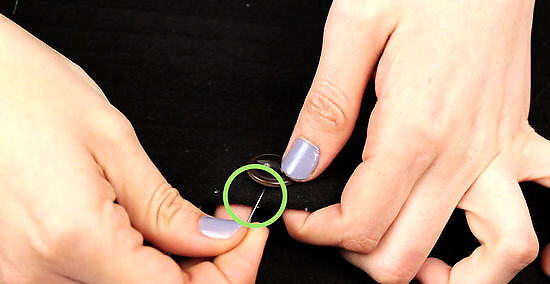
Remove the straight pin.
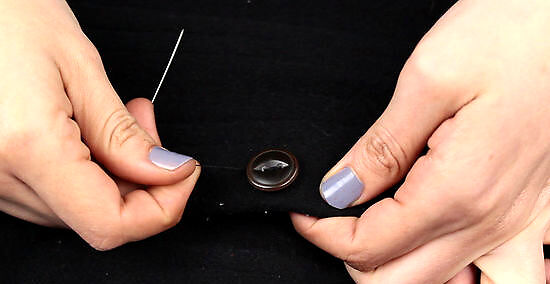
Wrap the thread. Wrap the thread six times around the thread between the button and the material to reinforce the shank you have created.
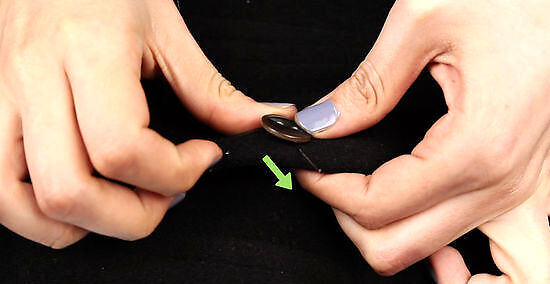
Push the needle back down through the material.
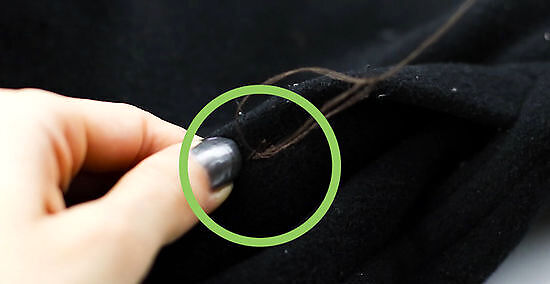
Make three or four stitches to secure the thread. Make a few stitches below the button, going back and forth to make them strong. Tie this thread off.
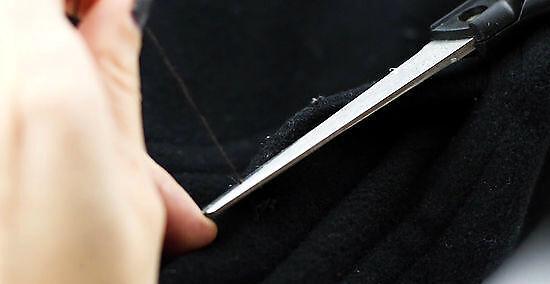
Cut off the excess.
Four Holes
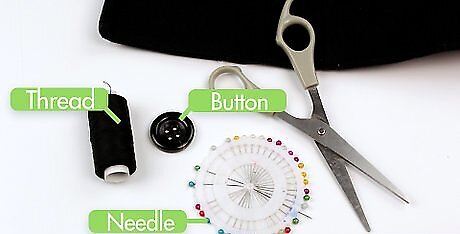
Choose what you will use. Select a suitable button and thread that matches the button, the garment, and any thread used to sew on other buttons.
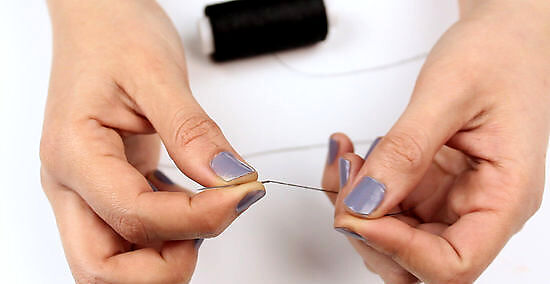
Thread the needle. If you like, you can double the thread to make this job quicker. Simply pull it through the needle so that there is an equal length of thread extending from both sides.
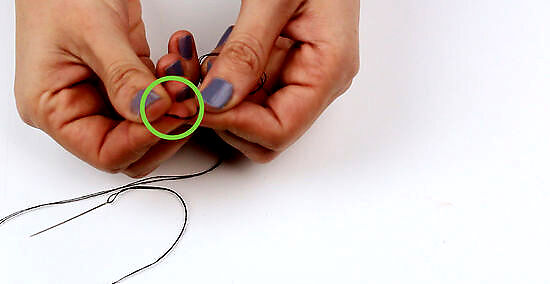
Tie a knot at the end of the thread. One way to tie a knot is to wrap the thread around your finger as shown, roll the thread between your fingers, and pull it tight. If you doubled the thread, tie the ends together. Leave a long tail of thread, whether you are doubling the thread or using a single thread to sew the button.
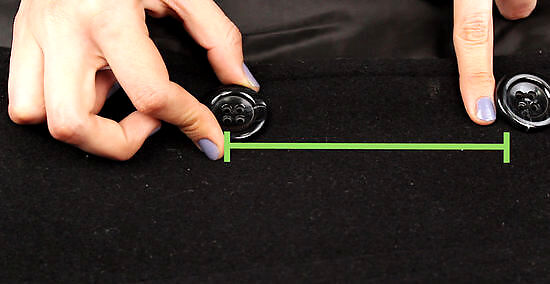
Position the button on the fabric. Line the button up with the other buttons on the garment. Check the buttonhole. Close the opposite flap or panel where you want it and make sure that the button lines up with the buttonhole.
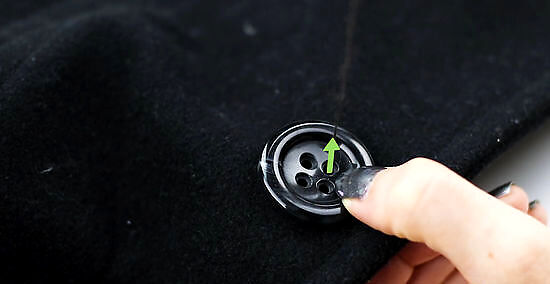
Push the threaded needle up through the fabric and through one hole in the button. Pull the thread all the way through on each stitch.
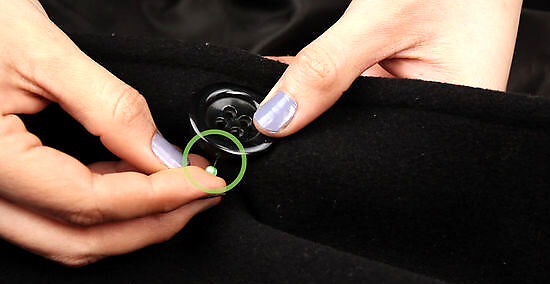
Place a straight pin. Place a straight pin beneath the button, between the stitch you have made and where the next stitch will go, in order to keep the button from being stitched too tight.
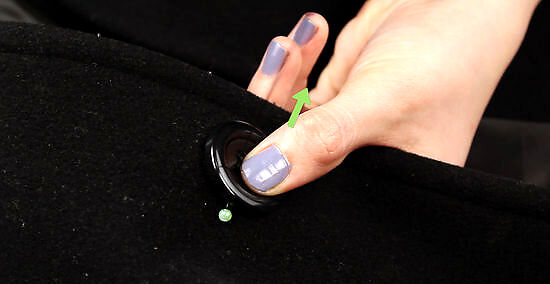
Push the needle down through the opposite hole and through the fabric. Pull the thread all the way through.
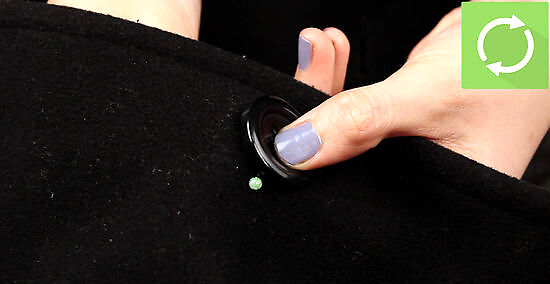
Repeat through these holes twice, then switch to the other holes.
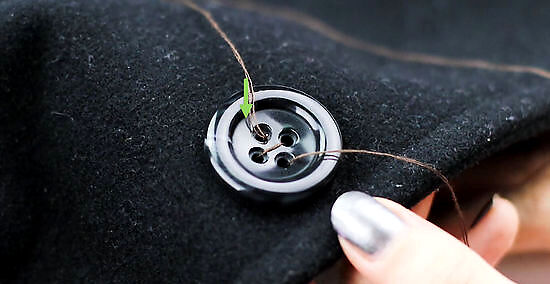
Switch between opposing pairs until the button is strongly attached.
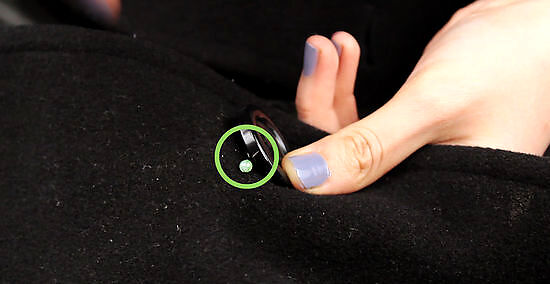
On the last stitch, push the needle through the material, but not through a hole in the button.
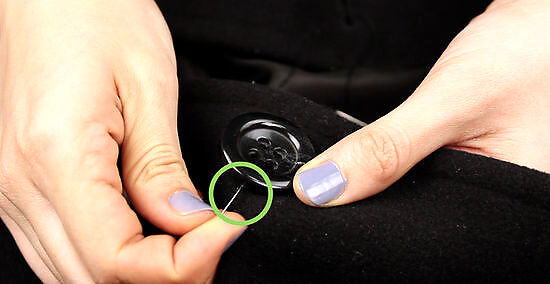
Remove the straight pin.
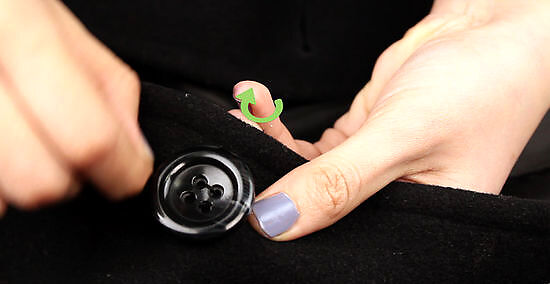
Wrap the thread. Wrap the thread six times around the thread between the button and the material to reinforce the shank you have created.
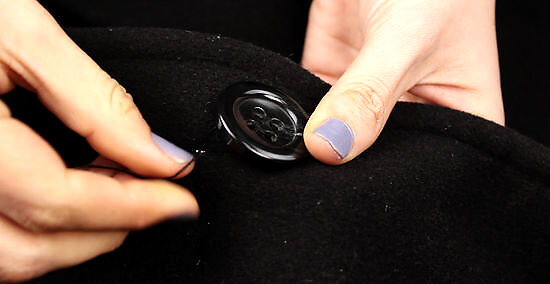
Push the needle back down through the material.
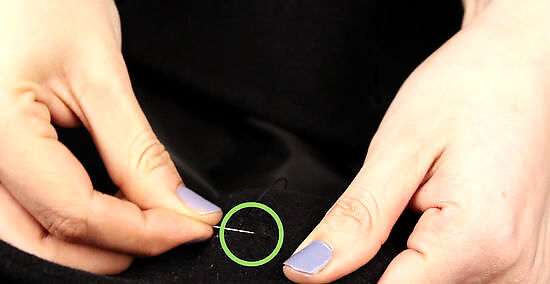
Make three or four stitches to secure the thread. Make a few stitches below the button, going back and forth to make them strong. Tie this thread off.
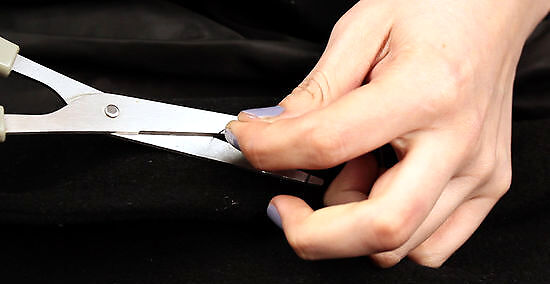
Cut off the excess.
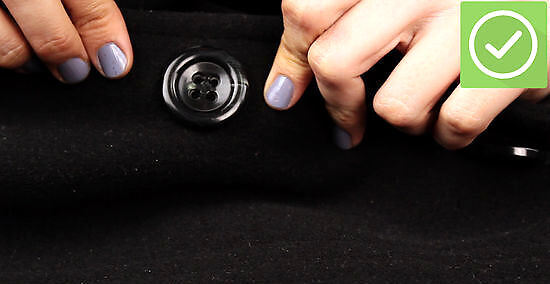
Finished.



Comments
0 comment