views
Loading the Revolver
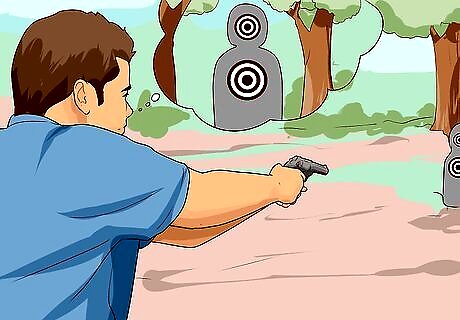
Learn the proper safety measures. Before you even begin loading your revolver, you should read and comply with common gun safety measures. Always keep the gun pointed in a safe direction. A safe direction means that the gun is pointed in such a way that an accidental fire would not cause any harm. Obey the step until it becomes second nature to keep the gun pointed in a safe direction, even when you know the gun is unloaded. Always keep your finger off the trigger until ready to shoot. You initial gripping and aiming of the revolver does not require you to have your finger on the trigger, so keep your finger on the outside of the trigger guard until you are truly ready to shoot. Always keep the gun unloaded until ready to use. You do not want to store or transport your revolver while it is loaded—wait until you are at the shooting range and ready to begin. Always be aware of both your target and what is beyond it. Read and follow any additional rules specific to your shooting range. If they do not have rules posted, ask for a copy of their range rules before they assign you a lane. If you are purchasing your own revolver, ensure that you have a way to store the weapon so that it’s only accessible to authorized persons such as with a gun safe.
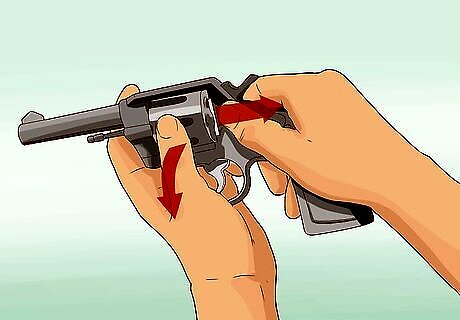
Access the cylinder. Depending on the type of revolver you have, the cylinder may swing out or there may be a loading gate or “trap door” that swings away from the rear of the cylinder. If the cylinder on your revolver swings out, there will be a release on the cylinder that is typically located on the left side of the revolver behind the cylinder—just above the area your thumb would rest if you’re holding the gun in your right hand. The cylinder will also typically swing out to the left of the gun rather than the right. If your revolver has a loading gate or trap door, then you open the loading gate, which is most often at the back of the cylinder and rotates down to the right. This style of revolver is most often associated with classic single-action revolver remakes. You may also have to pull the hammer back to half-cock—the first click—in order to freely spin the cylinder.
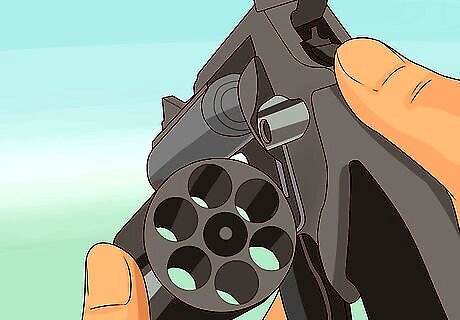
Ensure the chambers are clear. Turn the cylinder to ensure that each chamber is clear of a previous round. Always check this from the rear of the cylinder and never by looking down the chambers with the barrel end facing you. Most revolvers have a convenient ejector to empty the chambers. The ejector is the pin at the front center of the cylinder. You can push down on the ejector pin to eject spent cartridges or to unload live rounds when the revolver is not in use.
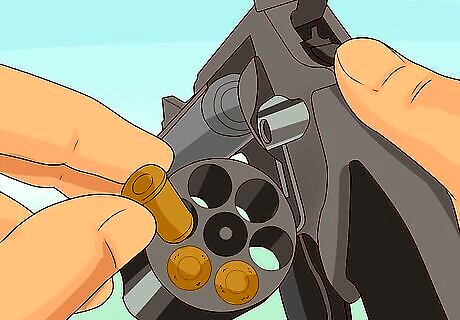
Load the revolver. Most revolvers will have five or six chambers in the cylinder. Place a round in each chamber in the cylinder. For a revolver with a loading gate, the gate only gives you access to one chamber at a time, so you will have to rotate the cylinder manually before you can insert each round. For this style of single-action revolver, the safest method is also considered to be loading all chambers but one and lowering the hammer on the unloaded chamber until you are ready to shoot.
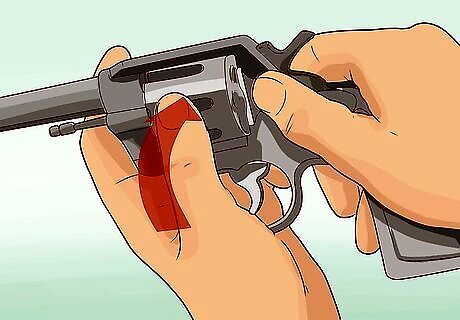
Close the cylinder. You are now ready to close the cylinder. For a cylinder that swings out, you can simply push it up and to the right until it clicks back into place. For a single-action-style revolver, you will turn the cylinder until the empty chamber faces the top of the cylinder, close the loading gate, hold the half-cocked hammer with your thumb while you release the tension on it by pulling the trigger, and slowly lowering the hammer over the empty chamber. If you are new to single-action revolvers, then you may want to have an expert at your local shooting range show you the process.
Gripping the Revolver
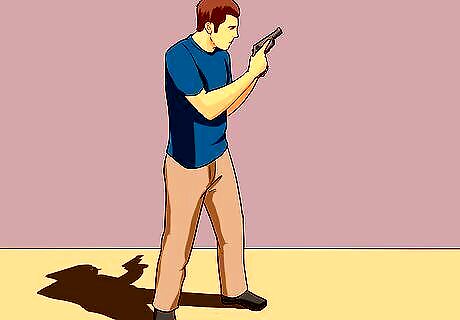
Stand with your feet shoulder-width apart. You will feel the majority of the recoil from the revolver in your hands and arms. It will by no means take you off your balance. However, you will have an easier time aiming with your feet firmly planted at a relatively wide base, about shoulder-width apart.
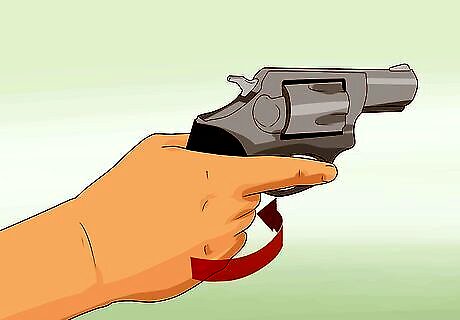
Wrap your dominant hand around the handle. You want your dominant hand around the handle of the revolver first. You also want to keep your hand relatively high up on the handle so that your thumb can wrap around to the opposite side. The lower your hand is around the grip of the revolver, the more the recoil will push the gun up instead of back, which will take you longer to aim again. Do not yet place your finger on the trigger. Keep your index finger on the outside of the trigger guard until you are ready to shoot.
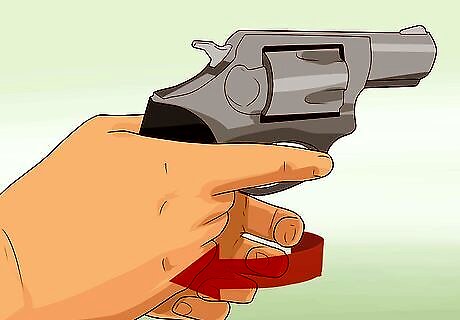
Use your non dominant hand as a support around your dominant hand. Some people want to put their non dominant hand around the bottom of the grip, but this does not help with recoil. Instead, place your non dominant hand around the grip as well to help support your dominant hand. With this grip, the thumb on your non dominant hand will rest on top of your dominant hand thumb.
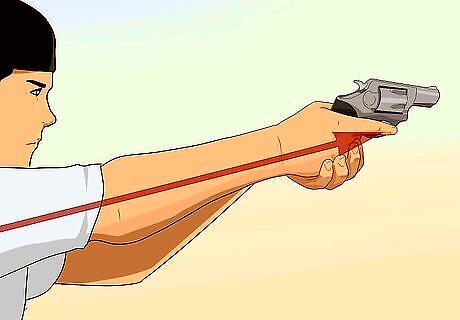
Straighten your elbows. At this point, you’re ready to bring the gun up, so make sure you bring it up to face the target and nowhere else. Don’t lock your elbows, but straighten and extend them to bring the revolver out in front of you. The ideal location is to bring the revolver all the way up to eye level and with a straight line to your dominant eye. This allows you to aim comfortably without having to turn your head or neck.
Aiming and Shooting the Revolver
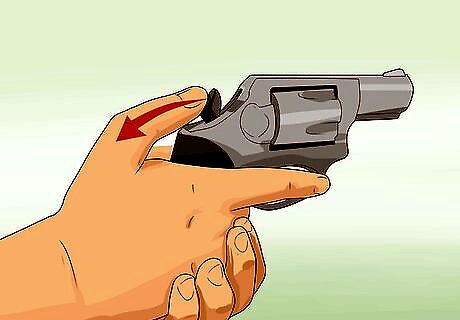
Cock the revolver. This step only applies to single-action revolvers where you must manually pull the hammer back to cock the gun before you can fire. With your hands still on the grip, use your thumb to pull the hammer back until the second click. The first click is only the half-cocked stage used for loading the revolver. Make sure the revolver is already pointed downrange at your target before even touching the hammer. You do not want an accident discharge going in any direction but down the shooting range.
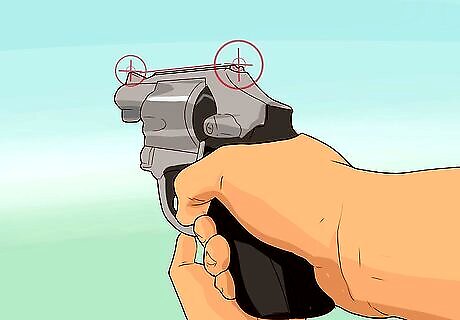
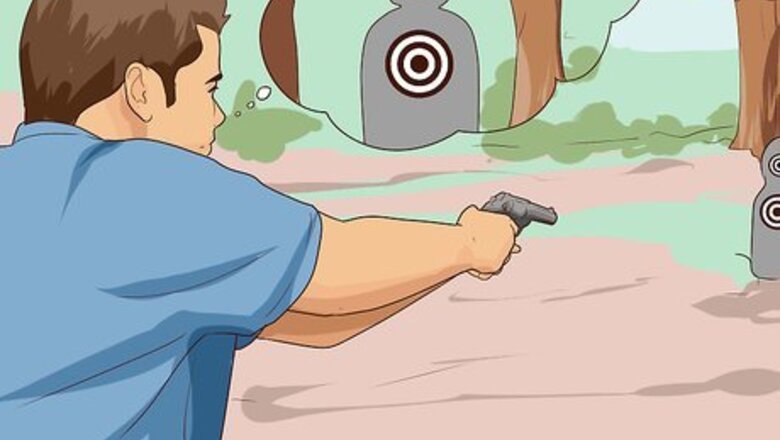
Take aim. There are normally two sights on a firearm. A front sight and a rear sight. The front sight is a small, fixed "blade" and the rear sight looks like a valley or a notch. To aim the revolver, place the front blade on the target, and then place the front blade in between the "valley" back sights. The front sight alone ensures that you don’t hit to the left of right of the target, and making sure that the rear sight is also in alignment ensures that you do not hit above or below the target. Once you line up the target, you may be tempted to shift your focus back on the target and away from the sights, but even small movements will have an effect on your aim. Keep your focus on the front sight even if it means the target beyond it is a tiny bit unfocused.
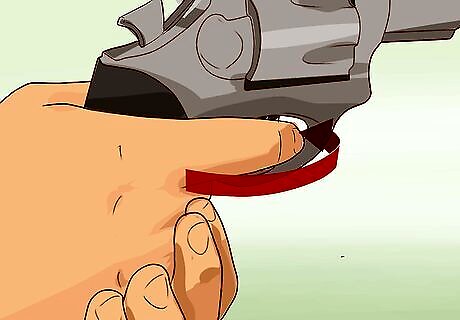
Place your finger gently on the trigger. With your grip right and the revolver pointed downrange toward the target, you can now place your dominant index finger inside the trigger guard. Touch the trigger but no not place any pressure on it. You want to use the pad of your index finger and not the crease of the first knuckle.
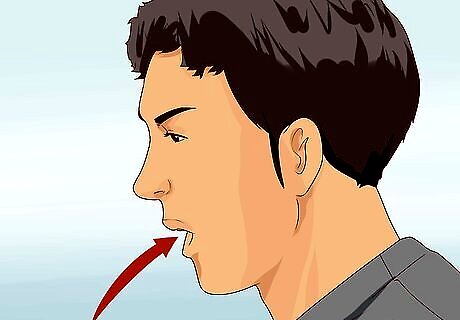
Be aware of your breathing. Aiming any gun can be a slow, precise process, especially for people new to marksmanship. One of the biggest mistakes people make is to try to hold their breath as they aim and shoot. Keep breathing and stay aware of your breathing. You ideally want to squeeze the trigger at the natural pause between the end of your exhalation and the beginning of your next inhalation.
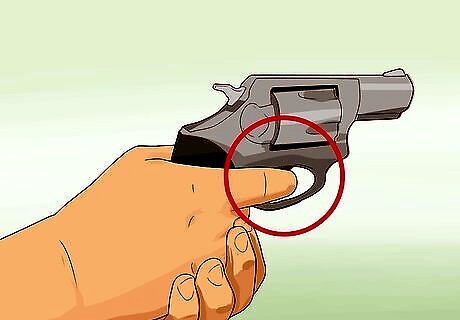
Squeeze the trigger gently. You do not want to jerk your finger back on the trigger because this will surely mess up your precision aiming. Instead, gently squeeze the trigger with the pad of your index finger while keeping the rest of your grip steady and your focus on aiming. Don’t panic about the recoil of the revolver as you squeeze. Your solid, firm grip on the gun handle and your arm strength will cushion most of the recoil. Tensing up as you know the gun is about to fire is a sure way to mess up your aim as the revolver shoots.
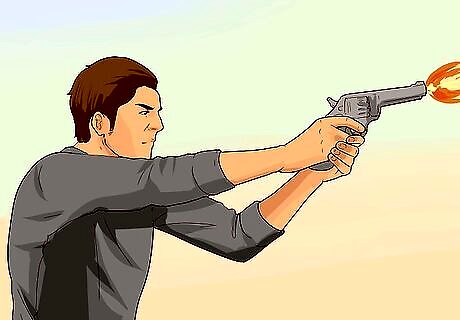
Use your locked wrists and forearms to absorb the recoil. With the proper grip on the revolver, the recoil will push slightly more back than up. Keep your wrists locked and forearms tensed, as you had them for your shooting stance, and you will naturally absorb most of the recoil. However, you will definitely still need to take aim again before firing another round.




Comments
0 comment