views
Outlining the Face
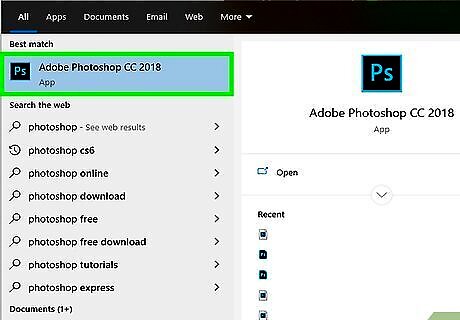
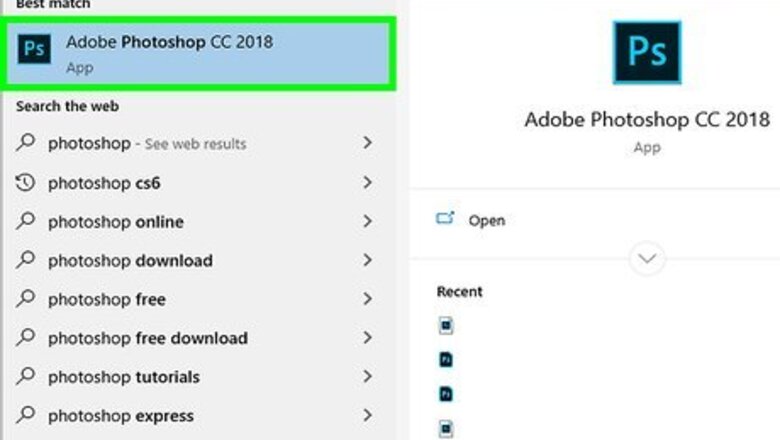
Open Photoshop. It's the app with a light-blue "Ps" on a dark background.
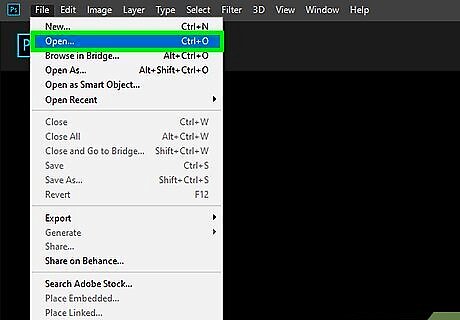
Open the two images. To open both images of the faces you want to blend; Click File Click Open Hold down Ctrl (PC) or command (Mac) Click both images. Click Open.
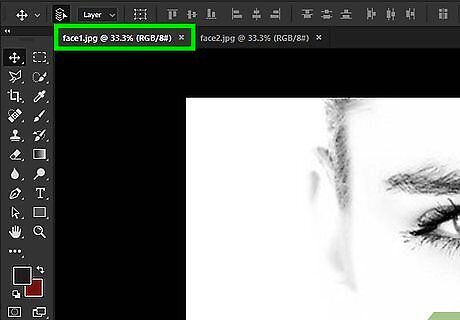
Select the first picture. Click the tab at the top to select the picture you want to start with. This will be the picture of the person you want to borrow the facial features from.
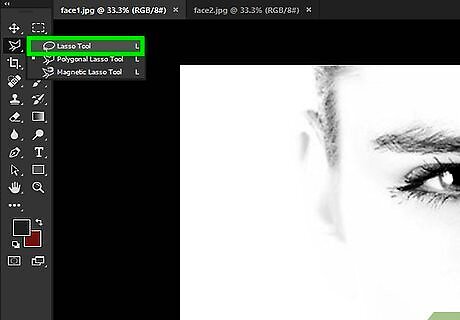
Select the Lasso Tool. Click the lasso icon the top of the toolbar on the left of the screen. If you don't see the Lasso Tool, you may need to first click and hold on the Polygonal Lasso Tool and then select the lasso tool. You can also press L to instantly switch to the currently selected Lasso Tool.
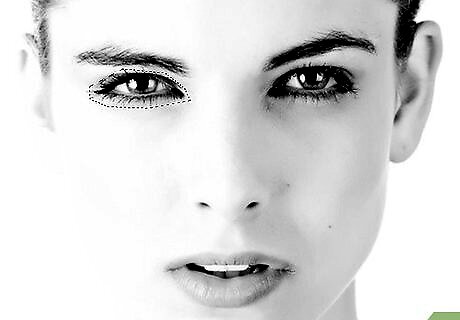
Trace an outline of the facial features. Click and drag the Lasso Tool around the eyebrows and eyes, the nose, the mouth, and include any wrinkles that are connected. Make sure the end of the lasso selection meets back up to where you started. A flashing dotted line will highlight your selection.
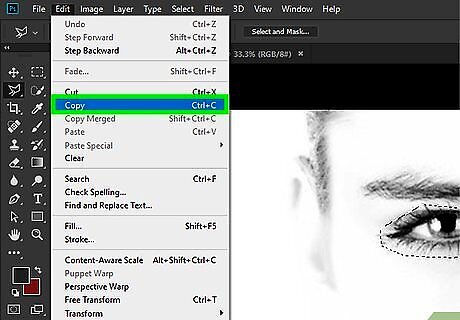
Copy the selection. You can do this several ways: Click Edit then Copy. Press Ctrl+C (PC) or command+C (Mac).
Combining the Faces
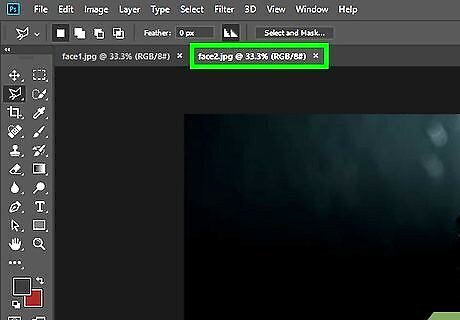
Select the second picture. Click the tab at the top to select the second picture that contains the face we are going to blend the first one with.
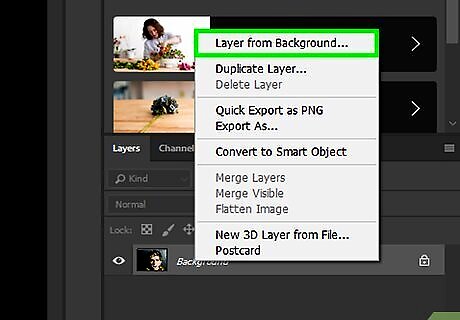
Unlock the background layer. To do this you can: Click the padlock icon. Right-click the layer and select Layer from background.
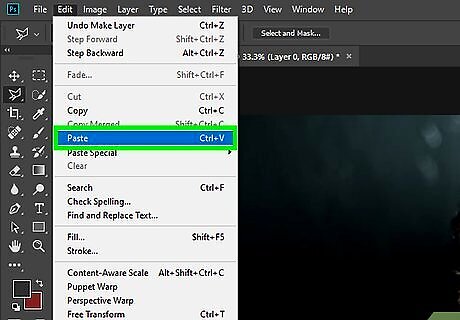
Paste the selection. This will paste the outline you just copied from the first picture onto a new layer on the second picture. To paste: Click Edit then Paste. Press Ctrl+V (PC) or command+V (Mac).
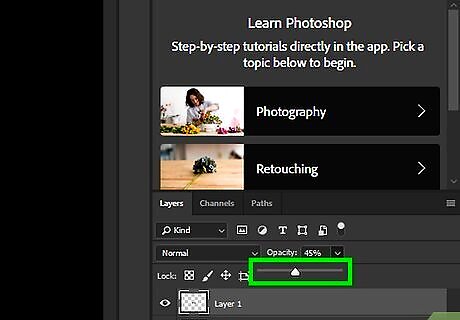
Lower the opacity. Click the Android 7 Expand More next to the Opacity percentage (the default should be 100%) located in the Layers window in the bottom-right of the screen. Drag the slider to the left until you can see both the face and the image underneath it. 60% is probably ideal.
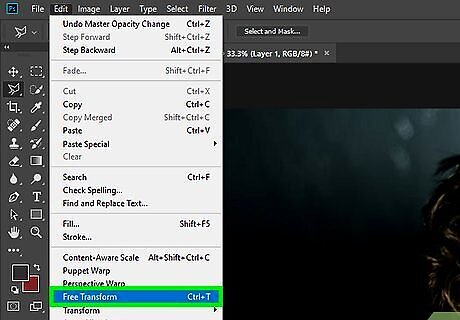
Click Edit, then Free Transform. This will put the face layer into free transform mode, allowing up to manipulate it further. You can also press Ctrl+T (PC) or command+T.
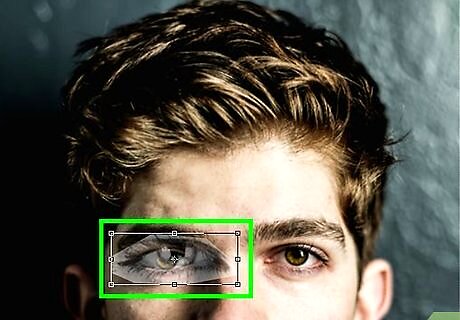
Transform the face to match the background face. Warp or stretch the picture to line up the eyes and mouth with the facial features of the background image. You can: Grow or shrink the image by dragging the corners. Stretch or squeeze the image by dragging the sides. Rotate the image by holding the mouse outside the corners and dragging. Move the image by clicking inside the box and dragging it.
Press ↵ Enter to apply the changes to the image. When you have the image lined up to your liking, pressing Enter will save the change and apply them to the image.
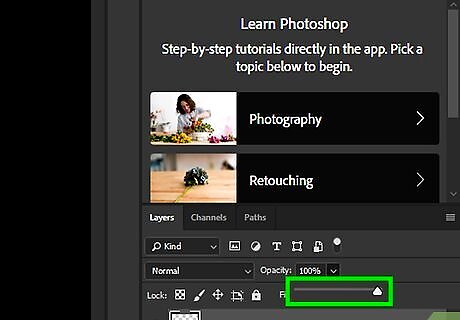
Turn the opacity back to 100%. Click the Android 7 Expand More next to the Opacity percentage and move the slider back up to 100%.
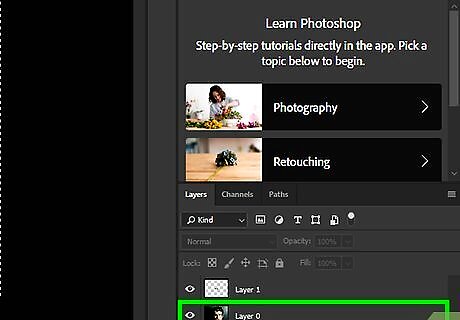
Hold Ctrl (PC) or ⌘ Command (Mac) and click the thumbnail of the face layer. This selects the visible pixels in the layer.
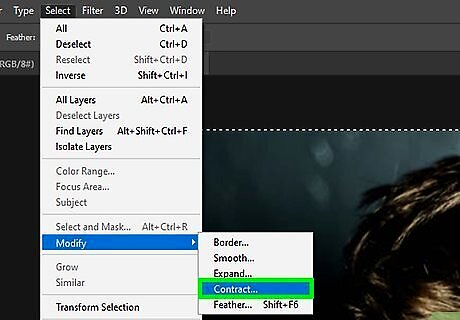
Click Select then Modify, and then click Contract. This will open a new dialogue window.
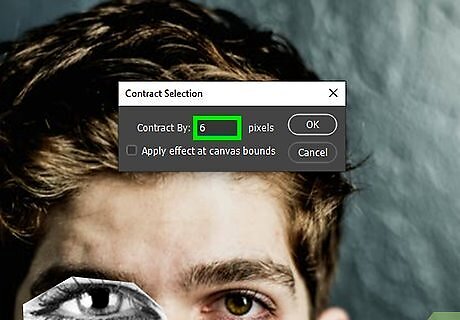
Type in 6 pixels and click OK . This will make the selection overlap the face a bit.
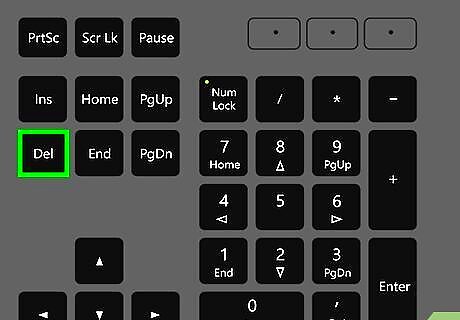
Select the bottom layer and then press Delete. Click the name of the bottom layer to select it, then press Delete. This will delete the face on the bottom layer, leaving a 6-pixel overlap.
Blending the Faces
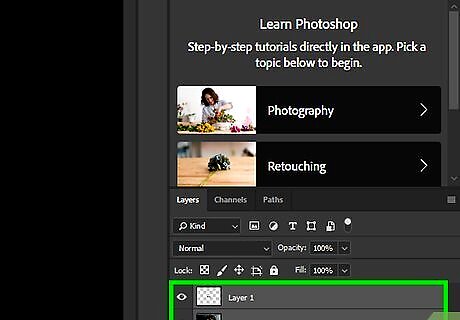
Select both layers. Hold Ctrl (PC) or Command (Mac) and click the name of both layers. When a layer is selected, it will be highlighted in gray.
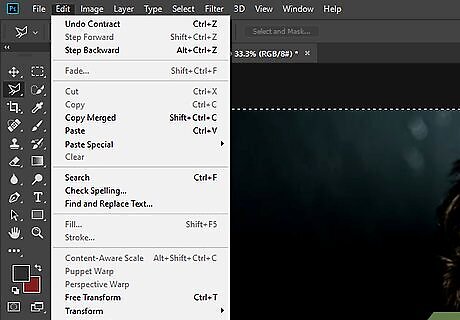
Click Edit, then Auto-Blend Layers. This will open a new settings window.
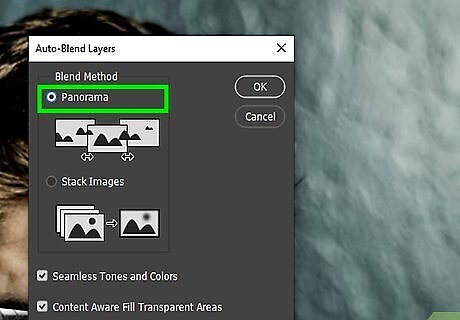
Select Panorama and make sure the box for "Seamless Tones and Colors" is checked.
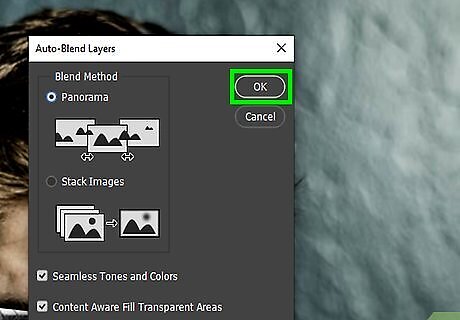
Click OK. Your faces have now been blended!




Comments
0 comment