
- Use the button that changes the direction of the drill to lock it in the neutral setting before changing bits.
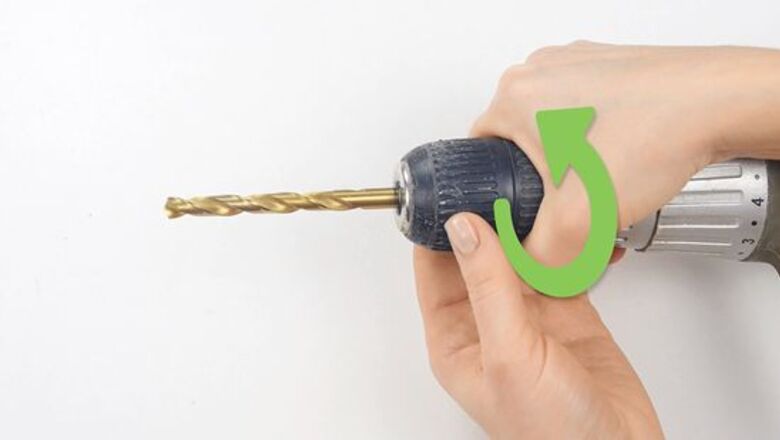
- Twist the chuck at the front of the drill counterclockwise while holding the drill steady to loosen the bit and remove it.
- For old drills with fancy chuck keys, insert the end of the key into the opening on the side of the drill and turn it counterclockwise to remove the bit.
Standard Drills
Turn the drill off or lock the trigger. If you accidentally run the drill when you’re in the middle of changing the drill bit, you may cut your hand. Either flip the power button off, remove the battery pack, or press the small button above the trigger in halfway to lock the trigger. Locking the trigger almost always uses the same button you use to change the drill from clockwise to counterclockwise. The “middle” setting is the safety.
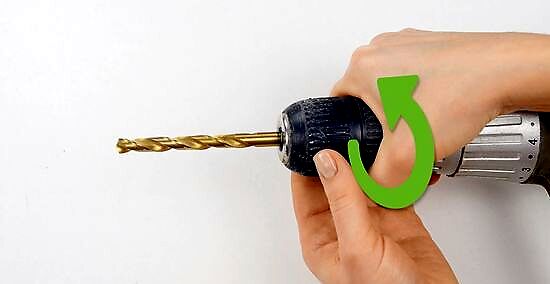
Loosen the chuck by twisting it counterclockwise. The chuck is the piece on the end of the drill that loosens and tightens to hold the bit (when you turn the drill on, the chuck is the part that spins). Grasp the chuck with one hand while you hold the handle of the drill with your other hand. Twist the chuck counterclockwise to loosen it. Loosening the chuck will open the jaws that clamp onto the drill bit. Some old school handymen will hold the drill bit while running the drill counterclockwise. This is dangerous if you aren’t experienced with a drill though, so change the bit by hand to be safe. If your drill chuck is locked in place, your drill may be damaged. Try replacing the chuck to see if that helps.

Remove the drill bit by sliding it out of the chuck. Once you loosen the chuck, the drill bit that you currently have in the drill will start to wobble or fall free. Pull it out of the drill by hand and set it aside. A lot of drills have small drill bit holders near the bottom of the handle to store whatever bit you just took out. Inspect the bit when you remove it. If it looks damaged or worn, throw it out so you don't accidentally use it again later.
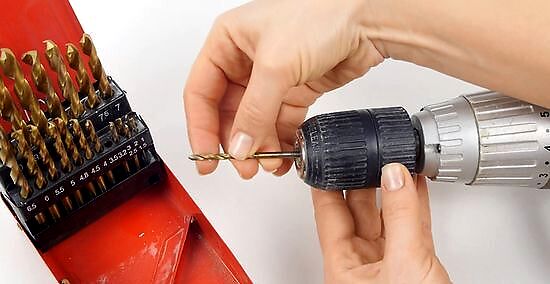
Set the new bit inside of the jaws of the chuck. Hold the bit with your thumb and index finger so that the smooth part of the bit (the shank) is facing the jaws of the chuck. Insert the bit into the chuck so that the usable part of the bit sticks out past the edge of the drill. Keep your fingers on the bit and the chuck since the bit isn't secured and could fall out.
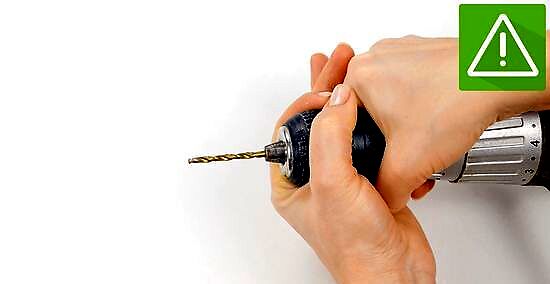
Secure the new bit by twisting the chuck clockwise. Tighten the bit into place by rotating the chuck clockwise until you can’t turn it any further. Hold the bit in place with your other hand while you do this. A lot of experienced drill operators will pull the trigger to quickly tighten the bit. This is risky if you’ve never done it before so just tighten the bit by hand.
Engage the ratcheting mechanism if your drill has one. If your drill has a ratcheting mechanism to apply extra pressure to the shank of a drill bit, you'll need to click it into place. To engage it, firmly twist the ratcheting mechanism next to the chuck in a clockwise motion.
Old School Power Drills with Chuck Key
Turn the drill off or set it to the neutral position. Set the button above the trigger to the middle “neutral” position, which will keep the drill from spinning if you accidentally pull the trigger. Alternatively, you can unplug the drill or remove the battery, if there is one.
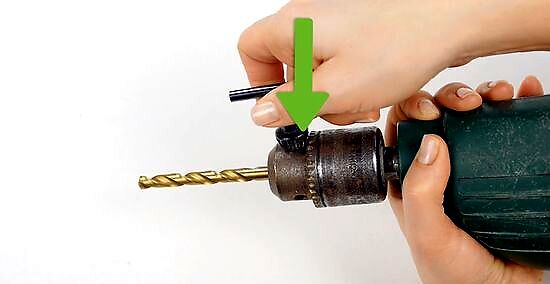
Insert the key that came with the drill into the chuck. If your drill came with a chuck key, use it to loosen the chuck. To insert the chuck key, line up the teeth on the key so that they match the teeth on the chuck and insert the tip into the holes. Many drills that use a chuck key have a secure place on the drill where you store the key. Typically, key chucks are found on specialized power drills rather than the common cordless models.
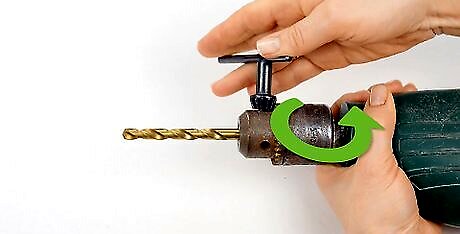
Turn the chuck key counterclockwise to unlock the bit. As you turn the key, the jaws on the chuck will begin to open. Continue turning until the chuck opens enough to easily slide the drill bit out. The jaws are the 3-4 pieces in the mouth of the chuck that extend to hold the bit in place.

Remove the drill bit by hand. Pull the bit out using your thumb and index finger. Set the drill bit aside or slide it into the drill bit holder on the bottom of your drill. If the chuck is opened wide and you turn the drill face down, it may just fall out. Inspect the bit once you've removed it. Check for damage or worn areas. If the bit is dull, replace it. If it's bent or shows signs of cracking, throw it out so you won't mistakenly use it again.
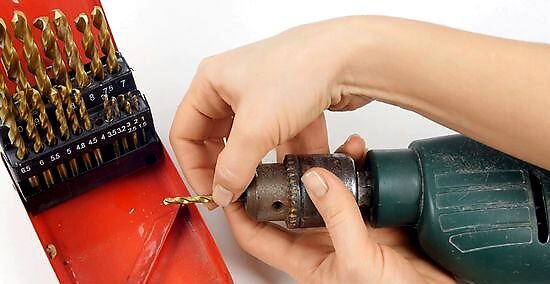
Insert your new bit into the jaws of the chuck. While the jaws on the chuck are open wide, insert your new bit. Hold the bit with your thumb and index finger so that the smooth part of the bit (the shank) is facing the drill. Make sure the usable part of the bit is sticking out past the edge of the drill. Keep your fingers on the bit and the chuck since the bit isn't secured and could fall out.
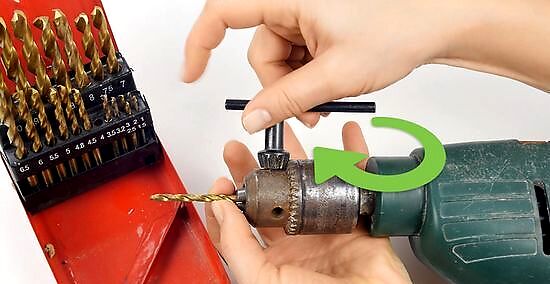
Tighten the chuck with the key by turning it clockwise. While holding the bit in place with one hand, turn the chuck key clockwise to tighten the chuck's jaws with your other hand. Make sure to tighten it firmly so that the bit is secure. Remove the chuck key and voila! You’re ready to drill. Remove your hand from the bit and turn on the drill to test it before using it.


Comments
0 comment