views
Taking Pictures
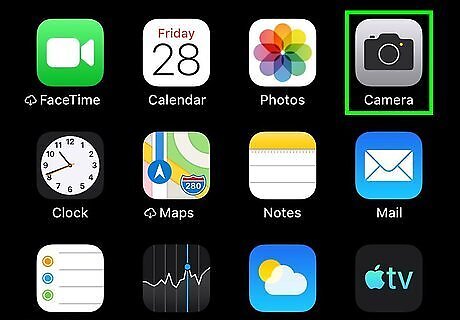
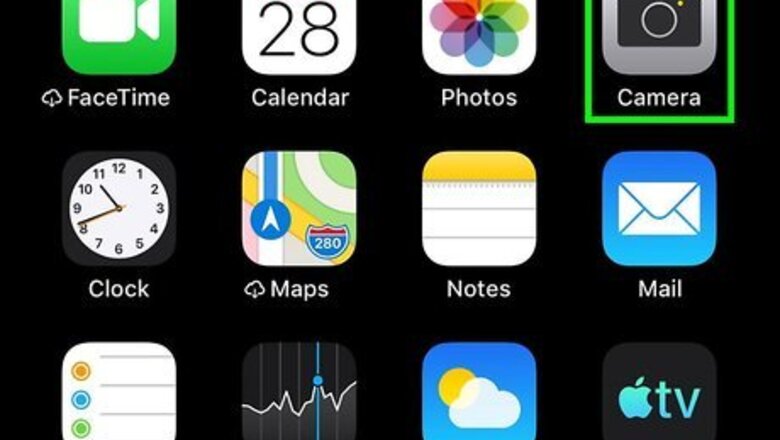
Open the camera. Swipe the lock screen to the left, or swipe up into the action center and choose the camera icon. Alternatively, you can open the camera by searching for the app on the home screen and tapping it.
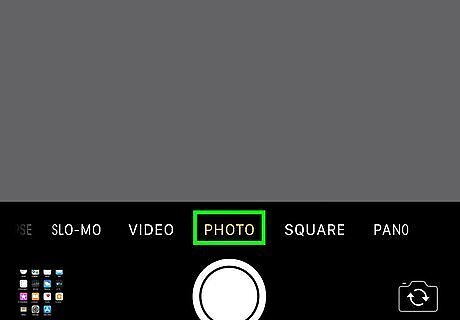
Select your photo mode. For a basic photo, make sure Photo mode is selected. If it isn't, then swipe left or right on the screen until "Photo" is highlighted in yellow under the image. There are four picture modes: Photo, Portrait, Square, and Pano. Photo and square are straightforward to use, but pano works a little differently. Photo mode takes a slightly cropped picture. It is designed to fit the screen of the original iPhone, as well as the iPhone 3G(S) and iPhone 4(S). Portrait mode allows you to take a picture with a blurred background. This mode requires an iPhone 7+, iPhone 8+, or iPhone X and later. Taking a Portrait photo isn't any different from taking a regular photo, since the blur is applied automatically. Square mode takes a picture with the aspect ratio of a square. Pano mode takes a panorama. More on that later in this article.
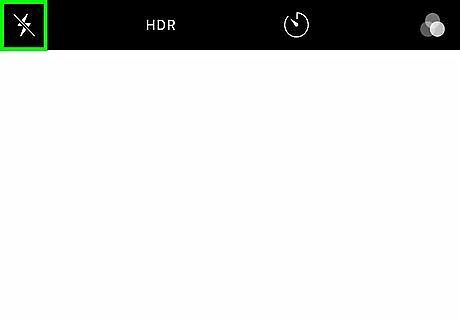
Enable the flash if you'd like. The flash can be accessed by tapping on the lightning icon at the top left of the screen. This will allow you to choose between "Auto" (flash if dark), "On" (flash), or "Off" (no flash). The option you pick will be highlighted in yellow.
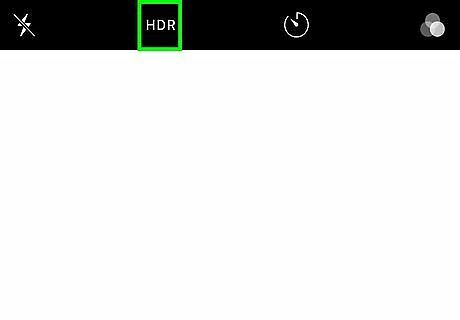
Turn on HDR if you want to. This combines the best of three photos into one. This mode will be listed there if auto HDR is disabled in settings. Hit the HDR option to turn it on or off (a line will appear through it). If you don't see HDR there, that means it's on for all photos, in your Camera settings.
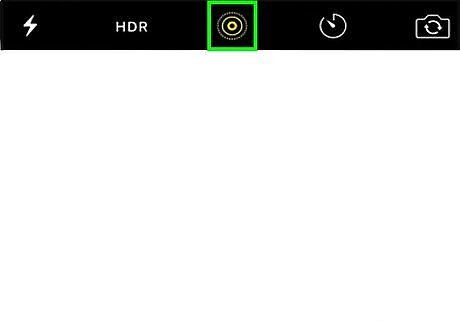
Enable the live photo button (with dotted concentric circles) to take live (animated) photos. These photos can only be animated on iOS devices and Macs. This mode requires an iPhone 6S and later. If there's no line through the circle icon and it's yellow, that means it's enabled; if you tap it again, it'll turn white, show a line through it, and be disabled.
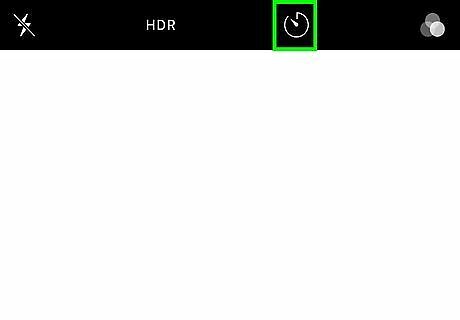
Add a timer if you'd like. The timer allows you to take a photo after a specified time period. You can set a timer by tapping on the timer button and choosing "Off," "3s", or "10s".
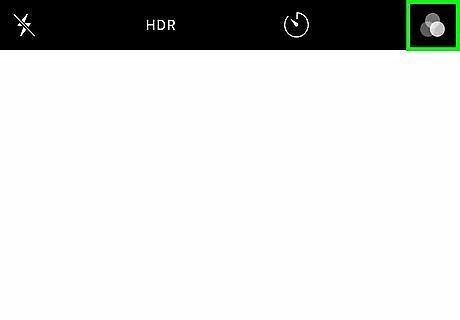
Enable colored filters if you want to. These can be accessed by tapping on the three circles. Your filter options will appear under your photo display. You can scroll between and choose from a set of eight filters or remove the filter if you want to. The flip camera button is located next to the shutter. This flips the camera between the forward and rear facing camera.
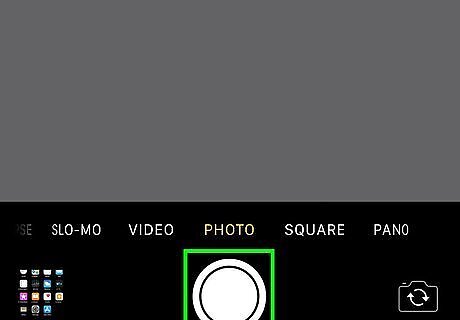
Take a photo once the settings are ready. Tap on the white circle to do so. To take a burst, hold the circle down. This will take multiple photos. You can later view and keep the best parts of your burst in the camera roll. To adjust the lighting to match or highlight an area, tap on the screen, then swipe up or down. To focus on an area, hold your finger down on that area until the square flashes twice.
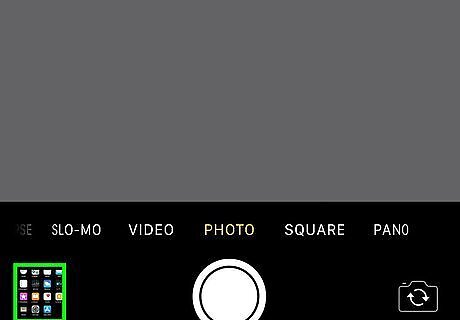
Check out the picture you took. To open the Camera Roll (where your photo was stored), tap on the square in the corner of your screen.
Taking a Panorama
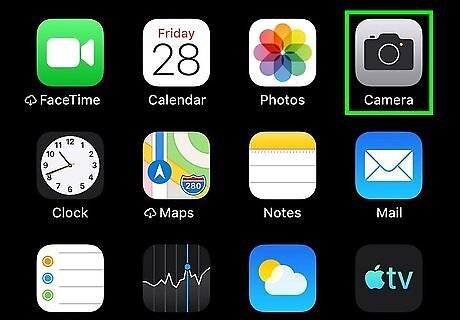
Open the camera. Swipe the lock screen to the left or swipe up into the action center and choose the camera icon. Alternatively, open the camera by searching for the app on the home screen and tapping it.
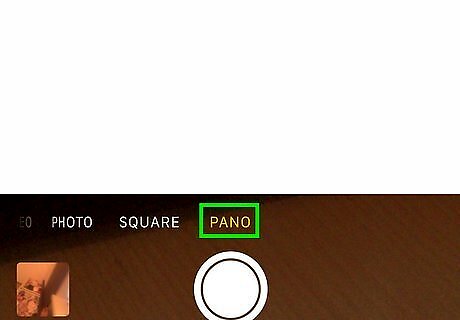
Make sure the camera mode is on "Pano" and that your phone's screen is upright on portrait mode (not landscape). To change the camera mode, swipe on the screen until you see "Pano" highlighted in yellow along the bottom of the photo screen.
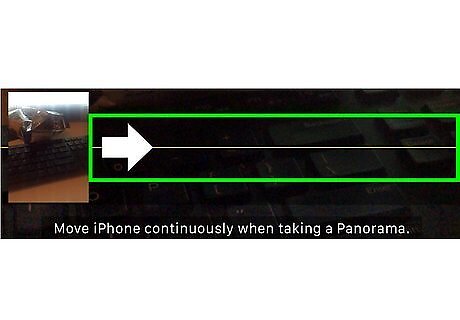
Choose the direction of the panorama. To do so, tap on the arrow to change it from right to left or left to right.
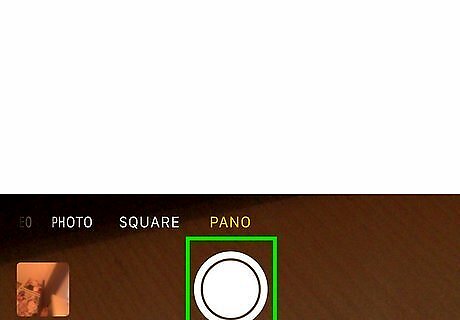
Tap the white button. This will start taking your panorama.
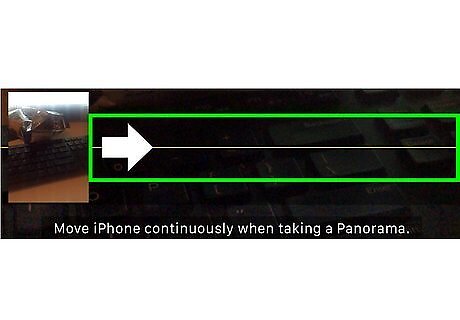
Turn in the direction of the arrow, slowly. While doing so, make sure that you keep your phone steady and on the white line. Adjust your stance/hands up or down as needed to keep the arrow aligned with the line.
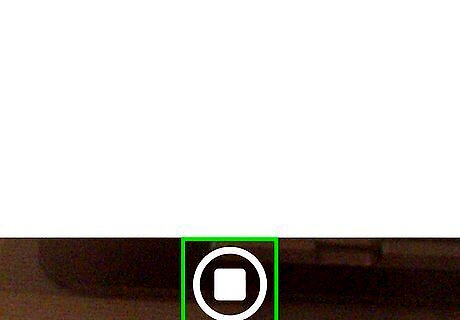
Tap on the white button to stop. If the panorama reaches its maximum size, then the panorama will automatically stop.
Choosing Between Burst Photos
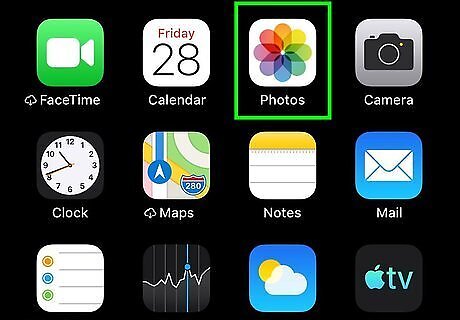
Open Photos. This app has a multicolored pinwheel on it.
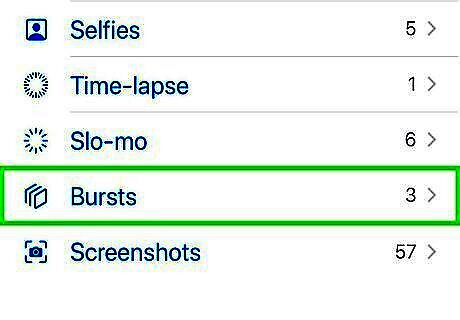
Tap on the photo/burst you took.
Tap on Select….
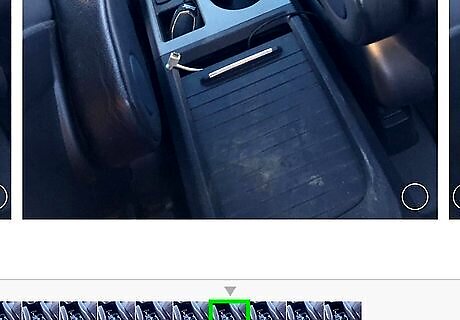
Select your favorite photos. You will know if the photo is selected if you see a checkmark by it.

Tap on Done. Choose whether to keep the burst or only the few photos. If you keep only the selected photos, you will not be able to access the whole burst later.
Accessing Advanced Settings
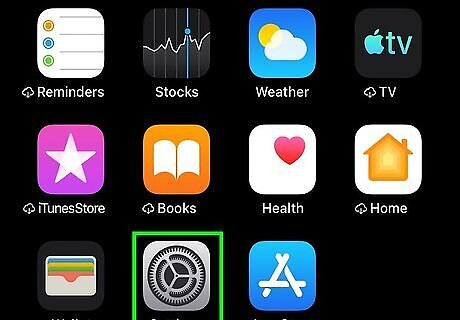
Open the settings iPhone Settings App Icon app.
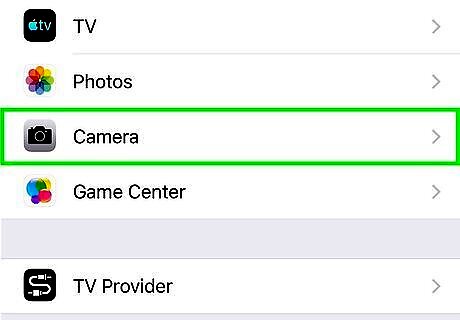
Choose Camera.
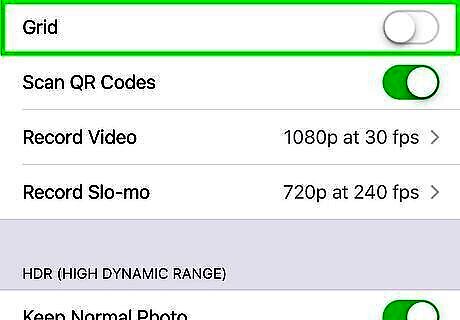
Turn on or off the grid. Slide the button to green to enable it, or to white to disable it. This allows you to take better photos by allowing you to focus your subject in the grid.
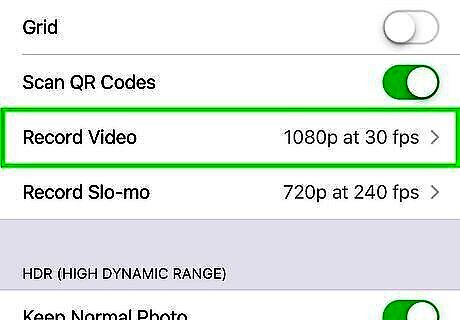
Choose how to record video. You can record video in 720p@30fps up to 4K@120fps, depending on your device. Tap on Record Video to do so and then select your preference.
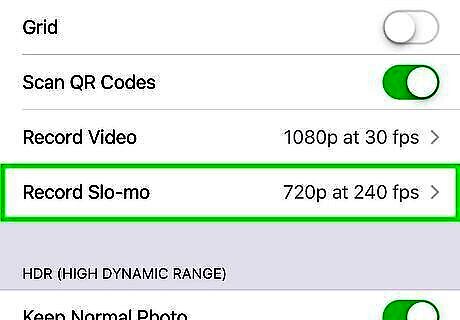
Choose how to record a slo-mo. You can record your slo-mo at 1080p@60fps up to 1080p@240fps. Select Record Slo-mo and then pick your preference.
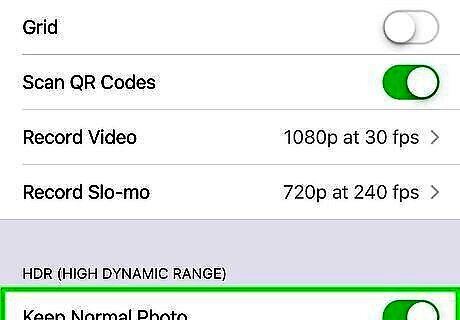
Choose whether to have auto HDR on. Toggle it on/green to have HDR be automatically determined. Turn it off if you would like to apply HDR manually by tapping on "HDR" on your Camera screen.






Comments
0 comment