views
Cleaning and Sanding the Surface
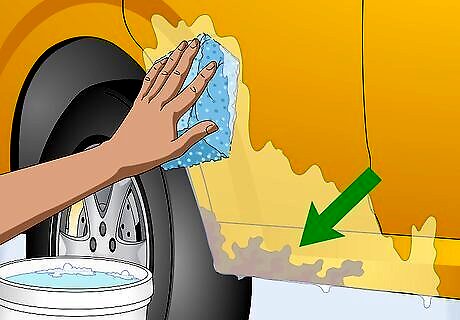
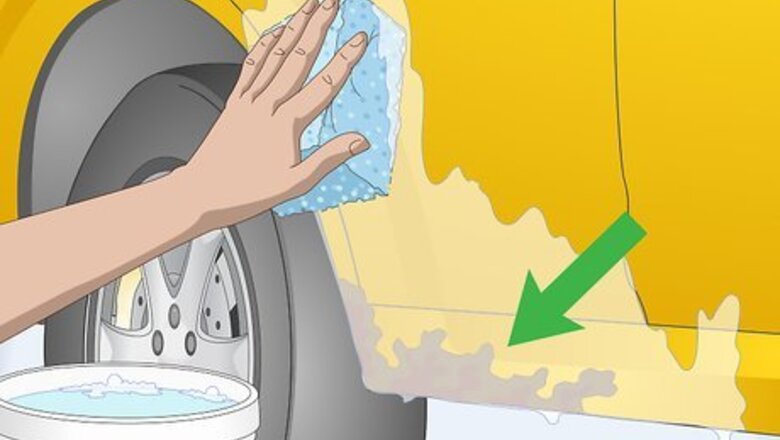
Wash the car. Focus on deep cleaning the area where the paint is chipped. Making sure the area is clean will help you identify all the spots that need to be touched up and will reduce the risk of getting dirt and grime in the new paint. Use car washing soap, water, and a clean, soft cloth to clean the scratched area. Be sure to thoroughly dry the area that is scratched after you wash it.
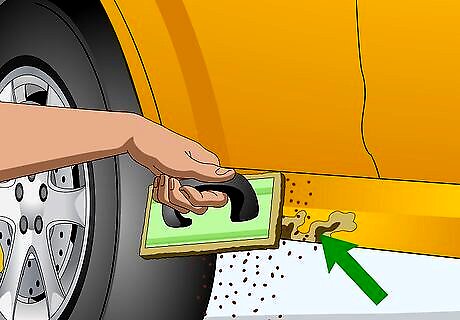
Check for rust and remove any you find. Look at the scratched area for discoloration on the metal. If you find an area that is dark red or brown, it is likely rust. Use sand paper to remove all areas of discoloration and then wipe down the area with a dry cloth to remove any dust. Note: Removing the rust will help minimize the chance of rust developing under the paint in the future.
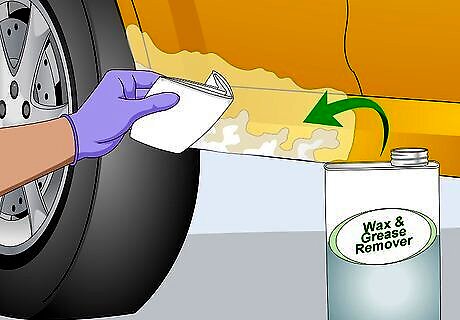
Apply a wax and grease remover to the area being fixed. It’s important to remove any wax on areas that need to have paint adhere to them. Wax isn’t typically removed by soap and water, so a specific remover is needed. Wax removers are available at most auto parts stores. These rust removal products are made specifically for removing rust on the bodies of cars. EXPERT TIP Chad Zani Chad Zani Auto Detailing Expert Chad Zani is an Auto Detailing Expert based in Los Angeles, California. He is the Director of Franchising at Detail Garage, an automotive detailing company with locations around the U.S. and Sweden. He and his team are auto detailing experts that offer detailing and car care services. Chad Zani Chad Zani Auto Detailing Expert Our Expert Agrees: You need to thoroughly prepare the area before you add any touch-up paint or the result might look bad. Remove all the wax and sealant on the area and make sure any dirt and grime are gone as well. Without prepping the spot first, the paint won't adhere well, and it could look 'globby.'
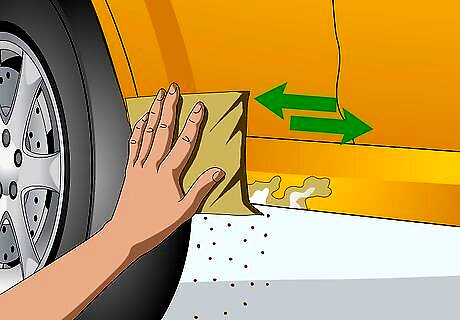
Sand the area to prep the surface. Use a small piece of sandpaper to sand all around the scratch. Try to remove all loose paint from the area while you sand. This process will also give the touch-up paint a clean surface to stick to. Tip: Sand the area with 220-grit sandpaper. This will allow the primer to stick.
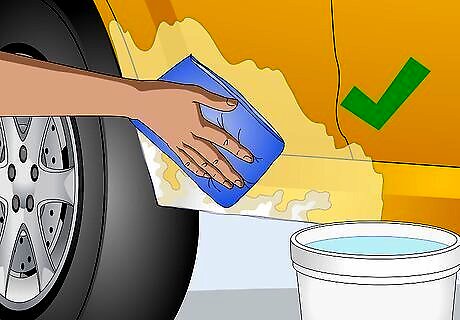
Wipe down the area once more. Wash the area with water to remove any leftover debris from the pre-treating process. Allow the area to dry thoroughly before moving on to the next step.
Priming and Painting Chipped Areas
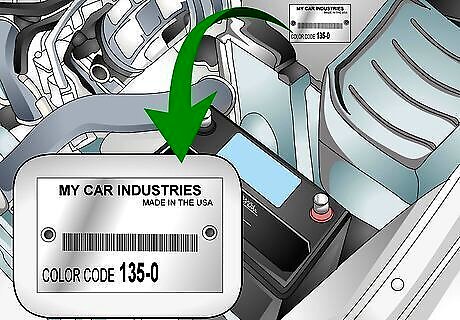
Figure out the exact paint color on your car. If your car has its original paint job, you can do an online search for your car's make, model, color, and the words "paint code." You can also look on the car for the code if you can't find it online. Check the door jam, near the VIN number, and on firewall (bulkhead) to find the paint code number.Note: The firewall is the piece of sheet metal that separates the engine under the hood from the passengers inside the vehicle. You will need to open your hood to find this number.
Buy a matching touch-up paint color. Go to your local auto parts store or contact your car dealership with your paint color in hand. If you have a common car, they will likely have touch up paint for your paint job in stock. If you have an unusual or rare car, they may have to order your touch up paint. Touch up paint comes in several types of containers. It often comes in small jars of the paint or in paint pens. It's important to get an exact match to your car's color, so don't settle on a color that is just close to your car's. Light-colored cars can be difficult to find a perfect color match. Consult an auto paint specialist if you are having difficulty finding the right color.
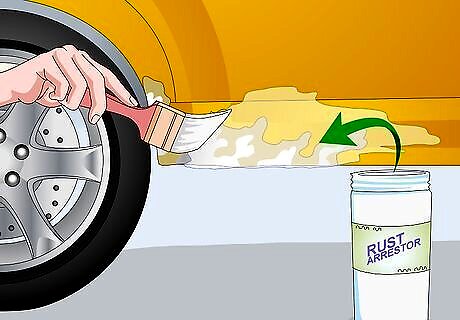
Apply rust arrestor on the chipped area. Before touching the chipped area up, it’s important to prevent rust from spreading underneath your touch-up job in the future. Paint on a small amount of rust inhibitor over the chipped area before the primer. Note: Rust arrestor is available at most auto parts stores. Make sure the one you use states on the package that it can be used under paint.
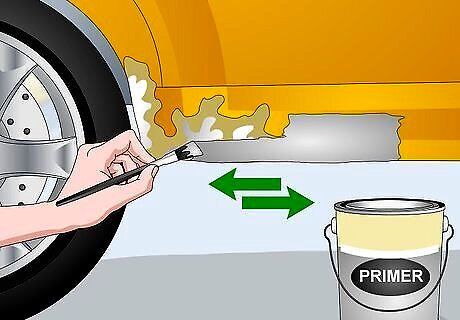
Apply primer, if necessary. Squeeze a dab of primer onto the area if the chip reaches metal. If the chip is surface-level, you can skip this step. Primer is needed for deep chips because regular paint will not adhere to bare metal. Spread the primer around the small chip with a tiny brush. Only use enough primer for one thin coat. Allow the primer to dry completely. Avoid getting primer on the car paint outside of the chipped area. It will ruin the finish.
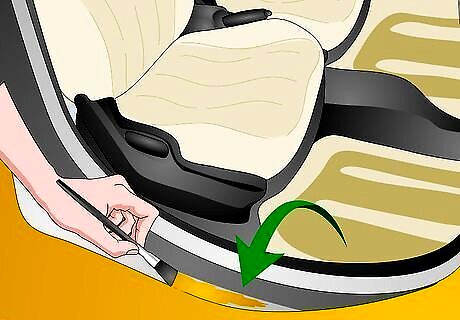
Test the paint. Apply some of the paint to an area on the car that isn't visible, such as the lip under a door. It is important to make sure the paint you've purchased will not react poorly to your existing paint and also that it matches well. Tip: Shake the paint well before testing it. This will ensure that the true color and consistency are tested.
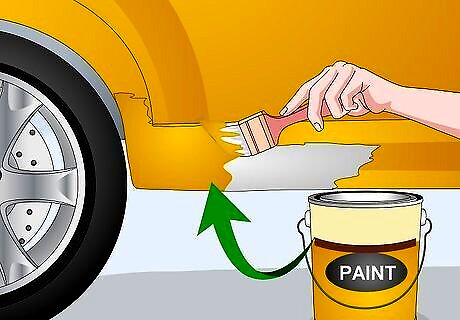
Apply the touch-up paint to the primed area. Spread 2 to 3 layers of touch-up paint on the area. The touched-up spot will look elevated above the rest of the paint, which is how it should look. If the paint chip is on a vertical surface on your car, it’s especially important to wait until the touch-up paint dries between layers so it doesn't run. The painted area should be raised so that it can be sanded down smooth with the rest of the paint job once it is dry.
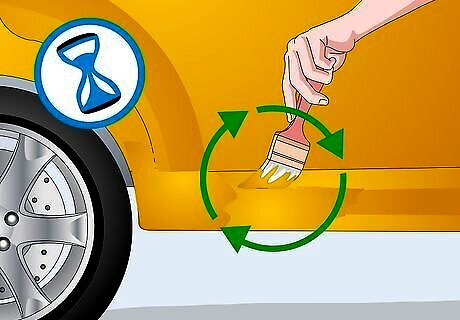
Allow drying time between coats and after the layers are applied. Between each layer let the paint dry for an hour. This will ensure that each layer is set and doesn't get smeared by the next. Also, wait at least 24 hours before continuing the process after you have applied all your layers.
Finishing the Surface
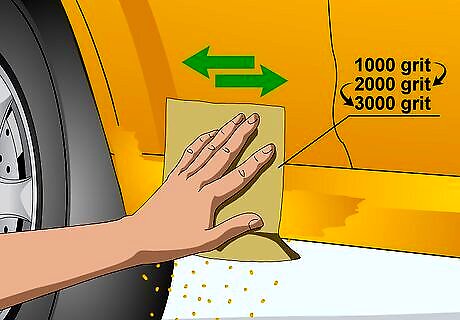
Sand the touched-up area until it is smooth. Start by sanding the area with 1000-grit sandpaper, making sure to move very slowly and gently. Once the touched-up area appears close to level with the rest of the pain, continue to sand gently with 2000-grit sandpaper. After that, rub the area with 3000-grit sandpaper until the touch-up paint is even with the rest of the vehicle. As your sandpaper gets finer, it will remove less and less of the paint. Don’t be tempted to push really hard with the sandpaper because of this. It is ok if you sand a small amount of the surrounding painted area. This will be fixed by the top coat you will apply over the whole area.
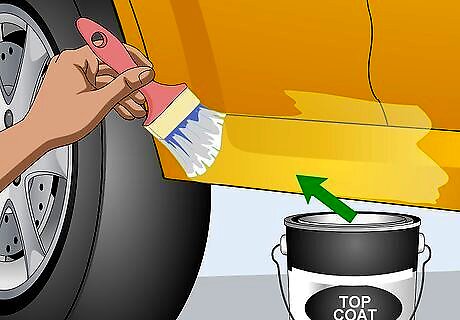
Apply the top coat. Paint the top coat over the entire area that is discolored. Typically this includes the chipped area and the existing paint surrounding it that has been lightly sanded. Try to get the top coat as smooth and even as possible, using a clean brush, even strokes, as several thin layers. Allow your top coat to dry for 10 to 20 minutes between coats. It’s best to apply several thin coats instead of one thick coat. Follow the directions that came on your top-coat container. In some cases they will tell you to apply several coats and in others the directions will state that one coat is enough.
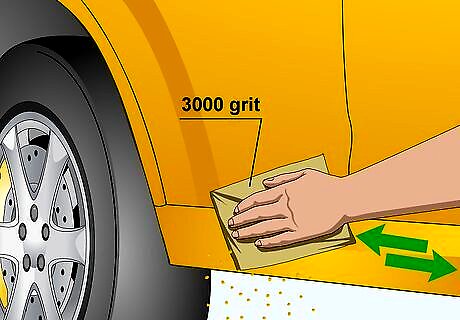
Sand the area once more with 3000-grit sandpaper. Giving the surface one last sanding will ensure that the clear coat you applied is smooth and blended with the existing top coat. Sand it until the repaired area is flush with the rest of the paint surface on the car. Note: At this point the chipped area should disappear into the rest of the paint job.
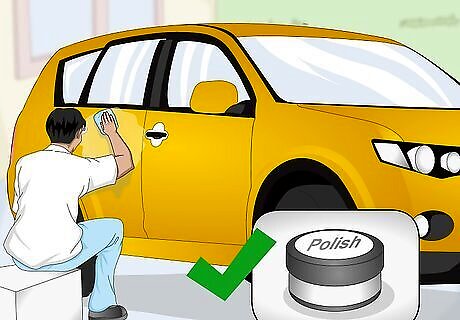
Polish and wax the entire car. Once you have repaired your paint chips it’s nice to give your whole car a bit of care. Polishing and waxing the car will help the repaired area blend in with the rest of the paint job and it will protect the fixed area from more damage.


Comments
0 comment