views
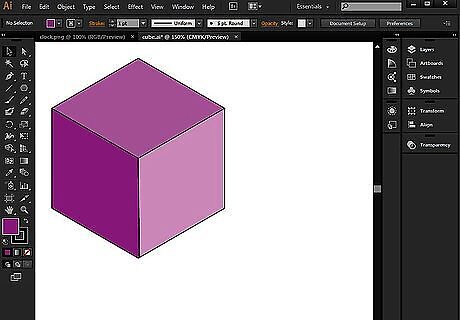
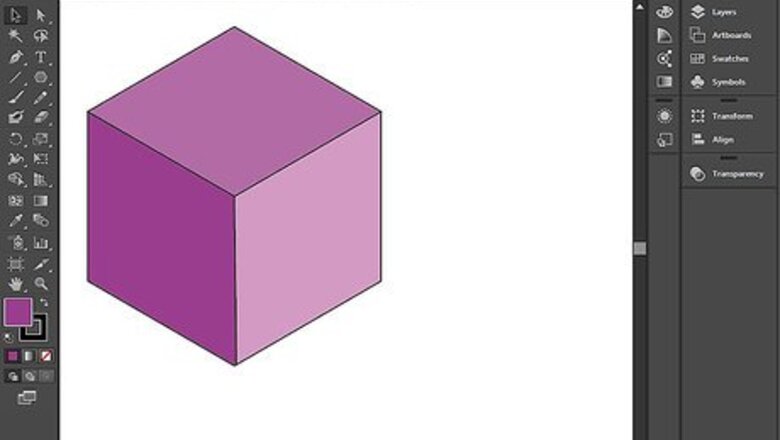
Open an Adobe Illustrator document. You may want to save a new version of an existing document, while you learn to work with the paintbrush tool. Once you have mastered it, you will be ready to change colors, using all its features, on the final document.
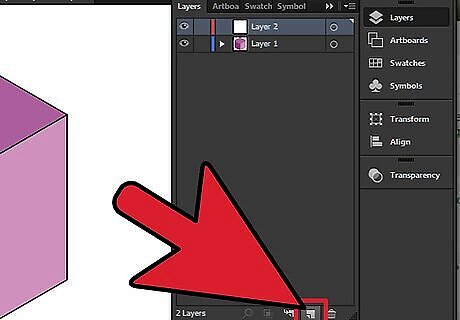
Select the layer that you want to change in your Layers Window, or create a new layer on top of the object to place your brushes on. This will allow you to change the paintbrush work without changing the object itself. You can create a new layer by clicking on the Window Menu on the top horizontal toolbar, and then clicking the "New Layer" button at the bottom of the box.
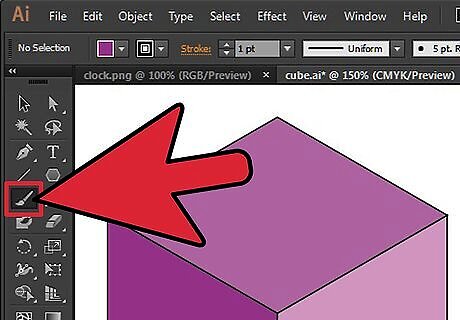
Find the paintbrush tool in your Tools Palette. This is the box of options, listed vertically on the left side of the screen. Select the paintbrush tool by clicking on it, or clicking the letter "b" on your keyboard.
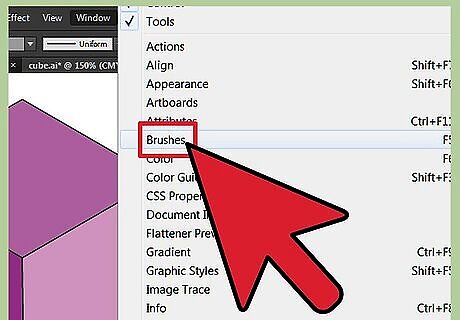
Go to the Windows Menu and choose the "Brushes" option, in order to bring up the brush window. You want to make changes to your brushes and colors before you start to use the tool on your object. Scroll through the window to see your Adobe brush options, and select the size or style of brush you want by clicking on it. You will see that some of your brush options choose the size of the brush that you can use for freehand drawing, while others are automatic brush strokes in a variety of styles. You can also download more of these pre-set brush strokes from Adobe's website or independent graphic design sites.
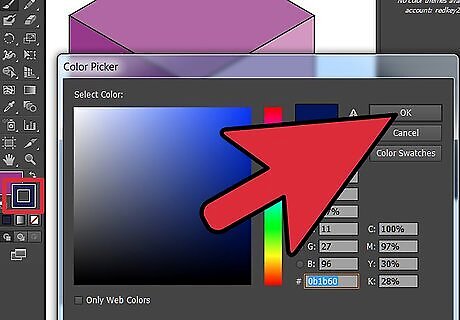
Go to the bottom of your Tools Palette. You should see 2 boxes with colors, with 1 solid and the other an outline. Click on the outline box to change your brush color in the color gradient box that pops up. You do not need to set a color in the solid color box. This is a "fill" color, which is used to fill objects. In the case of brush strokes, you are drawing a line and nothing needs to be filled in.
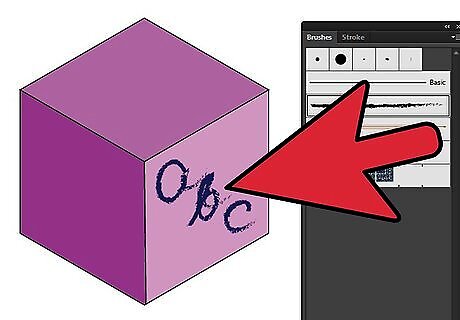
Return to your object. Start to paint on it with your new color. Experiment with drawing using your tool brush, and select new brush strokes from the Brushes Window to see how they look on your object. If you are working with geometrical objects, hold down the shift key as you use a brush stroke. This constrains your stroke to a 45, 90, 135 or 180 degree angle.
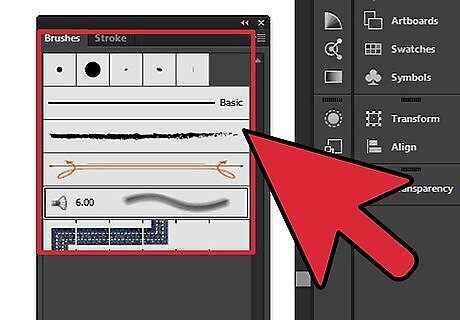
Return to your Brushes Window and find the small box in the lower left hand corner. Open this box to gain access to your library of brush strokes. This includes "bristles," "artistic" strokes and "arrows," among other types of brushes. Once you choose the type of brush that you want to use from the pop out menu, a box will pop up that shows you all of the types of brushes in that category.
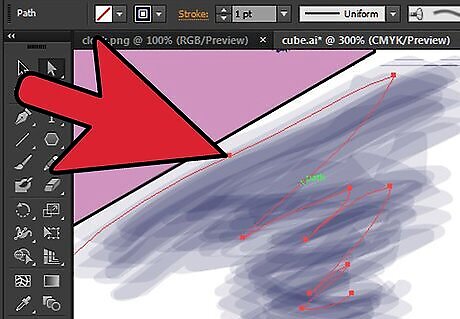
Change your brush stroke by selecting the stroke you have just made with your direct selection tool (black arrow) at the top of your tool bar. Once you click on the stroke, you will see anchor points that allow you to resize the object. This is the advantage of using the paintbrush tool in a new layer, because you can change the brush stroke without changing the object. You can also change the size of the brush stroke and the opacity of the object, by using the toolbar. This toolbar sits directly below the Menu toolbar on the top. Experiment with changing the brush stroke size and opacity when your stroke is selected.
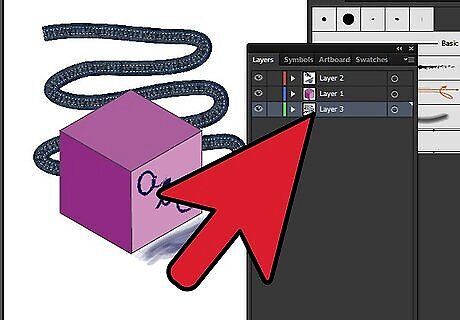
Create a new layer with each new brush stroke style you decide to use, so that you can change your strokes independently. The layers will be compressed on your final document. Once you have experimented with the paintbrush tool, begin to use it on professional documents.




Comments
0 comment