views
Creating a Mold
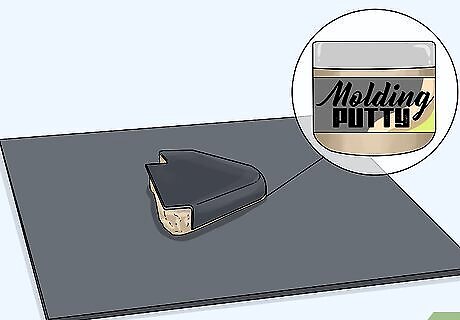
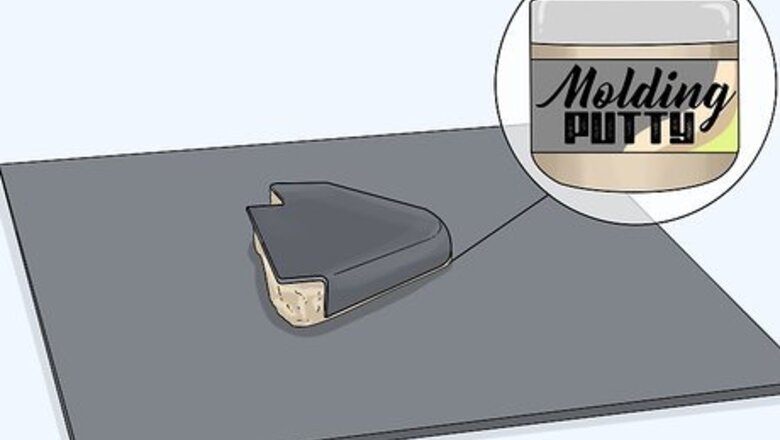
Create a mold by applying molding putty over an existing part. Take the existing part and set it on a piece of backer board. Use a clean cloth to spread a thin, even coating of a wax release agent over the top of the part. When it dries after 20 minutes, brush on a polyester gelcoat. Then, mix the putty with enough of the release agent to turn it a consistent shade of blue. After flattening it and waiting 24 hours for it to harden, spread it over the top of the part to finish the mold. The gelcoat has to be mixed with a separate hardener in order for it to work. The hardener will be included with the gelcoat when you buy it. Stir in about 12 drops of hardener per 1 fluid ounce (30 mL). Use modeling clay to seal any gaps in the mold before adding the release agent. You can shape the clay to create the mold’s edges, which will hold in the molding putty and epoxy. Use a utility knife to flatten the clay. After the mold hardens, remove the old part. Try pulling it out with pliers or tapping it loose with a rubber mallet. All of the supplies needed for the mold can be found online or purchased from most hardware stores. You can also purchase pre-made molds if you don't want to make your own.
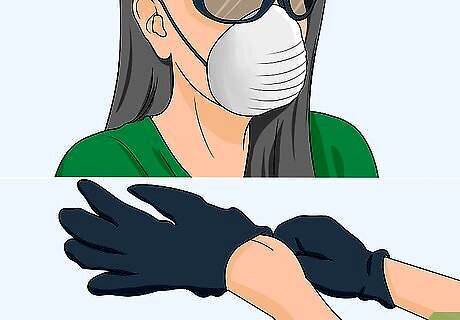
Put on rubber gloves and a dust mask while working. Always wear the correct safety gear when handling epoxy and other chemicals involved in shaping carbon fiber. They are strong and can irritate your skin. Ventilate your workspace as well to eliminate dust and fumes. Open nearby doors and windows to help ventilate the area. Turn on any ventilation fans you have available. Keep other people and pets out of the area until you’re done working.
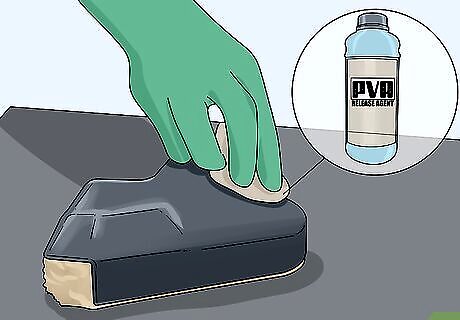
Spread a PVA release agent over the mold with a paper towel. Open a bottle of polyvinyl alcohol (PVA), then dampen a paper towel with it. Apply the PVA over the area of the mold that will contain the carbon fiber. If you’re using a foam and fiberglass mold, for example, spread the PVA over the fiberglass. Make sure the mold is covered with a thin but even coat, including the sides and corners. There are other types of release agents you can use, including spray-on products or silicone. Paste wax is also commonly used. To get all the supplies you need, buy a carbon fiber kit online. Otherwise, buy the components separately online, at general stores, and at hardware stores.
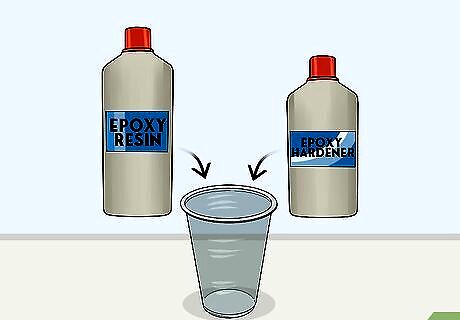
Mix equal amounts of epoxy resin and hardener together in a cup. Epoxy is created by mixing 2 parts, usually labeled A and B, together. Pour the hardener (B) into your mixing cup, then add the resin (A). Use a wood mixing stick to stir them together. While you’re stirring, scrape the epoxy off the sides of the cup several times to ensure it all mixes together thoroughly. The ratio of resin and hardener is typically 1 to 1, but it could vary depending on the product you use. Check the manufacturer’s instructions for more information.
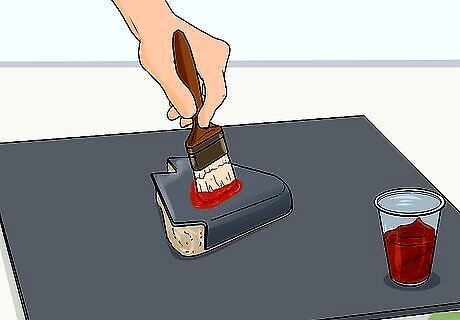
Brush a light coating of epoxy over the mold. Dip a paint brush into the epoxy, then begin spreading it on top of the fiberglass. Coat any area that the carbon fiber will touch. Remember to paint over any side walls, corners, and other tight spots that are easy to miss. Keep applying epoxy until the mold is covered with a thin but consistent coating. Without this initial layer, the finished carbon fiber won’t be completely covered in hardened epoxy. Make sure the entire mold is well-covered in it before moving on. Some areas can be difficult to reach with a brush. If you’re having trouble, use a gloved finger or a mixing stick to spread some of the epoxy around.
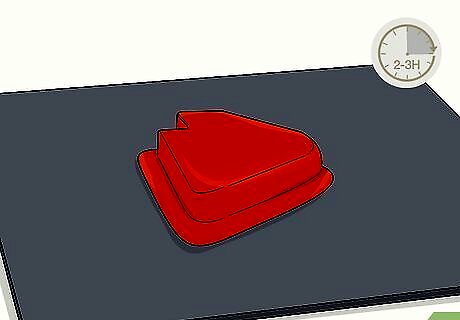
Wait 2 to 3 hours for the epoxy to become tacky. Leave the mold on a flat, level surface with plenty of air circulation. After a few hours, the epoxy will have settled without drying out all the way. Touch it with a gloved finger. Tacky epoxy feels sticky but still a little damp. If you are able to leave a fingerprint in the resin that doesn’t disappear, then it is at the right consistency. Apply the carbon fiber before it has a chance to dry out!
Applying Carbon Fiber Sheets to a Mold

Cut carbon fiber sheets to size with sharp scissors. Plan on using at least 3 sheets to make the finished product thick and strong. Cut each sheet roughly, leaving them a little longer than they need to be to fit into the mold. Make them all the same size and shape. The excess material can be cut off later, so it won’t get in the way. Scissors and razor knives are fine for thin sheets commonly used at home. For thicker sheets, switch to a carbide or diamond-encrusted cutter, such as a saw or Dremel tool. Using more than 3 sheets of carbon fiber is fine and will lead to a stronger, thicker product. Avoid using less than that, however.
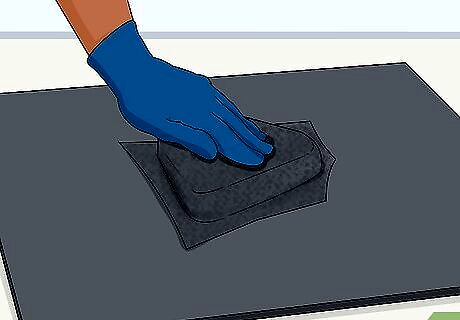
Press a carbon fiber sheet into the mold. Lay the sheet on top of the mold and push it down gently to stick it in place. Run your hand along the center part of the sheet to smooth it out. Then, work around the edges, pressing the sheet flat against the mold as much as possible. Let the excess material hang off of the mold so you can cut it later. The epoxy is sticky, so be careful when lowering the carbon sheet onto it. Don’t press down on it until you’re sure it is positioned correctly. If you’re wrapping something, such as a tabletop, the process is the same. Drape the carbon fiber sheet over the “mold” and press it flat.
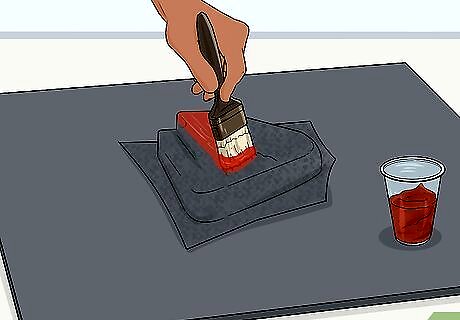
Brush a layer of epoxy resin over the carbon fiber. Mix a fresh batch of epoxy, then brush it on in a thin but consistent coating. Spread it across the center of the mold first, then work along the edges. Take extra time around the edges and corners to ensure they are all covered. If any part of the carbon fiber isn’t covered, it won’t seal correctly. Take your time and double-check the carbon fiber to ensure it is well-coated.
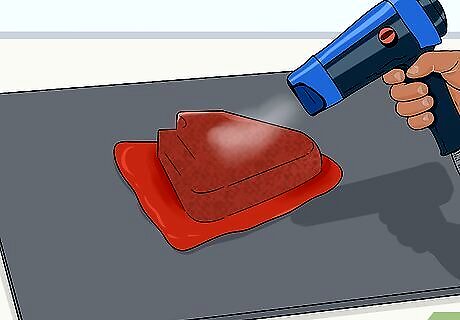
Heat the epoxy gently with a hair dryer to remove air bubbles. The epoxy may have some hidden air bubbles preventing it from settling evenly over the carbon fiber. To fix this, plug in a hairdryer and warm it to its lowest heat setting. Hold it about 6 in (15 cm) from the carbon fiber. Then, move it continuously to eliminate the air bubbles without overheating the carbon fiber. You could also use a heat gun or another tool, but keep the temperature below 200 °F (93 °C) to avoid damaging the carbon fiber or its epoxy finish.
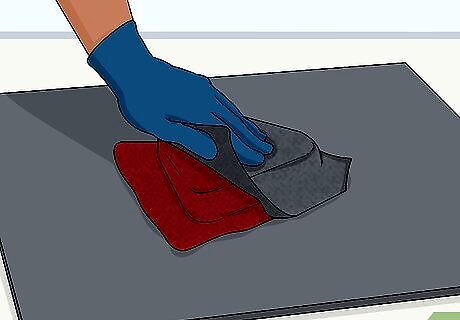
Apply additional layers of carbon sheeting and epoxy. Finishing the mold is just like applying the first layer of carbon fiber. Fit a second sheet over the first one, flattening it out by hand. Follow up by brushing another thin but consistent coating of epoxy onto it. Finally, heat the epoxy to remove air bubbles before adding any extra layers. For most molded parts, do this at least 2 times. You will end up with 3 carbon fiber sheets bound together by epoxy. If you’re wrapping something to cover it with carbon fiber, you only have to use a single sheet of carbon fiber. Remember to coat the final sheet with epoxy as well. Even though you won’t be sticking another sheet there, the epoxy forms a protective layer.
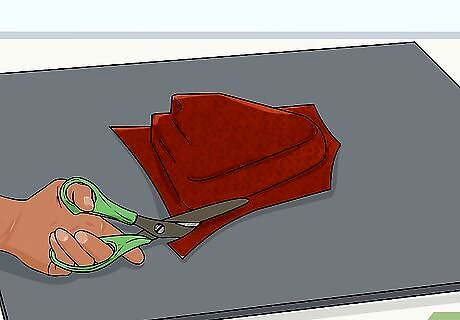
Trim off the excess sheeting with sharp scissors. Go around the entire mold with suitable scissors or another cutting tool. Remove any carbon fiber sheeting overhanging the mold. Cut gradually while keeping a firm grip on the mold to prevent the carbon fiber from coming loose. Make sure the remaining sheeting is the exact shape you want the finished product to be. Remove any cut fibers or excess sheeting so it doesn’t get stuck in the mold. Try to keep the remaining sheeting neat with smooth, consistent cuts so the finished product looks as good as it can.
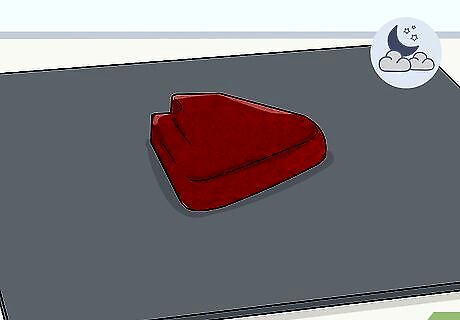
Leave the mold overnight for the epoxy to solidify. Keep it on a flat, stable surface so both the epoxy and carbon fiber sheeting stay in place. Make sure the room has good air circulation. When you come back the next day, the epoxy will have dried out. Once it has hardened, it is safe to touch with your bare fingers. The mold can sometimes take up to 24 hours to dry. If it seems a little soft, let it dry for longer before attempting to remove the carbon fiber. Another way to cure the epoxy is by sticking the mold into a curing oven for several hours. Set the oven so it’s between 250 and 350 °F (121 and 177 °C). Avoid using a regular cooking oven, since it will give off toxic fumes.
Finishing Molded Carbon Fiber
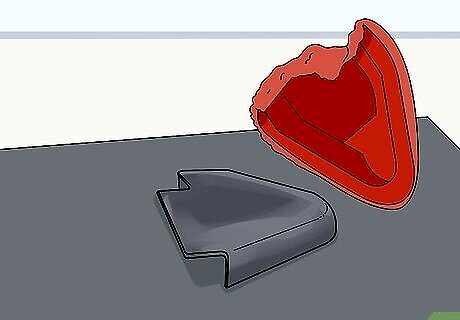
Pull the carbon sheeting out of the mold by hand. Solidified carbon fiber takes a little force to remove, but it can usually be done without special tools. Slip your finger under one side of the sheeting and attempt to lift it up. If it’s stuck, lift up the other sides as well until the sheeting pops out of the mold. If you’re having a hard time removing the carbon sheeting, pry it up with a tool. Plastic wedges work very well and don’t leave scratches. You could also tap the mold with a rubber mallet to loosen the sheeting, but be gentle to avoid breaking it. A rubber mallet is also handy for pounding plastic wedges down under the sheeting.

Sand the carbon sheeting to its final size with 400-grit sandpaper. The carbon sheeting will likely still be a little rough from where you cut it earlier. While wearing a good dusk mask, scrub around the edges. Wear away any excess material first, then give the edges a final sanding to smooth them out. You could then switch to a higher-grit sandpaper like 600 or 1,000 for a smoother finish, but it isn’t necessary. If your carbon sheeting is at the wrong size, use a Dremel tool to easily cut away the excess. Finish it with a piece of 400-grit sandpaper afterward to smooth over the edges.
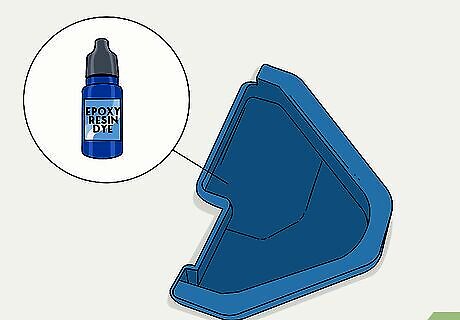
Use an epoxy resin dye if you wish to color the carbon fiber. Epoxy resin comes in a powder form. To use it, mix a fresh batch of epoxy resin first. Then, sprinkle the power in and stir the epoxy into a consistent color. Spread the epoxy onto the carbon fiber afterward. Try using a paint brush to spread it into a thin but consistent coating. Let the new epoxy layer dry overnight before using the new part. Acrylic paint or ink can also be used but will dull the epoxy. Most people prefer the shiny finish left by the epoxy, making dye powder a better choice. You could color epoxy with alcohol ink. However, the ink is flammable and toxic, which can make it a problem in some cases.


Comments
0 comment