
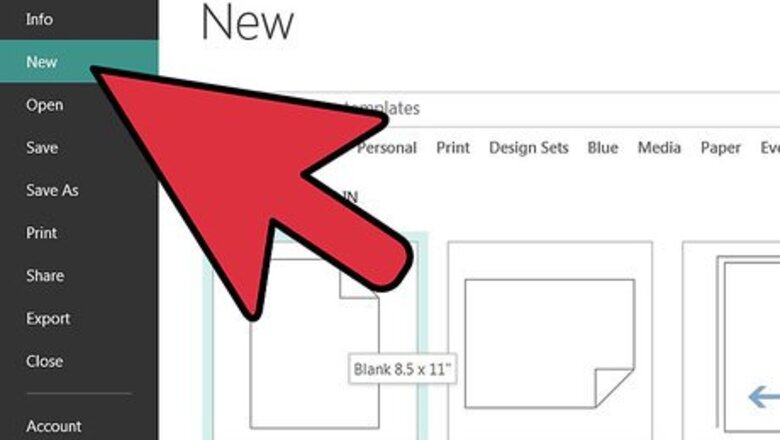
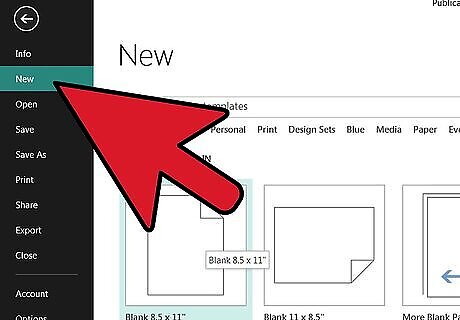
Open a new Publisher document and choose a template. Click on the publisher shortcut in the MS Office folder, located in the All Programs menu. Choose a template from the Publication Types menu on the far left side of the application window. Click the Create button in the lower-right corner of the application window. A new Publisher document has been started.
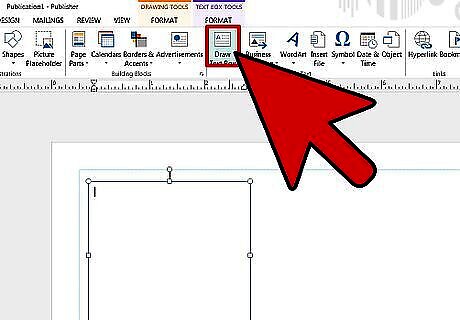
Add text. Insert a text box, or use one of the text boxes included in the template. Type the text into an existing text box, or add a new text box to the template by clicking the Text box button in the Objects toolbar, located on the far left of the application window. Select the body of the text and click the Right-Justify button in the formatting menu on the standard toolbar.
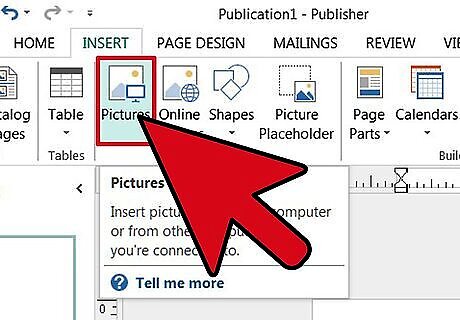
Insert a ClipArt graphic or image file. To insert an image into the document, click the Insert tab on the Standard toolbar, click the Picture option, and select an image saved to the hard drive. To insert a ClipArt graphic, click the ClipArt option in the Insert pull-down menu to open the ClipArt task pane. Select a ClipArt Graphic from the available options by clicking on the graphic to insert into the document.


Comments
0 comment