
Putting the Ship Together
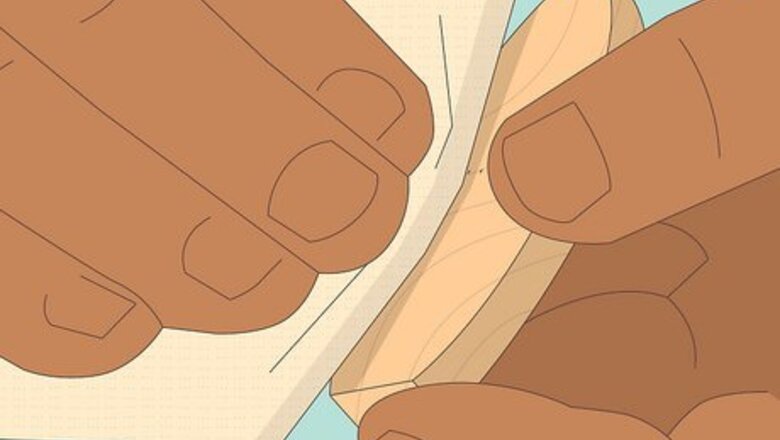
Shape the ship hull with sandpaper. Purchase a model ship kit made from a soft wood, like basswood, pine, or balsa wood.To fit through the mouth of bottle, the ship should be about ⁄2 inch (13 mm) deep and 1 inch (25 mm) wide. Hold a piece of 220-grit sandpaper against the ship's hull and rub the bottom back and forth until it is smooth and about ⁄2 inch (13 mm) deep and 1 inch (25 mm) wide. If the ship's hull is particularly deep or wide, you can use a sharp knife to cut the bottom and sides of the hull before smoothing the edges with the sandpaper. Choose a beginner kit for your first ship, which should include the model ship as well as any tools you'll need to put it together.

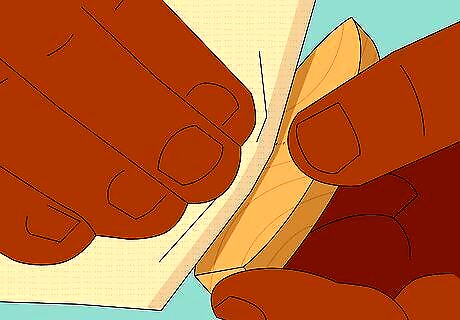
Glue the bowsprit on the ship's front side. The bowsprit is a long, thin wooden piece that juts out on the front of the boat's side. Once you've located it, line it up against the ship's front side and secure it with wood glue on its end. If you're not sure which piece is the bowsprit, check your ship in a bottle kit for clarification. It should be a long piece of wood that resembles a rod.
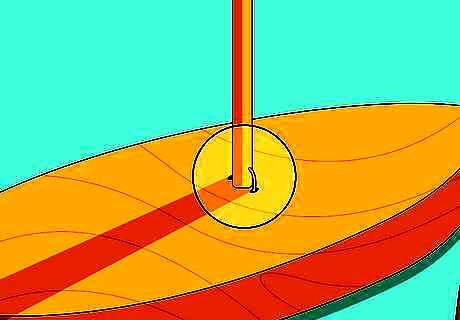
Attach the masts to the hull with wire. Tie a thin wire around the ends of the masts and clip the ends with wire cutters. Place the ends of the masts into the hole openings as indicated by the ship's design. The thin wire should come with the ship kit. If it does not, use 18-20 gauge metal wire. You can find metal wire from most hardware or home improvement stores.
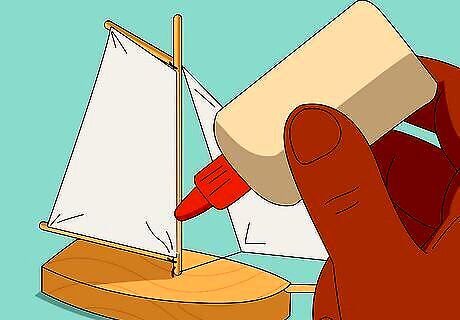
Glue the sails onto the masts and let them dry for 30-60 minutes. Squirt a small line of wood glue on the top and bottom of one side of the ship sails. Press the ship sails against their corresponding mast, referring to the instruction booklet for guidance, and let the glue dry for around 30-60 minutes. If you don't have wood glue in your kit, you can buy wood glue online or from most hardware stores.
Choosing and Cleaning Your Bottle
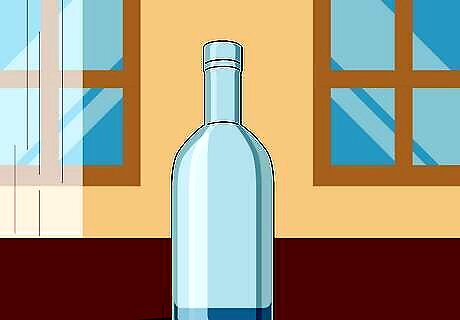
Choose a smooth, seamless bottle for your ship. The bottle you choose should highlight your ship without obscuring it in any way. Pick a bottle without any visible seams, flaws, or raised lettering to display your ship in a bottle as clearly as possible. Although glass bottles are ideal, you can use plastic bottles to display the ship. A wine bottle, for example, makes an excellent container for ships in a bottle. You can also find empty glass bottles at some craft stores.
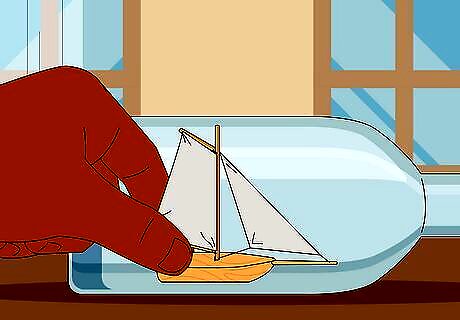
Hold the ship up against the bottle to check its overall size. After attaching the sails to the masts, set the bottle on a flat surface and align the ship next to it. The ship's height and width should be smaller than the bottle's overall size so it fits comfortably inside. If the ship is larger or wider than the bottle, you can either choose a larger bottle or sand the ship to size.
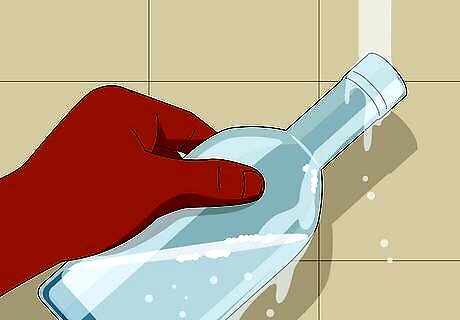
Clean the bottle thoroughly with soap and water. Squirt a coin sized amount of soap into the bottle and fill it halfway with water. Hold your hand over the bottle opening and swish around the soap to remove dirt and debris inside the bottle. Then, rinse the bottle out with running water and let it air dry. You can skip this step if your bottle is already clean or if it came with your ship in a bottle kit. If swishing around the soap does not remove all of the dirty spots, push a washcloth through the opening to rub away stubborn debris.
Paint the bottom of the bottle blue to resemble water, if you want. Dip a foam brush in a blue acrylic paint and cover the outer bottom of the bottle in paint and about halfway up the sides. Use white paint to draw designs in the waves, then leave the bottle to dry for at least 30-60 minutes before placing the ship inside. The "bottom" refers to the side of the bottle that will eventually become where you place the ship over, not the literal bottom of the bottle. For a deeper blue color, paint the bottom of the bottle with 2-3 layers of paint, waiting 30-60 minutes between layers for the paint to dry.
Placing the Ship in the Bottle
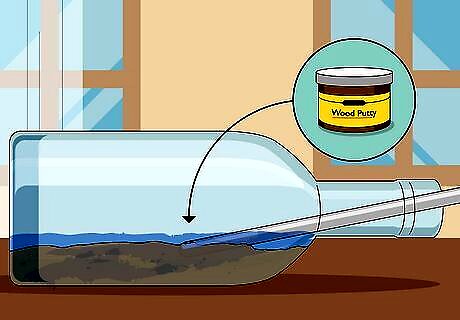
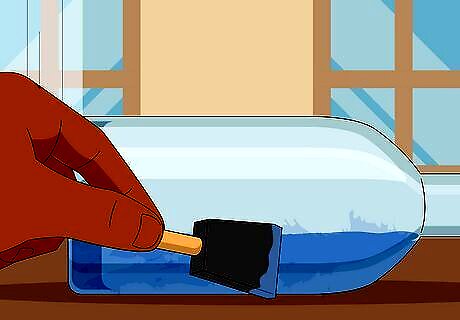
Line wood putty along the inside bottom of the bottle. Using a long, metal rod, stick a piece of wood putty about the same length and width of the bottle's bottom in through the mouth of the bottle. This will help your ship stick inside of the bottle without falling over. You can line the bottle with a layer of glue or epoxy as an alternative, but you will need to place the ship inside faster before it dries. Painting the bottom of the ship not only creates the illusion that the ship is floating on water but also helps hide the wood putty.
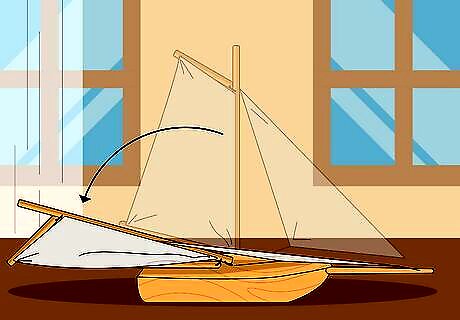
Press the sails and mast down alongside the hull. After putting the ship together, it should fold down along the masts and against the ship's hull. Following your boat's instructions, press the sails and masts down so the boat can fit inside the bottle's mouth. The ship should unfold itself after you push it through the opening.
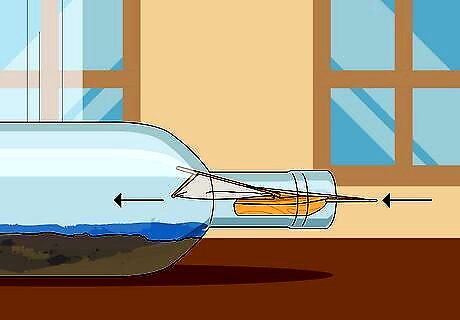
Push the boat through the bottle's mouth stern-first. The stern is the front side of the boat, which usually is closest to the largest sails and points upward. Holding the masts down with your fingers, push the boat into the bottle's mouth slowly until the hull touches the wood putty lining at the bottom. If the boat does not fit through the mouth, choose a bottle with a larger mouth or sand the hull to size.

Position the boat in place with a metal rod. If the boat seems tilted or lopsided, push a metal rod through the opening of the bottle and tap it against the boat. Prod the boat as needed with the metal rod to adjust its alignment and secure it more firmly against the bottom. If you don't have a metal rod, a wooden stick or metal utensil can work just as well.
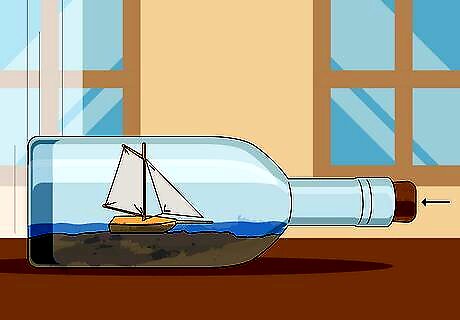
Shut the bottle with a cork, if desired. Bottle corks are a decorative and traditional way to finish your ship in a bottle. If you're using a glass bottle, place a cork through the bottle's mouth and push it in as far as it will go to keep it from falling out later. You can find corks online or from some stores that sell alcoholic beverages.


Comments
0 comment