views
Creating a USPS Online Account
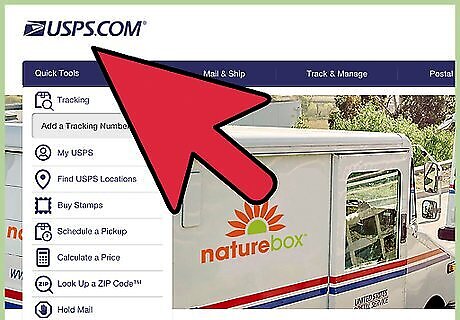
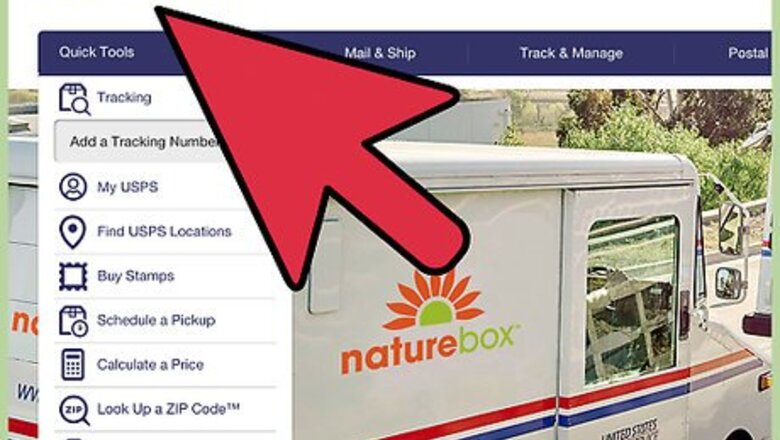
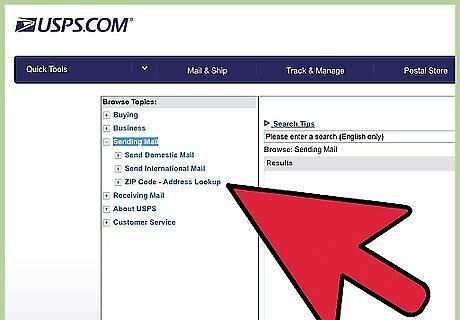
Go to the United States Postal Service website. The most direct way to purchase postage online is through the United States Postal Service (USPS) at usps.com. On the site, you can buy stamps or shipping labels for larger packages.You can also schedule a pick-up for items that you’re mailing, so you don’t have to go to your local post office at all. If you’re not ready to buy postage at the moment, the USPS website can still help you calculate the price for mailing the item so you’re prepared. The USPS website also allows you to locate post office branches, look up zip codes, change your address, or put a hold on your mail.
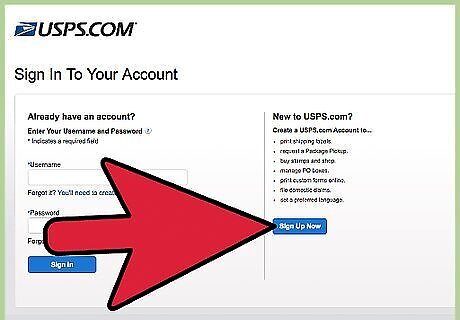
Click the Register/Sign-In tab. In order to buy postage on the USPS site, you need to create an account. Find the Register/Sign-In tab in the bar at the top right hand corner of the website. If you don’t have an account, click the Sign Up Now link to open an account. If you already have an account with the USPS, enter your username and password in the appropriate boxes and hit the “Sign In” button. If you’ve forgotten your password, there is a link that allows you to recover or reset it.
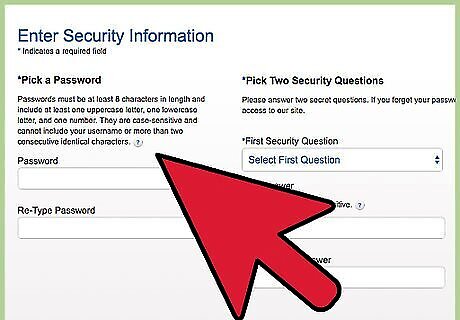
Enter your security information. The first step in setting up your USPS account is ensuring that it is secure. You must choose a username and create a password. In addition, you’ll need to choose two security questions and provide answers that will be used to verify your identify if you ever forget your password. The user name for your account must be at least 6 letters. You are allowed to use your email address if that’s easier for you to remember. The password must be at least 8 characters and include at least 1 uppercase letter, 1 lowercase letter, and 1 number. Passwords are also case-sensitive, and can’t include more than two consecutive identical characters, such as “aaa,” or your username.
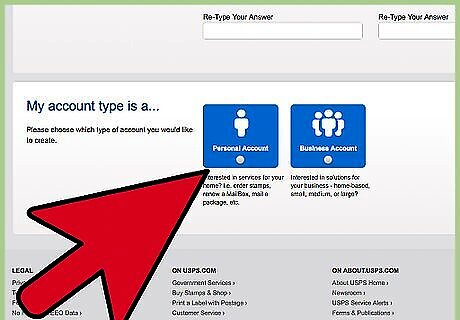
Choose account type. On the USPS site, you can choose between two types of accounts. Create a personal account if you plan to use the site for services for your home, such as buying stamps and other postage, scheduling a delivery, or managing a P.O. Box. If you are using the account for postage services for your small, medium, or large business, select an a business account. If you have a home-based business, you should select a business account, not a personal account.
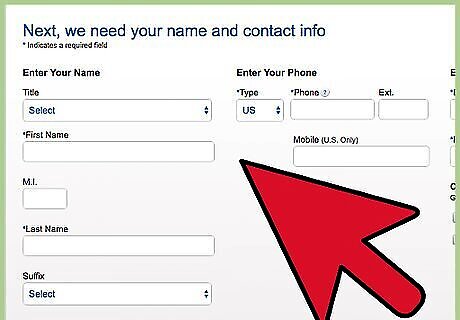
Enter your contact information. The final step in setting up your account is providing your contact information. You will need to add your email address, mailing address, and a telephone number. Once the USPS has verified that your address is correct, hit the “Create Account” button to complete the process. You’ll receive an email from the USPS afterward to confirm that your account has been activated.
Purchasing Stamps at USPS.com
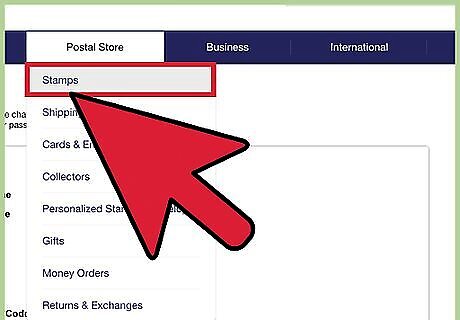
Click the Stamps link. If you’re only mailing letters, postcards, and greeting cards, stamps are usually the only postage that you’ll need. On the USPS website, there are several tabs that direct to different categories of postal services. Find the “Postal Store” tab, which is the fourth from the left, and follow the “Stamps” link. Under the Postal Store tab, you can also purchase greeting cards, change of address announcements, and note cards at the same time that you purchase your stamps.
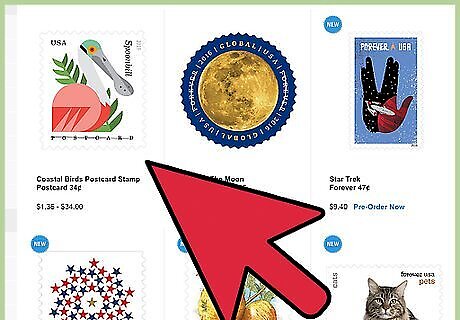
Select your stamps and add to the cart. The USPS offers a wide variety of stamps for purchase, so you can choose from simple flag stamps to those commemorating notable people, historic events, or specific states. Depending on the type of stamp that you want, you can choose from individual stamps, sheets, and rolls. Select the type and quantity that you need, and add them to your cart. First class postage rates, which stamps typically provide, change regularly. It’s best to purchase “Forever” stamps. You’ll pay the current first class rate for them, but these stamps are good forever even if the rates go up.
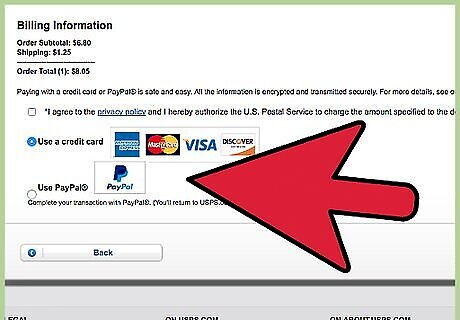
Enter your payment information to purchase. In order to complete your stamp purchase, you’ll need to provide information for the form of payment that you plan to use. You can use American Express, MasterCard, Visa, and Discover credit and debit cards as payment on the USPS website. You can also use PayPal to pay for items in the Postal Store, so you don’t have to enter credit or debit card information into the USPS website.
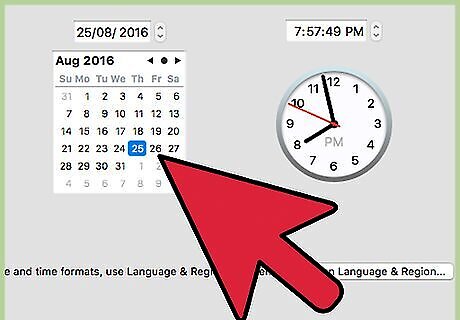
Wait for your stamps to arrive in the mail. When you order stamps from the USPS website, they will be sent to you through the mail. They are usually sent via Standard Post within 2 Business Days, so you should be receive your stamps within 7-10 Business Days.
Purchasing Postage Labels at USPS.com
Weigh your item. When you’re mailing items that are larger than a letter or card, postage is determined by the weight so you need to know how much your item weighs. It’s best to use a scale specifically meant for postal items because it will provide the most accurate weight. You can purchase postage scales at most office supply stores. Place your item on the scale and note the weight. If you don’t buy postage online that often, you probably don’t want to invest in your own postage scale. Instead, use a regular kitchen or bathroom scale.
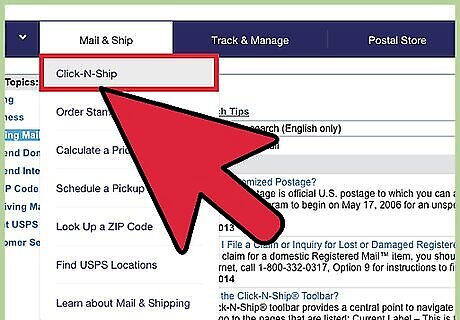
Follow the Click-N-Ship link. On the USPS website, find the “Mail & Ship” tab in the bar at the top of the website. Beneath it, you’ll find a link for the “Click-N-Ship” option. This service allows you to print and pay off postage labels to place on your item. Follow the link to begin the process. Underneath the “Mail & Ship” tab, you’ll also find an option for scheduling a pick-up. That way, you can arrange for the postal service to pick up the item that you’re mailing after you’ve paid for the postage so you don’t have to take the item to a mailbox or post office.
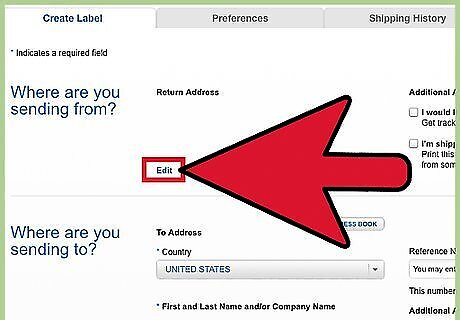
Select a return address. First, you’ll need to provide the return address or the address that the item is being mailed from. The USPS will supply the mailing address that you entered when you sent up your account, but you can edit it if you wish to use a different return address. When you’re selecting a return address, you also have the option of signing up for tracking notifications on the item so you can watch its progress as it makes its way to the destination.
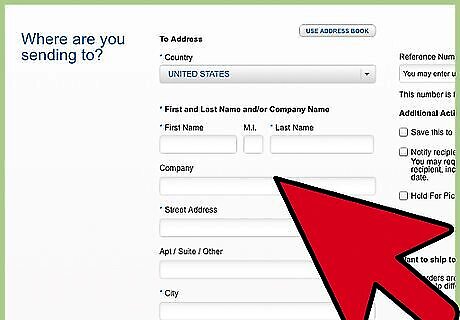
Add a delivery address. Next, you’ll need to provide the address of the person or business that you’re sending your item to. Make sure that all of the information is correct because an error can cause a delay in the item’s arrival. Keep in mind that the site automatically standardizes the address according to postal records. The USPS allows you to create an address book on the website, so if there are certain people or businesses that you routinely send items to, you can store their information to avoid having to enter it every time. You can create your own reference number for the item that you’re shipping to help organize your records. There is a feature that allows you to notify the recipient that an item is coming to them if you provide an email address for them. If you are mailing identical items to up to 20 different addresses, you can create a batch order for your postage instead of entering each on individually.
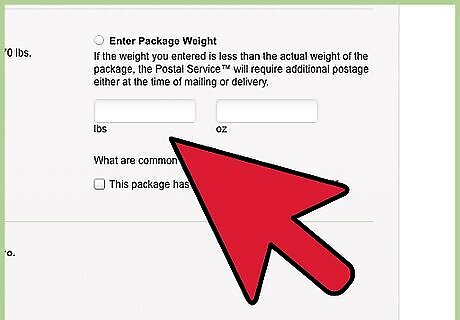
Enter the item’s weight. You can choose a flat rate for your item. That means if the item fits inside one of the USPS’s flat rate boxes, envelopes, or other packaging and weighs under 70 pounds, it ships for a flat rate. However, if you’re using your own box or packaging materials, you need to provide the item’s weight to determine the postage costs. If you haven’t weighed your item, the USPS site provides a list of average prices of items that are often mailed. It’s always best to round up if you’re unsure, though. That way, the item won’t be returned to you for insufficient postage. You can order flat rate boxes from the USPS website, so you don’t have to run down to a post office to pick them up. If you’re sending your item internationally, you’ll also be required to fill out customs forms, detailing what the package contains.
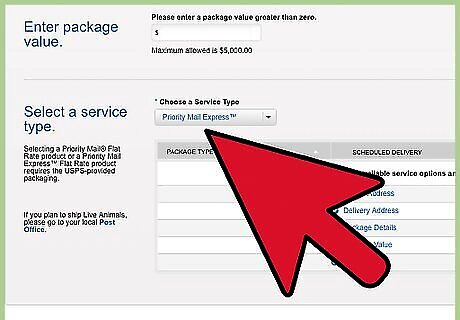
Choose a service and package type. Next, you’ll need to choose the type of mail service that you want for your package. Priority Mail is the standard service, and usually arrives at a domestic destination within 1 to 3 business days. Priority Mail Express is the fastest shipping service that the USPS provides. They commit to your item arriving overnight, and if it doesn’t, you can request a refund. After choosing a service, add the postage to your cart. Priority Mail is the cheaper postage option. Priority Mail Express is delivered 7 days a week, but you must use one of the USPS Priority Mail Express flat rate boxes for your item. No matter what type of postage you choose, you can also add extra services, such as requiring signature confirmation or an adult signature for delivery.
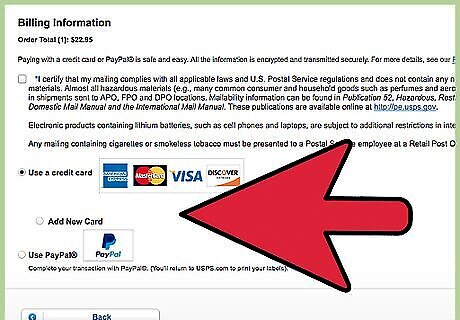
Enter payment info and complete purchase. As with purchasing stamps from the USPS website, you need to provide payment information to cover the cost of mailing your item. Enter your credit or debit card information, or use your PayPal account to pay for the postage. If you choose to store your credit cards information on USPS.com, it is protected using Secure Socket Layer (SSL) 128-bit encryption technology.
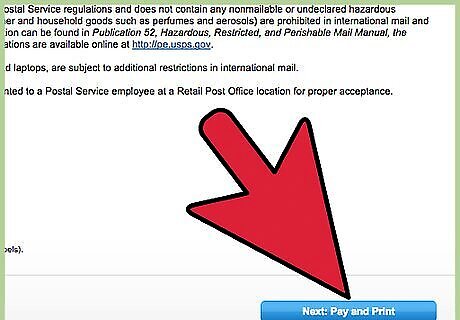
Print labels. After you’ve paid for your shipment, you can print out the postage label to place on the item. Use 8 1/2" x 11" white paper for printing, and glue or tape the label securely to the package. The Priority Mail and Priority Mail Express online labels are approximately 4" x 6” when printed. Make sure not place tape, even if it is clear, over the barcode on your label.
Purchasing Postage Labels Online with Stamps.com
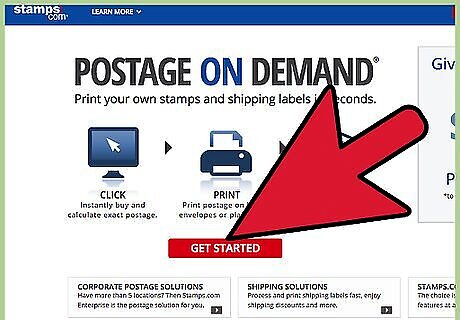
Create a Stamps.com account. If you have a small business that routinely ships items, you may consider postage meter for your office. However, Stamps.com has a partnership with the USPS that allows you to print postage online that is usually cheaper than a meter contract. Visit the Stamps.com website to create an account. You can open a personal Stamps.com account for individual use too. Stamps.com charges a $15.99 a month fee in addition to whatever postage charges you may incur. However, you can usually get a four week trial offer to test out the service and see if it works for you. Stamps.com also provides a free digital postal scale for your home or office to make it easier to figure out your postage costs. There are no contracts involved, so you can cancel your account at any time. To open you’ll account, you’ll need to provide create a username and password, as well as provide contact and payment information.
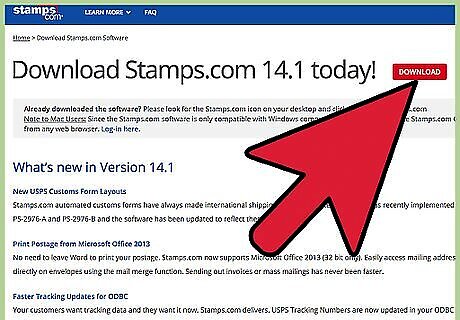
Download the Stamps.com software. To print postage labels with Stamps.com, you need to download their software, which is free. You can find the link for the software at the bottom of the Stamps.com home page under the Support heading. Keep in mind that you can also print labels directly from the Stamps.com website if you log in. The Stamps.com software isn’t available for Mac users, so you’ll have to use Stamps.com Online to print your postage.
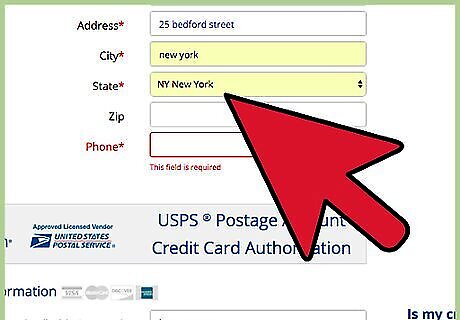
Choose a delivery address. Your return address is stored in the Stamps.com program, so you only need to worry about providing an address for your recipient. Double check the information for any errors because a mistake in the address may cause a delivery delay. You can import an existing address box that you might have in another program on your computer to Stamps.com, so you don’t need to transfer any information yourself.
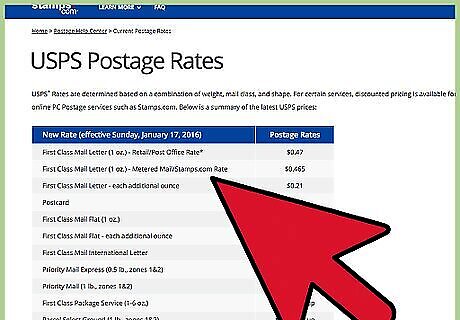
Enter the item’s weight. To figure out the cost of your postage, you’ll need to know how much the item weighs. Stamps.com provides a postage scale with your account, so use it to weigh the item that you’re sending and enter it into the designated field. If you’re estimating an item’s weight, always round up to be safe. Packages with insufficient postage will be returned.
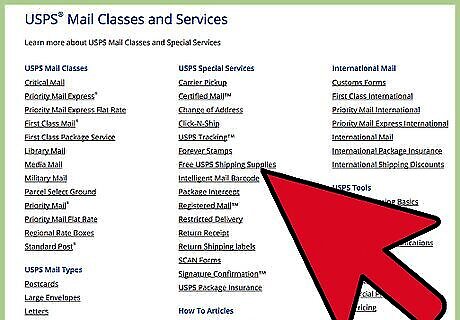
Choose a postage service. Next, you’ll need to choose what postage service you would like to use to send your item. Stamps.com will show you the pricing for each class of mail, so you can choose the service that meets your needs and your budget. The mail classes that you can print postage for on Stamps.com include: First Class Mail Letters and First Class Mail Large Envelopes Priority Mail (Domestic and International) Priority Mail Express (Domestic and International) First-Class Package Service (Domestic and International) Parcel Select Ground Media Mail Flat Rate Boxes and Envelopes Regional Rate Boxes and Envelopes APO/FPO Military Mail Priority Mail Open and Distribute If you’re sending packages internationally, you’ll also need to fill out customs forms for your item.
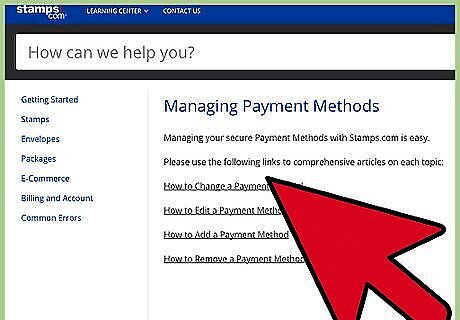
Pay and print labels. Stamps.com stores your payment information, so they’ll charge the same credit or debit card each time you purchase postage. Once your purchase has gone through, you can print the labels with your usual printer and tape or glue them to your item. You can print your postage on plain white paper, labels, or directly on envelopes.


Comments
0 comment