

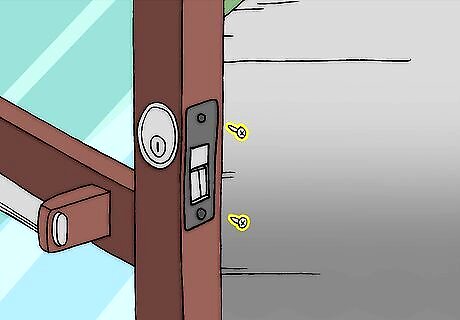
Open door partially to reveal the mortise lock cover plate at the edge of the door. Remove the two retaining screws and set aside.
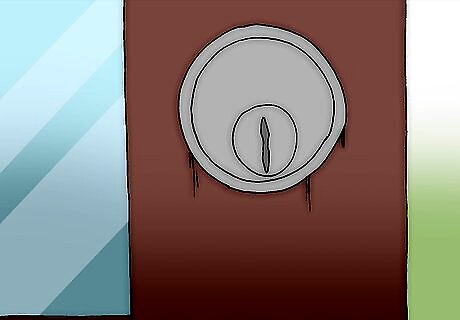
Note the position of the keyway as it relates to the cylinder. Most likely it is at the bottom (six o'clock).

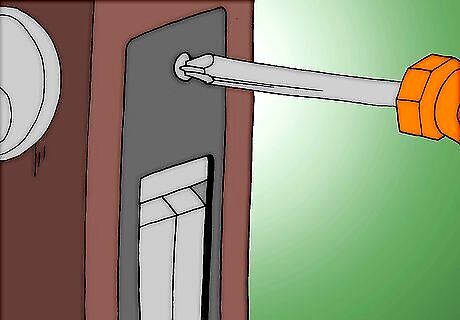
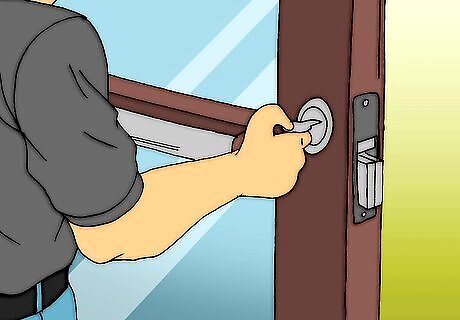
Remove the cover plate from the edge of the door and back out the set screw that is preventing the cylinder from turning. On some applications there may be two set screws, one for the outer cylinder and one for the inner.

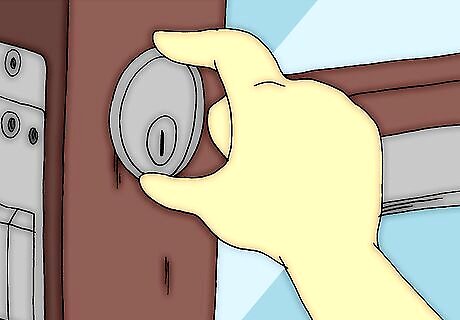
Unscrew the lock cylinder from the body of the mortise lock by turning it counterclockwise (to the left).
Carefully thread the new cylinder into the body of the mortise lock. Use extreme caution not to cross thread the cylinder as this may ruin the entire lock!
Set the cylinder so that the keyway is in the same position as it originally was, usually to the bottom, and tighten the set screw.
Test the lock to make sure it is functioning properly. You may have to back out the new cylinder a turn or two so that everything works smoothly. The store where the cylinder was purchased will have trim rings that will compensate for this.Once the lock is functioning properly, re-install the cover plate at the edge of the door.


Comments
0 comment