views
Removing Old Spark Plugs
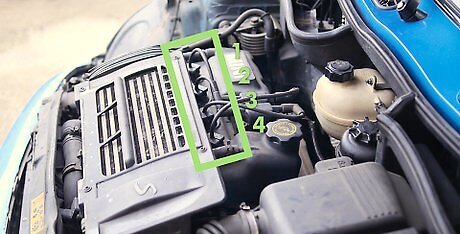
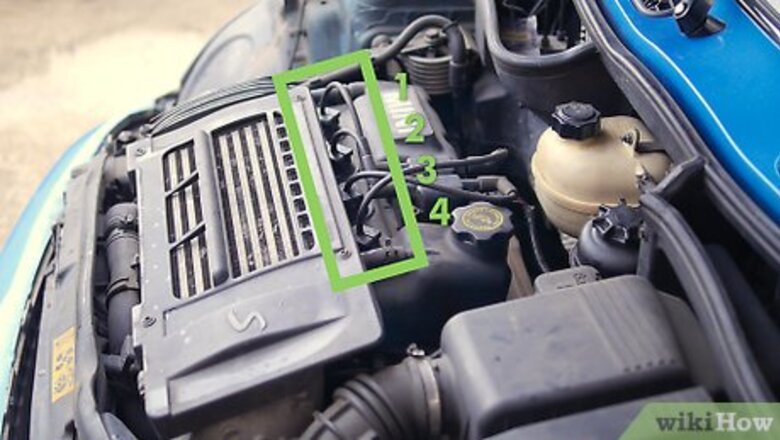
Locate the spark plugs in your car. When you open the hood or bonnet of your car, you should see a bundle of 4-8 wires leading to different points on the engine compartment. The spark plugs are located at the engine end of these wires, under the plug covers that attach them. On a 4-cylinder engine, spark plugs will be located on the top or side of the engine in a row. On an inline 6-cylinder, they are located on the top or side of the engine head. On V6 and V8-cylinder engines, plugs should be separated evenly on each side of the engine. Some cars have engine covers you'll have to remove to see the spark plug wires, tracing them back to find the plugs themselves. You should always check your owner's manual and look up where your spark plugs are, how many you have, the correct "gap" and the size socket needed to remove them. You should also number the corresponding leads to the cylinder so as not to confuse which lead goes where when replacing with new plugs. At this point, it is good practice to inspect the leads for any damage or cracks as replacement leads may also be required.
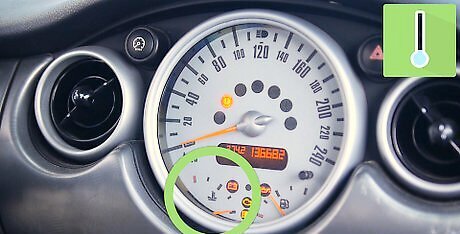
Let the engine cool before removing your spark plugs. If you've been running the car for a while, the plugs and the entire engine and exhaust system manifold can get extremely hot. Only remove them when the engine is cool enough to touch. In the mean time, assemble your tools while you wait for your engine to cool. To change your spark plugs, you'll need: A ratchet socket drive wrench An extension bar Spark plug socket, usually included in most ratchet socket sets A spark gap gauge or feeler gauge, available at any auto parts store
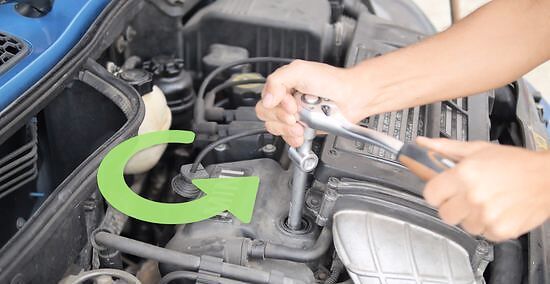
Remove the first spark plug. Pull the wire plug from the engine by gripping it as closely to the bottom as possible and working it gently and carefully off to reveal the spark plug. Don't yank on the wire to pull out of the plug, or you've got a bigger job on your hands and a ruined spark plug lead . Fit your socket wrench with the extension bar and use the ratchet to remove the spark plug from its housing slowly and with caution. When checking to see if the plugs need replacing, simply remove one spark plug and check the gap. If contacts are burnt out, refit the plug and lead to the correct torque setting then go to the auto parts store and get new plugs before removing any more. You will need to remove the plugs one at a time, keeping track of the order. Spark plugs fire in a specific order, and crossing a wire to the wrong plug will make the engine run rough or not at all and can cause damage to your engine. Remember: If you take out more than one spark plug at a time, keep track of your leads and the corresponding plugs by marking them with small pieces of masking tape. Label each wire numerically, then give the corresponding plug the same number.
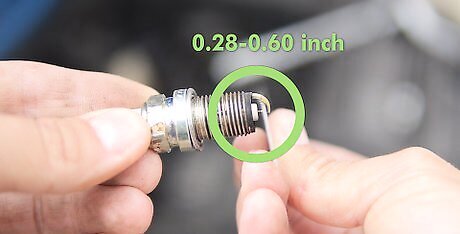
Measure the gap of the spark plug. This number should be a specific measurement anywhere between .028-.060 inch (0.152 cm), with a bit of wiggle room depending on your particular set of plugs and your car. These days, most plugs come preset according to the model number of the plug and their application, but it is wise to double check. Refer to your owner's manual to find out the optimum distance for your spark plug gap and use a gap checker or feeler gauge to check the distance. If the distance of the spark plug gap is higher than it should be, but the plug is still of a relatively high quality and is an adjustable-gap plug, you can either try to change the gap by gently tapping the plug on a wooden surface with the gauge in between the plug gap until the desired measure is set at the correct measurement, or you can simply buy new plugs. It's usually recommended that you replace the plugs after every 20,000 Km or 12,000 miles or as indicated in your vehicle owners manual. Spark plugs are not overly expensive, and it's a good idea to replace them at regular intervals for trouble free motoring and a proper spark. If you're going to start changing your own plugs, invest in proper tools and equipment, such as a fine gap checker. It's basically a metal ring you can use to see if the electrodes are close enough to fire properly. Feeler gauges are even more precise and give a wider range of applications. The same goes for parts: aways buy quality and or genuine parts, it is worth a few dollars more for peace of mind and reliability.
Check the existing plugs for wear. It is normal for the spark plug to appear somewhat dirty even if the plug is working properly, but you will need to change your spark plugs if you see any white, limey build up around the electrodes of the plugs, or if you see any evidence of burning or parts of the electrode missing. Heavy, sooty build-up also suggests that you need to change your plugs. If the plugs are bent, black, or broken, you may have a mechanical problem with your engine and should consult a qualified mechanic or your local car dealer repair shop without undue delay.
Installing New Plugs
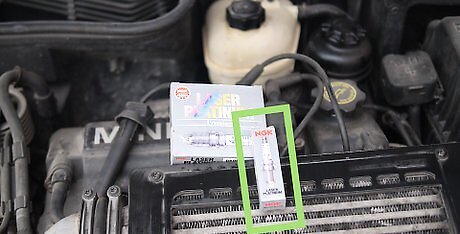
Get the correct replacement plugs. You can either consult your owner's manual or the booklet at the auto parts store that corresponds to your particular make and model and year of manufacture. There are literally hundreds of different combinations of spark plugs and measurements, ranging in price from less than two dollars to 15 dollars, made of platinum, yttrium and iridium, etc. Plugs made of precious metals (such as iridium and platinum) are typically more expensive than lesser metals (like copper) and the coatings resist wear much better. If you are unsure, talk to your auto parts dealer for advice or refer to you local car dealer's spare parts department for original equipment plugs. A good rule of the thumb is to get the same plugs you have in the car currently. Never downgrade to a less expensive plug and don't think too hard about fixing something that works already. The manufacturer installed those plugs for a very good reason, so simplify the process and get the same ones when possible, provided they were the correct ones fitted! Check your manual or with your local dealer. You can typically buy fixed gap or adjustable gap spark plugs, so it's up to you if you want to check your plugs regularly and make minute adjustments. If you do, get adjustable plugs. Above all, you need to make sure the gap measurement is the correct measurement for your car. If you check it yourself, you'll know for sure. Remove it from the package and do a quick check to verify the measurement.
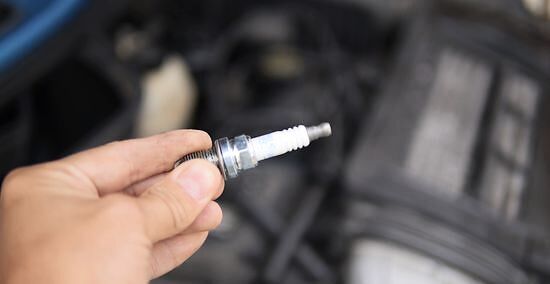
Consider cleaning around the threads before reinserting the new spark plugs. When you're changing your plugs, it's also a good opportunity to check the wires for wear and to clean up around the wire terminal. Use a wire brush or compressed air to clean up around the wire connections and make sure you've got a good, clean port. Replace the wires if necessary.
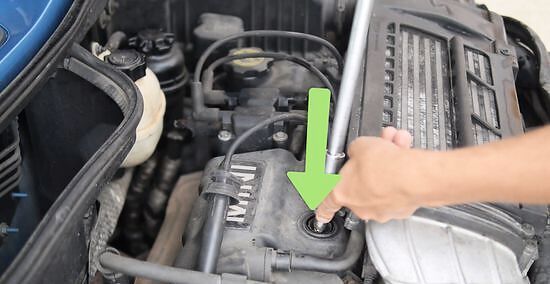
Insert the new plugs and tighten with your ratchet. Using the spark-plug socket, remove each plug from the engine, and replace each with a new spark plug. Tighten a bit (say, 1/8th of a turn) past hand-tight only. Never over-tighten the plugs as you can easily strip the thread on the head of the engine, and repairs are costly and time consuming. Remember to replace the spark-plug cables on the same plugs they originally came from, and to remove the masking tape once done. If you prefer, you can find the torque specification for the plugs in your vehicle's service manual (not owner's manual) and use a ratchet with a torque setting.

Lubricate the plugs prior to installing them. Try putting a very small amount of anti-seize lubricant on the plug threads if you are installing them in an aluminum engine. The anti-seize prevents a reaction between dissimilar metals. You can also use a small amount of dielectric silicone compound on the inside of the spark plug wire boot to make the plugs easier to remove in the future. Always turn the plug backwards on the thread until you have located the hole correctly so as not to cross-thread your new plug to avoid damaging the head and plugs. Make sure you put the spark plug wire boot back on the spark plug. You may have to push on it a little harder to get it to "snap" on. If you don't put it on correctly, you could cause the engine to misfire (which will make the ride feel very shaky and rough).


Comments
0 comment