views
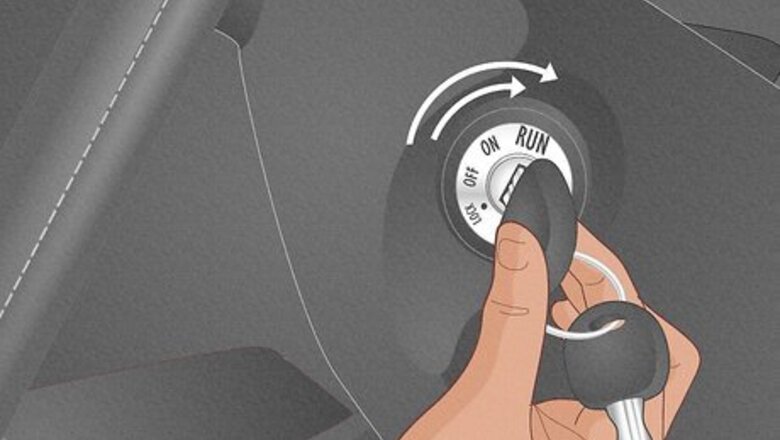
- Turn your keys in the ignition to the “II” or “RUN” position, but do not start the engine. Press the “ODO/TRIP” button to change your dashboard display to “TRIP A.”
- Turn your car off, then press and hold the “ODO/TRIP” button. Turn your car back on to the “II” or “RUN” position while holding the button.
- If you have an electronic display dashboard, navigate to “Settings,” “Vehicle Settings,” and “Scheduled Maintenance.” Click “Yes” to reset the light.
- The maintenance reset process might vary for different Camry models. If these steps don't work for you, look up the reset process in your car's user manual.
Turning Off the Light with the Odometer Button
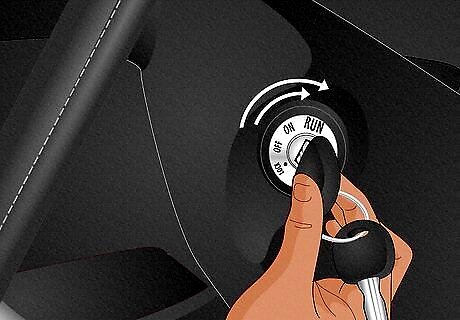
Turn your keys in the ignition twice to turn on the car, but not the engine. Place your keys in the ignition and turn them twice to the “II” or “RUN” position. This turns on your car’s electronics, but does not start the engine. For cars with a push-to-start button, keep your foot off the brake and press the button twice.
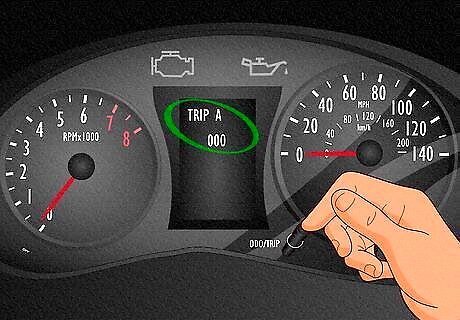
Press the “ODO/TRIP” button on your dashboard and toggle to “TRIP A.” On your dashboard, find the long, stem-like “ODO/TRIP” button. It is typically on the bottom, right-hand corner of the dashboard. Just press the button until your dashboard display reads “TRIP A.” If you have a 2002 to 2006 Camry, change your display to “ODO” instead. Some newer Camrys have an “ODO/TRIP” button on the steering wheel.
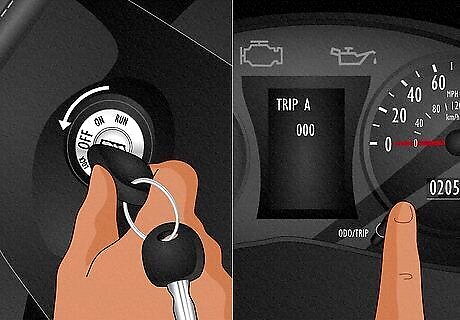
Switch your car off, then press down on the “ODO/TRIP” button. Turn your keys all the way to the left in the ignition to turn your car back off. Then, hold down the “ODO/TRIP” button with your finger.
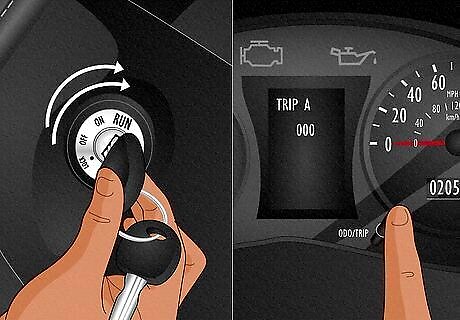
Turn your keys in the ignition twice while holding the “ODO/TRIP” button. Keep your finger on the “ODO/TRIP” as you turn your car back on to the “II” or “RUN” position; do not start the engine. Depending on your Camry model, you’ll see the maintenance light flash, flashing dots on the dashboard, or receive a “Resetting Maintenance Data” message. When the dashboard flashes all zeros, the maintenance light is reset. You’ll typically hear several beeps as the light resets, too. If you have a push-to-start button, press it twice with your foot off the brake.
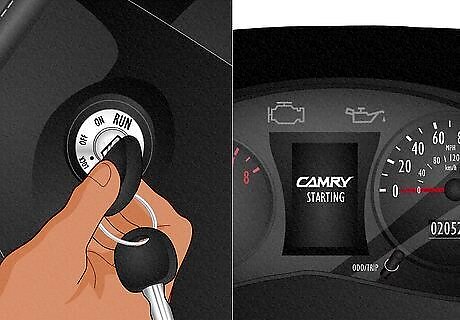
Start your car’s engine to verify the light is off. Turn your keys all the way over in the ignition to get your engine running. If you no longer see the maintenance light illuminated on your dashboard, you successfully reset it. If you still see the maintenance light on your dashboard, go through the resetting process again.
Removing the Light with the Dashboard Display
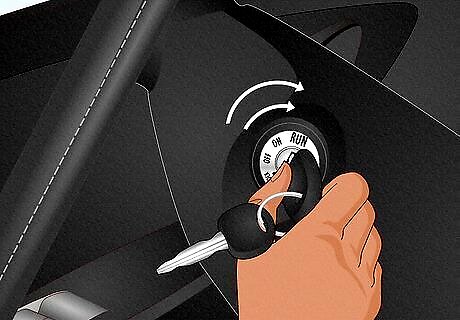
Turn on your car’s power, but do not start the engine. This method only works if your car has an interactive, electronic dashboard display that’s controlled by arrows on your steering wheel. To start the maintenance light reset, put your keys in the ignition and turn them twice to put your car in the “II” or “RUN” position. In this position, your car’s engine is not running. If you have a push-to-start button, keep your foot off the brake and press the button twice.
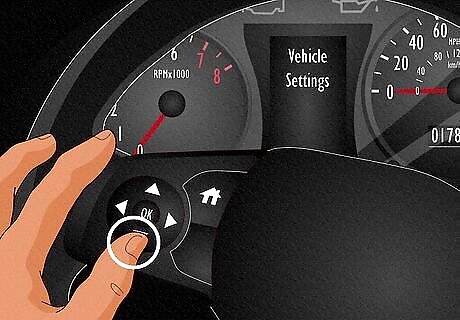
Use the steering wheel arrows to find “Vehicle Settings” on the dashboard. Press the back arrow button to get rid of the “Maintenance Required” message. Then, use the right arrow on your steering wheel to toggle through the menu on your dashboard. Scroll until you find the gear icon or “Settings.” Use the down arrow to locate “Vehicle Settings” then hit the “OK” or “Enter” button to select it.
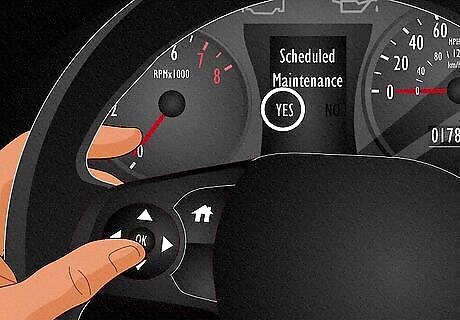
Select “Scheduled Maintenance” then click “Yes” to reset the light. Use the down arrow to scroll through “Vehicle Settings” until you find “Scheduled Maintenance.” Press “OK” or “Enter” to select it. You’ll see a message asking if you want to reset the maintenance data, so simply click “Yes” to reset it. After a few seconds, you’ll receive a message that the reset is complete.


Comments
0 comment