views
Harvesting Gladiolus
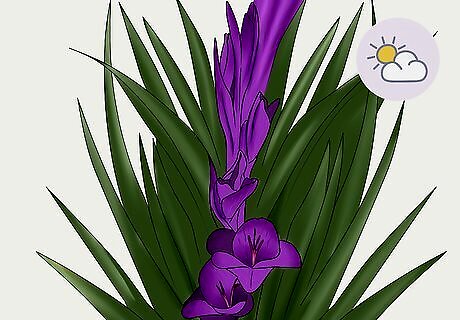
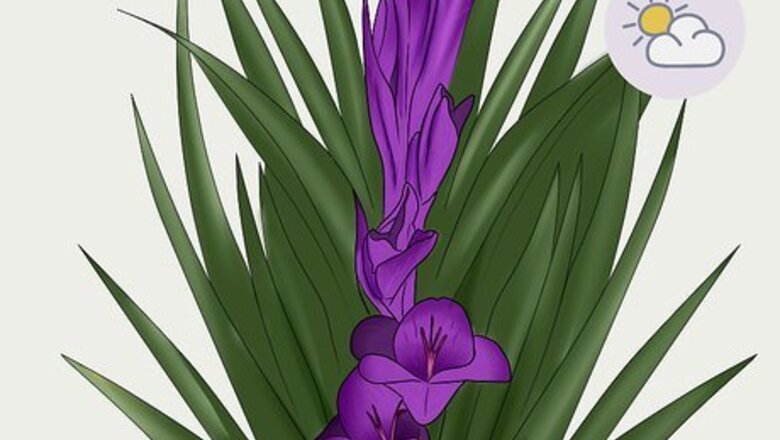
Harvest gladiolus in the morning when 1 or 2 bottom flowers have opened. It is best to cut gladiolus at the point when 1 or 2 flowers are already open—the lower ones will open first. This will ensure that the flowers stay fresh longer once they’re in a vase. It’s always best to cut flowers in the morning when the air is cool and the plant is the most hydrated.
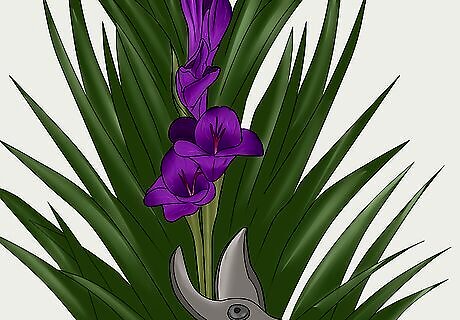
Cut the stalk at an angle, leaving at least 4 leaves on the stem. Use a sharp blade to slice the stalk at a slanted angle because it will allow the plant to take in more water. Leave at least 4 leaves on the base of the stem so the plant can rebloom next year. Avoid using scissors or a blunt tool because these will crush the cells in the stem, shortening the cut flower's life span.
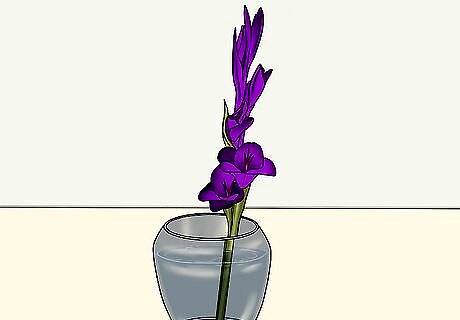
Place the cut stems into a container of water immediately after cutting. Put the freshly cut stems into a bucket of water as soon as you can after you cut them. Fill the container with enough water to cover at least the bottom 3 inches (7.6 cm) of each stem. You may want to bring a bucket of water into the garden with you to make it easier.
Arranging Gladiolus Stems
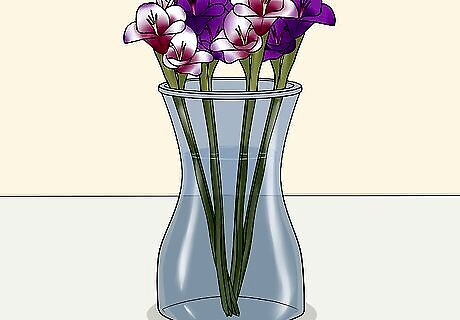
Fill a heavy vase 2/3 of the way full so that each stem is submerged. Choose a heavy vase that can counter the weight of the stems. If possible, use a taller vase to keep the stems upright—that way, the spikes won’t bend. Be wary because the cut flower stem is tall and heavy and can tip over a lightweight vase. A tall cylindrical vase with a weighted bottom is a good option. Make sure the vase isn’t too wide at the top so the stems stay as vertical as possible. Add weight to the base with gravel or pebbles. If necessary, add more water to the vase to provide some stability.
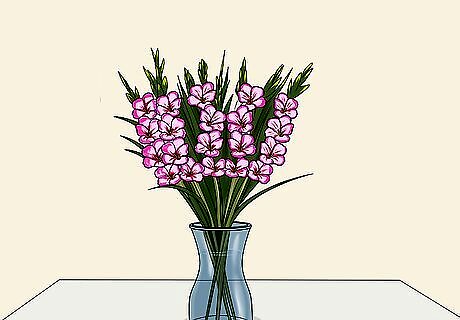
Arrange the stems evenly around the vase for stability. Make sure all the stems aren’t leaning on one side of the vase, especially if it’s a tall one. Disperse some of the weight by leaning each stem around the vase like numbers on a clock. If you are making a multi-flower arrangement, use those to pad the space between the gladiolus stems so they stay in place.
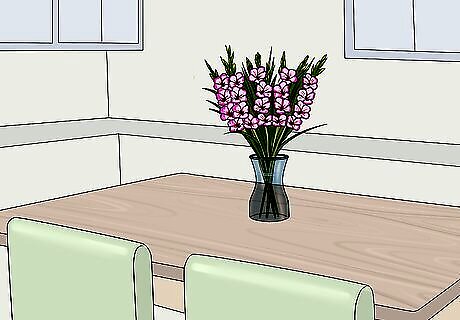
Place the vase in a cool, non-drafty place away from direct sunlight. Avoid putting the gladiolus anywhere near an air conditioning unit, fan, heater, stove, or television because wind and heat can dehydrate the florets. And a dehydrated floret can affect the health of the other florets. For safety's sake, don’t put the vase somewhere it will cause damage if it tips over.
Caring for Cut Gladiolus
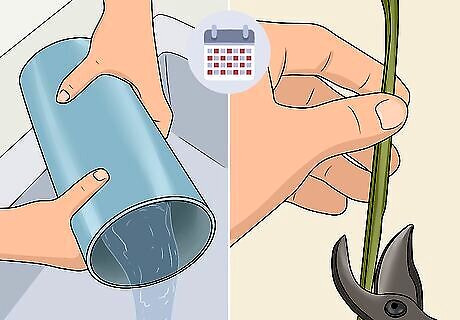
Change the water and recut the stems by 1 inch (2.5 cm) every 2 days. Cut 1 inch (2.5 cm) off the stems at an angle and change the water every 2 days to keep the spikes and florets looking fresh. Use a sharp blade to slice off each end at an angle about 1 inch (2.5 cm) up the stem. It’s important to clip them regularly because microbes will grow at the base and block the flow of water up the stem. If you notice the ends are slimy or dark green after snipping the end, cut it again about 1 inch (2.5 cm) at a time until you see a fresh base. Cut gladiolus will last anywhere from 6 to 12 days depending on the health of the plant when you cut it and how you take care of it.
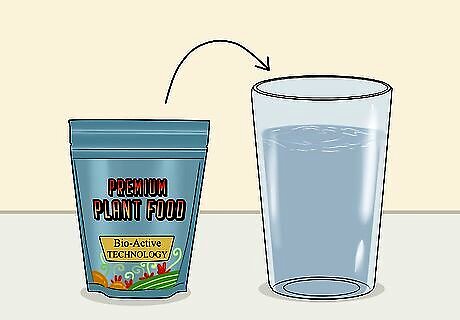
Feed your gladiolus with plant food with each water change. Plant food is made of sugar, an acid, and bleach; the mixture feeds the plants while keeping bacteria or mold from growing. Every time you change the water and snip the ends, stir some plant food into the water. The feed will give the flower more nutrients and keep it healthy for longer. You can buy cut flower feed at any superstore or grocery store that has a plant nursery. You can also use half a crushed aspirin pill instead of flower feed.
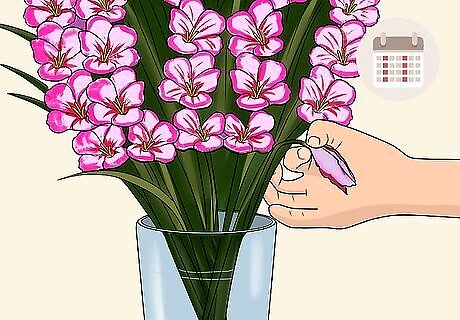
Deadhead your gladiolus twice a week to improve their appearance. Inspect the stalks twice a week and pinch off any wilted or scraggly-looking florets. This will not only improve the look of the flowers but it will allow new, healthier blooms to grow. Wilted florets will appear shriveled and limp or show signs of discoloration (like darkening or browning). Remove each flower as it begins to wilt—don't wait until the seed head begins to form. Take care to remove not just the shriveled petals but also the swollen bit at the base of the dead flower (where it connects onto the main flower stem). This is the bit that forms the seed.











Comments
0 comment