views
X
Research source
You can sketch this by hand pretty easily, but if you need to make a parallelogram of a certain length or angle, or if you only have a drawing compass to work with, you'll need to follow an exact process. Fortunately, it's not difficult once you know what to do.
Drawing a Parallelogram with Certain Measurements
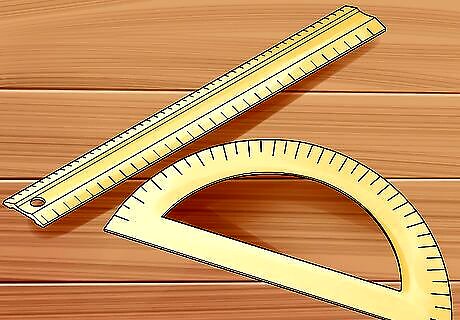
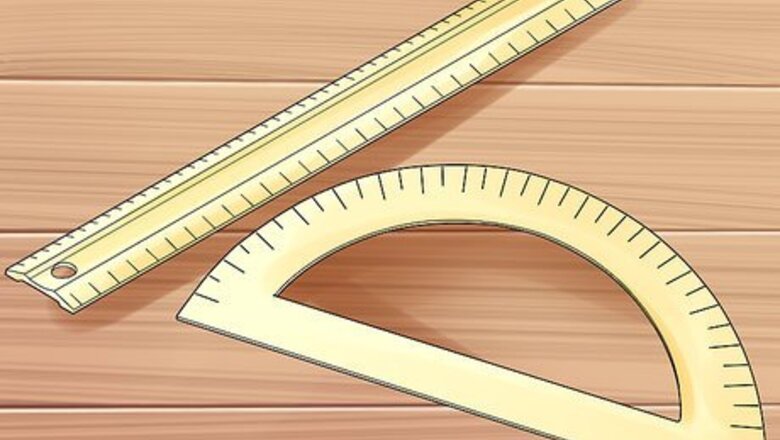
Gather your tools. You'll need a ruler and a protractor to draw a parallelogram with specific side lengths and angles. If you don't have a protractor, you can print one out from an online picture, or make your own out of paper.

Check the instructions for your math problem. The steps below tell you how to make a parallelogram with certain side lengths and angles. If your problem only tells you an angle, or only one length instead of two, the rest is up to you. For example, if a step below tells you to draw a line of the specified length, and the problem you are following doesn't mention a specific length, just draw the line as long as you like.
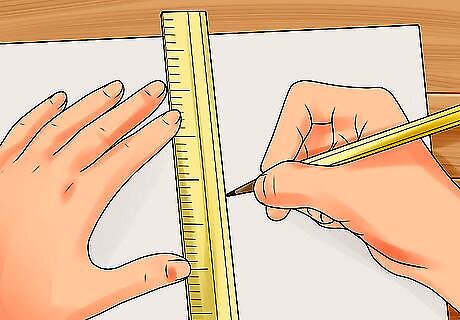
Draw a line using the ruler. Put your ruler flat against the paper and draw a line across its edge with your pencil. Make this a long line, but don't bother measuring it yet. A longer line will make some of the later steps easier.
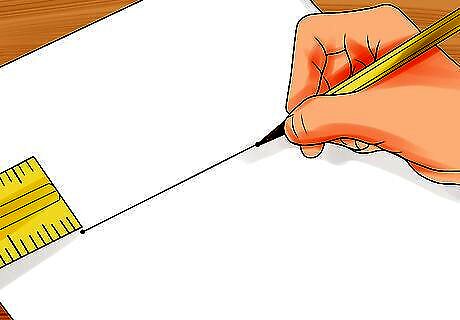
Mark the length of one side. Move the ruler to the center of the line. If your parallelogram is supposed to be 10 centimeters (4 inches) long, make two pencil marks, next to the 0 line and the 10 cm line on the ruler. These mark the two lower corners of your parallelogram.
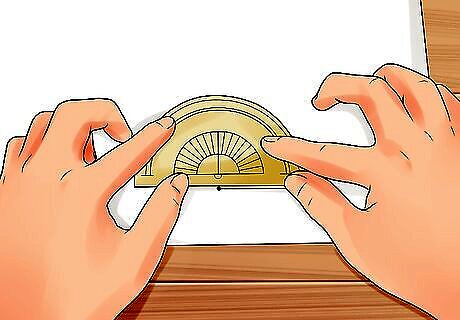
Position your protractor. Put the protractor down so the flat side is along the line (this is where a longer line will help guide you). Move it from side to side so the dot in the center of the protractor is over the left pencil mark that represents a corner of the parallelogram.
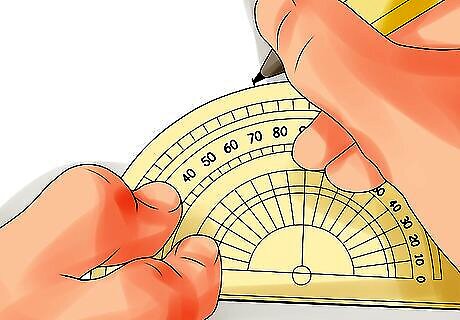
Measure the angle. The edge of the protractor is labeled with numbers from 0 to 180. These are the degrees in the angle. If you are trying to draw a parallelogram with a 75º angle, find the line labeled 75, or estimate where the line would be halfway between the 70 mark and the 80 mark. Draw a pencil line at the edge of the protractor, continuing the line you found. If your protractor has two sets of numbers, use the one that has "0" on the line between your two pencil marks. If your protractor has one set of numbers and the line between your pencil marks is labeled "180," move the protractor to the right pencil mark instead and count from there.
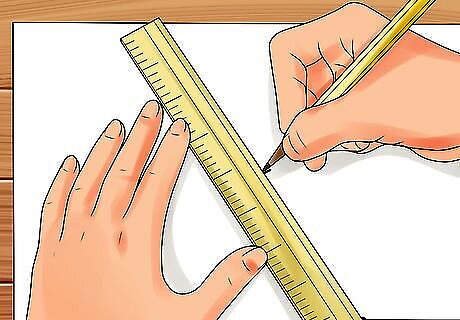
Draw the next side of the parallelogram. Move the protractor out of the way and arrange your ruler between the corner where the protractor was placed, and the pencil mark you just drew using the protractor. Connect these two marks by running your pencil along the ruler edge. Measure the length this side is supposed to be with the "0" of the ruler on the lower pencil mark. Make yet another pencil mark to show where the side ends.
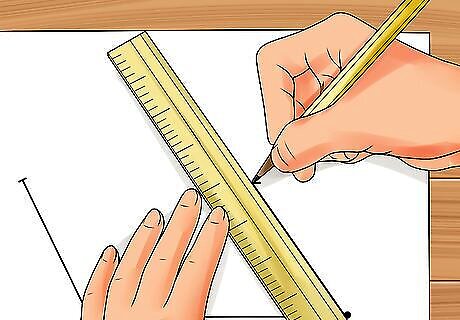
Repeat for the next side. The left and right sides of a parallelogram are always parallel, meaning they are at the same angle. Position the protractor on the other corner of the parallelogram, and mark the same angle using the method described above. When you have both the left and right sides drawn, they should be parallel to each other and exactly the same length.
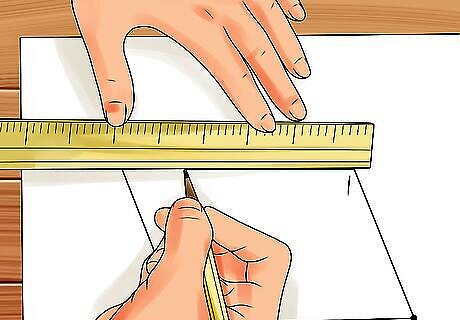
Connect the two upper corners. Position your ruler between the two top corners of the parallelogram, where the left and right sides end. Draw a straight line between them, and your parallelogram is finished.
Constructing a Parallelogram with a Compass
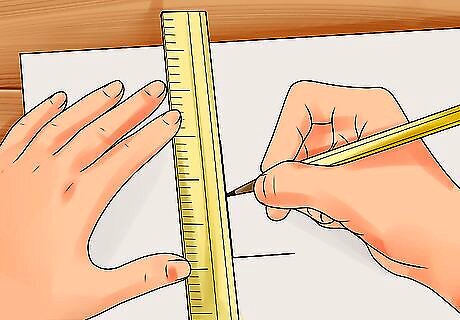
Start with an L shape. Draw two straight lines that share a corner. A perpendicular L shape will result in a rectangle, which is one type of parallelogram. Change the angle between the two lines to get different parallelograms. For each of the methods below, we'll call the horizontal part of the L the bottom of the parallelogram and the vertical or angled part of the L the left side of the parallelogram.
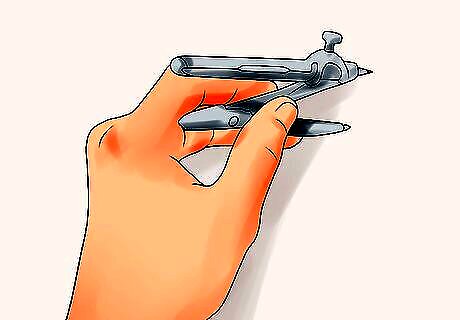
Get a compass. We're talking about the drawing tool, not the magnetic navigation compass. The drawing compass has one end with a spike, and one end with a pencil, connected by a hinge.

Understand the equal sides method. The top and bottom sides of a parallelogram are always equal, and the left and right sides of a parallelogram are always equal. We can use this information to finish the parallelogram.
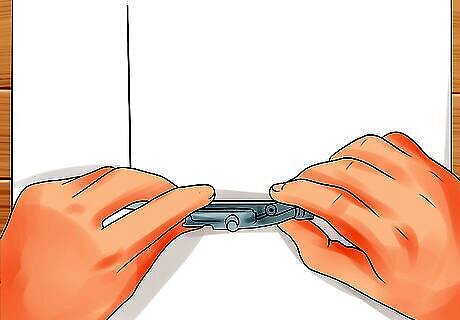
Set your compass to the length of the bottom side. Set your compass to the exact length of the bottom side, by placing the spike end on the bottom left corner and the pencil end on the bottom right.
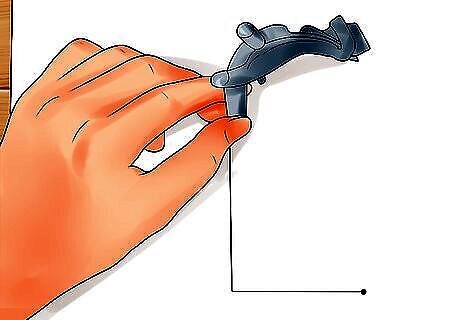
Copy this length. Move the compass without moving the hinge, so the spike rests at the top left corner. With the spike fixed in place, draw an arc along the paper by moving the pencil back and forth. You could draw a straight line from the spike to any point on this arc, and it would be the same length as the bottom side – but don't try that yet.
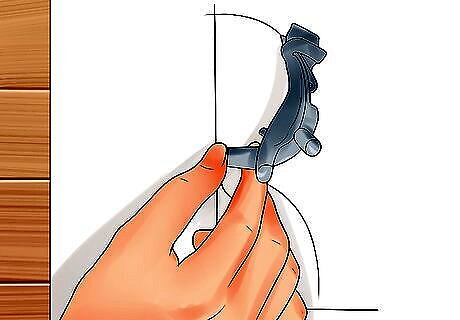
Copy the length of the left side. Remember, the left and right sides are also the same length, so we can repeat this step again. Set the compass to the length of the left side, then move it so the spike rests at the bottom right corner. Draw another arc with the pencil, overlapping the first arc.
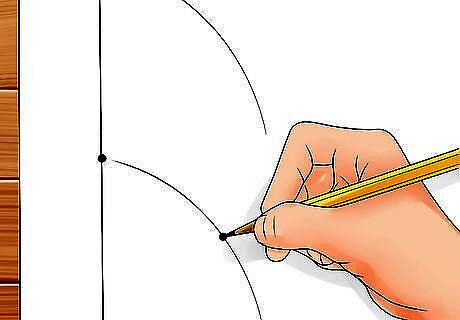
Find the top right corner. The point where the two arcs cross is the top right corner of the parallelogram. This is the only place where you can connect a right side that's the correct length starting from the bottom right corner, and you can connect a top side that's the correct length starting from the top left corner.
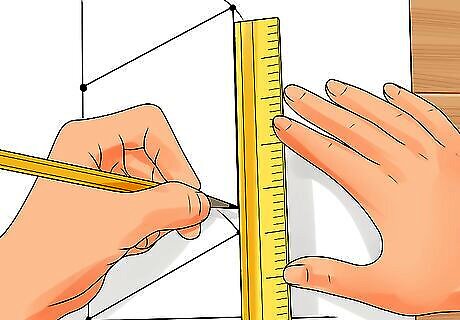
Draw the top side. Connect the top right corner to the lower right and the top left corners with a straightedge.





Comments
0 comment