views
Painting Waterproof Glass
Select a clear glass item to color. If you’re new to glass coloring, mason jars are a great type of glass to start with. Glass paint can be used to color glass that will get wet (e.g., mason jars that you’re planning to use as drinking glasses). It’s also a more permanent method of coloring glass than using food coloring.These methods don’t work for dyeing glass surfaces that are used for eating. However, you can dye the opposite side of serving trays, pitchers, and decanters that can be washed by hand. Work in a well-ventilated area, like a garage with the outside door open or a room with 2–3 open windows. This will keep you from inhaling paint fumes.
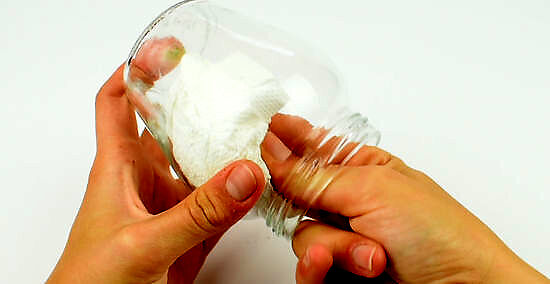
Clean and thoroughly dry your glass to ensure the color sticks. Run the glass through a washing cycle in a dishwasher if possible. This will ensure that all dirt and grime are removed from the interior of the glass before you start to dye it. A bottle-cleaning brush will reach into the bottle to remove food or grease residue. They are available online and in kitchen stores. If you are using a thin bottle that’s too narrow for the cleaning brush to fit into, you may need to soak the bottle in soapy water before rinsing it.
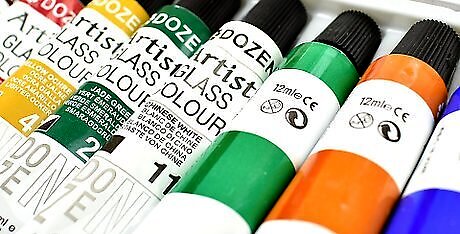
Purchase glass paint in the colors you’d like to dye your glass. Visit a nearby craft store and peruse their glass paint selection, or look over the selection online. Unless you’re set on only using 1 color, purchase a few so that you can dye your glass surfaces a number of colors. For example, if you’re planning to dye glasses dark green, purchase a couple of complementary colors like dark blue, purple, or yellow. You can use the different colors to give the inside and outside of the glass a different color, or to paint multiple glasses different colors. If you don’t live near a craft-supply store or a hobby shop, you can find a large variety of glass paints in online painting-supply stores. Each bottle usually costs around $5 USD. Make sure you're using glass paint—a lot of other paints won't stick to a glass surface.
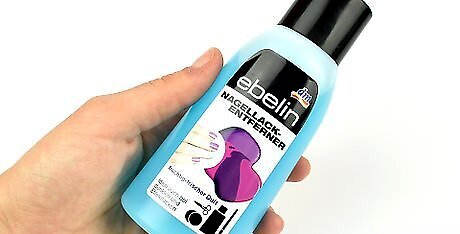
Buy paint-lightening medium to use as paint thinner. Paint-lightening medium is available at most craft shops, hobby stores, and art-supply stores. You can also purchase it through large online art-supply retailers. Paint-lightening medium is a little more expensive than the paint itself; it runs about $10–12 USD. The lightening medium is used to thin the paint and lighten its color. In a pinch, you could use acetone-based nail polish remover instead of lightening medium. However, acetone tends to mix poorly with glass paint and gives the finished product a streaky look.
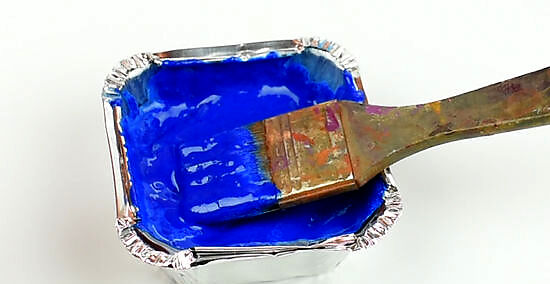
Mix lightening medium and paint together in a small plastic bowl. Measure out 1 teaspoon (4.9 mL) of glass paint and ⁄4 teaspoon (1.2 mL) of lightening medium. Stir the 2 substances together with a paintbrush until they are fully blended. This will be enough paint to cover 1 standard-sized mason jar or glass jar. Increase the amount of paint and lightening medium if you’re planning to dye multiple glass bottles. This amount of dye should also work for a glass vase. If you're planning to color, for example, a large serving tray, try doubling the amount of paint and lightening medium. Be aware that the glass paint will dry lighter than it appears at the start. Adjust the amount of lightening medium you include based on how light or dark you’d like the dyed glass to end up. For example, increase the amount of glass paint and decrease the lightening medium for a darker, richer color.
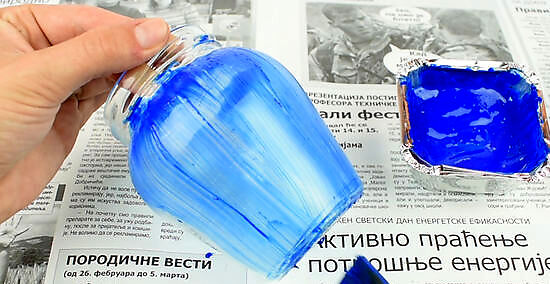
Paint the exterior of the glass in long vertical strokes. If you’re planning to paint the outside of your glass jar (or if you're painting a surface on a flat glass object) dip a 2 in (5.1 cm) wide brush into the paint mixture. Paint the dye onto the glass jar in vertical strokes. Each stroke should begin at the top of the glass and end at its bottom. Rotate the jar in your hand as you paint it to ensure that an even layer of paint coats the entire external surface. Let the painted glass dry for 1-2 hours before you handle it again. Painting both the interior and the exterior of the jar will make the color darker than if you only painted the interior. Painting the exterior also gives the dyed glass a bolder color and works well for purely decorative vases that won’t be handled very often. Dyeing the outside of the glass can make it slightly tacky to the touch. Dyeing external surfaces is recommended for glasses that don’t have to be used or washed too often. It's also ideal if you're planning on using the glass for food or drink.
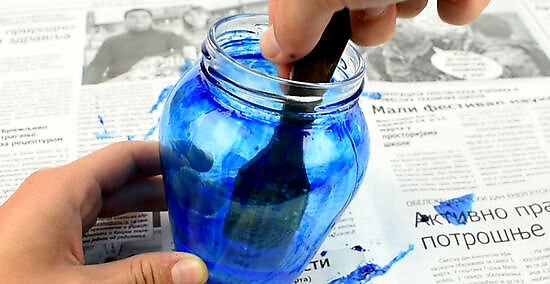
Pour the paint mixture into the bottle or vase to color the interior. If you’re painting the interior surface of a large glass vase or carafe, use a paintbrush to distribute the dye evenly around the bottom of the base. Try not to get any of the paint on the sides of the glass for now. If you're planning to use the glass to serve food or to drink out of, only apply the paint mixture onto the underside or outside of a bottle or tray.
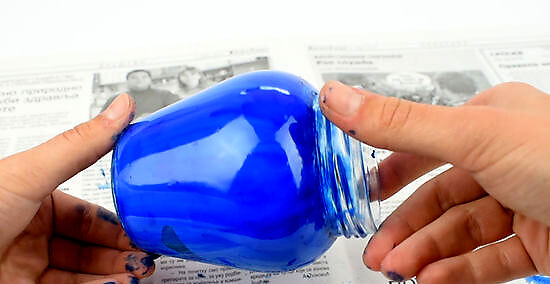
Swirl the paint around the bottle's interior until it covers the entire area. Tilt the bottle on its side and roll it around on a surface so that the paint coats the entire interior. Or try turning and tilting the bottle in the air to slowly coat the interior surface of the bottle or mason jar. If your paint doesn’t seem to be distributing in an even coat, you have used too much acetone. Add more paint to the interior and mix again.
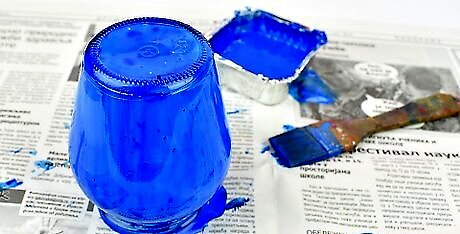
Turn the bottle upside down for 20 minutes to drain excess paint. After you have coated the interior or exterior surface of the bottle, jar, or vase, tilt it upside down so that extra paint mixture drips off of the glass and onto a sheet of newspaper or something similarly disposable. If you’d rather not hold the bottle for 20–30 minutes, set it upside down on top of 2 parallel drinking straws to allow paint to drip off. If you were to skip this step, accumulated paint would drip down into the bottom and dry as hardened pools of glass paint.
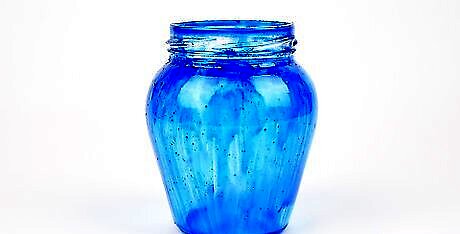
Set the glass aside to dry for 3 to 7 days. It will take a substantial amount of time for the glass paint to fully dry. So, set the glass on a shelf in your garage or on top of a high kitchen cabinet to let it dry out. Allow the paint to cure for at least a week before pouring water into it. If you have children or pets in your home, make sure to set the drying glass somewhere where they won’t be able to accidentally break it. If the dyed glasses or mason jars become dirty, hand wash them using warm water and a gentle detergent. Don’t put the glass in your dishwasher, or the coloring may come off.
Dyeing Glass with Food Coloring
Select a clear glass and clean it thoroughly. Mason jars are always a popular choice for DIY glass dyeing. This method also works well on flat glass surfaces, like serving trays. Keep in mind that glass dyed with food coloring is not waterproof, so don’t use glass that you’re planning to drink from or keep flowers in. Wash the glass object by hand or run it through a dishwasher cycle to make sure it’s clean. If you’re dyeing a vase, check its packaging to make sure it’s dishwasher safe. Also make sure that it's oven-safe, since you'll be setting the glass's color in the oven.
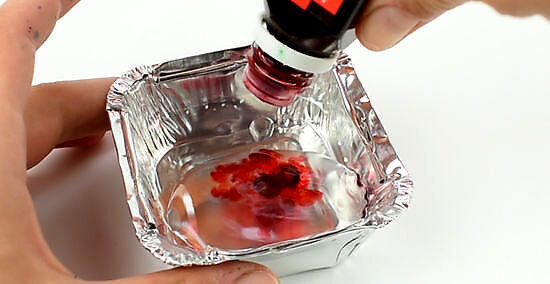
Mix food coloring and water in individual ramekins. In each ramekin, combine about 1 teaspoon (4.9 mL) of tap water with 4–5 drops of food coloring dye. This will be enough to dye 1 standard-sized mason jar. Experiment with food coloring shades until you find a color that you’d like to dye the glass. Mix at least 3 or 4 different colors with water in separate ramekins. This will allow you to color different glasses different colors or to paint 1 glass multiple shades. Remember that the color will dry to a lighter tint than it first appears. So, make your colors darker than you’d like them to appear on the finished product, unless you want very light glass. You might choose holiday colors if you're decorating your jars as holiday decor.
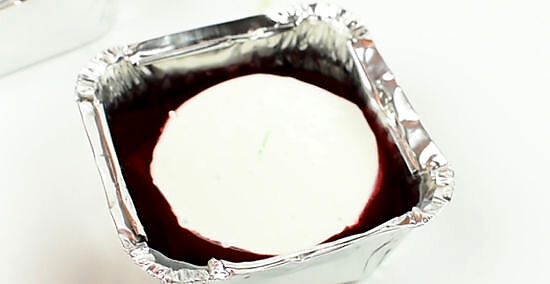
Combine the food coloring mixture with Mod Podge. Mix about 1–2 tablespoons (15–30 mL) of thick Mod Podge in with each ramekin of food coloring. Use a 2 in (5.1 cm) wide paintbrush to mix the dye and Mod Podge together. When it’s fully mixed, the mixture should have a runny consistency. If the mix is too thick to be poured out of the ramekin, you’ve added too much Mod Podge. You can purchase Mod Podge at any craft-supply store or art shop.
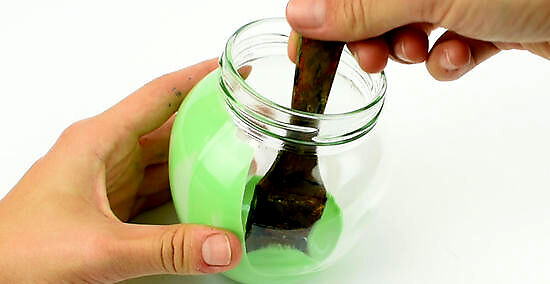
Paint the interior of the glass with your paintbrush. Dip the tip of your paintbrush in the dye mixture and insert the brush into the jar. Paint the jar’s interior using long, vertical strokes. Each stroke should coat the glass from top to bottom. Dip the brush again once it’s out of paint. Apply a thick, uniform layer of dye to the glass. If you're painting something other than a jar, pick 1 side you'd like to dye and paint and even layer of the dye mixture on that side of the glass. Tip: For a different visual effect, try pouring the Mod Podge mixture into the glass jar and swirl it around. The swirl method will result in a less uniform dye job with more drip marks around the interior sides of the jar.
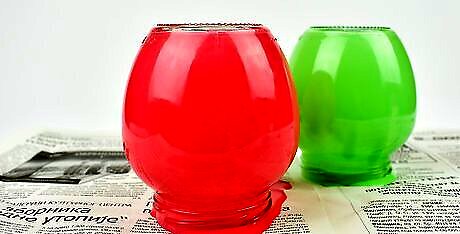
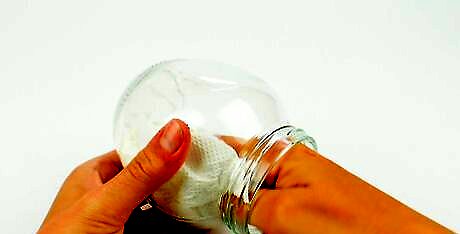
Place your jar upside down on a piece of wax paper. Allow it to rest for 30 minutes, or until paint stops dripping down to the bottom of the glass. Excess dye will accumulate at the mouth of a jar. When you lift the glass up after the 30 minutes have passed, wipe excess paint off of the jar’s lip with a clean cloth. If you are not dyeing a jar or glass but are working with a flat glass surface, simply lay it face up. You shouldn’t need to worry about paint dripping off.
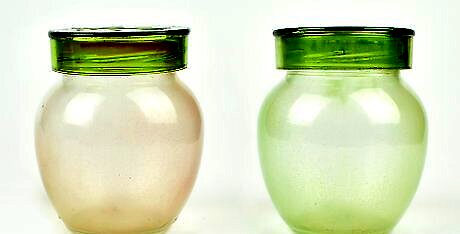
Bake the glasses in the oven for 30 minutes to dry them. Set your oven to 200 °F (93 °C) and slide a cookie tray onto 1 of the middle shelves. Set the dyed glass on the cookie tray with their openings facing downward. Shut the door and let the glasses dry for 10 minutes. After the time has passed, turn the glasses right side-up and let them dry in the oven for another 20–30 minutes. Use a hot pad when handling the glasses so you don’t burn your hand. When you remove the glasses from the oven, set them on a coaster or stone section of your countertop so they don’t damage the counter. Since the dyed glass will not be waterproof, you won’t be able to wash the dyed glass at any point in the future. For this reason, it’s best to use the Mod Podge method on glass materials that are purely decorative. EXPERT TIP Douglass Brown Douglass Brown Glassblowing Expert Douglass Brown is a Glassblowing Expert based in Half Moon Bay, California. He has over 25 years of experience as a glass artist, and is the owner and operator of 2 glass blowing studios in the San Francisco Bay Area, Half Moon Bay Art Glass and Mare Island Art Glass. Douglass believes in sharing hot glass experiences with anyone who wants to learn about the processes of blowing and sculpting glass. When not teaching, Douglass creates glass art that is a mix of his takes on nature and functional glassware. He has also created the Glass Troubadours, which is a mobile glass blowing studio that hosts parties, events, and visits craft shows. Douglass Brown Douglass Brown Glassblowing Expert Paints that require heat drying will last longer. Use the right kind of paint and procedures to ensure longevity. When colored glass is properly cured with heat, it can be baked in the oven and washed in dishwashers without fading or peeling.



Comments
0 comment