
Performing a Master Reset
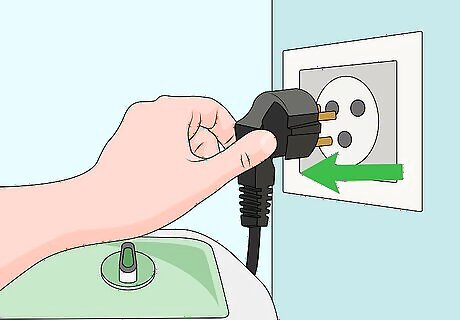
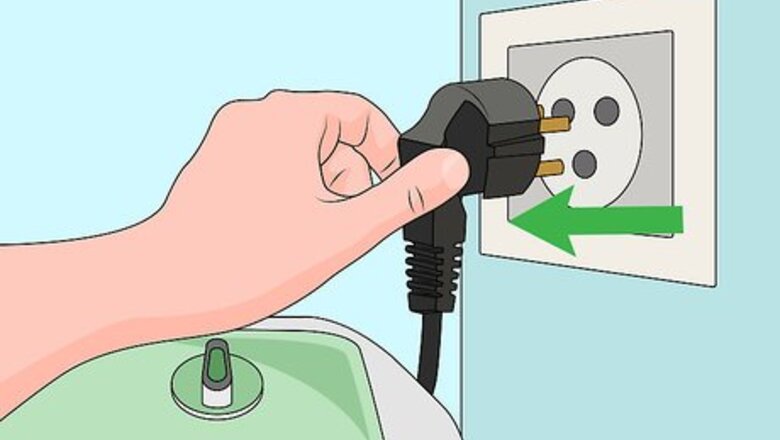
Unplug the washing machine. Often washing machine malfunctions are caused an electrical spike or computer malfunction. In these cases, unplugging the washing machine is the first step toward resetting the computer and fixing the issue. Usually this should be the first thing you try. It is less invasive or strenuous than other methods of fixing a malfunctioning washer.
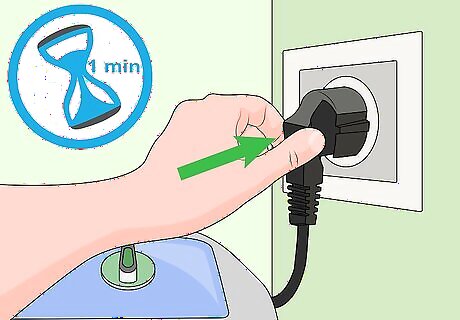
Wait for a minute and then plug the washing machine back in. Do not plug the washing machine back into the outlet immediately. Allow it to sit unplugged for a minute.

Open and close the door several times quickly. Try to open and close the door 6 times in a span of 12 seconds. Many washing machines are set up so that this signals the computer to reset.
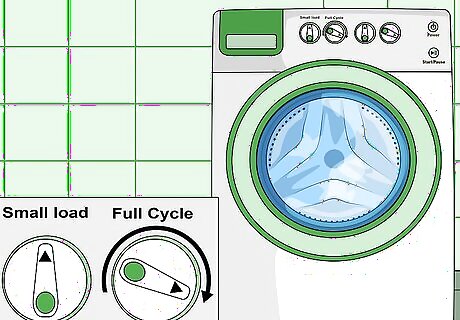
Test the washing machine. To see if the washing machine is fixed, set it on “small load” and allow it to run without anything inside. If it runs through its full cycle, it is safe to begin washing clothes in it again.
Diagnosing a Lid Switch Malfunction
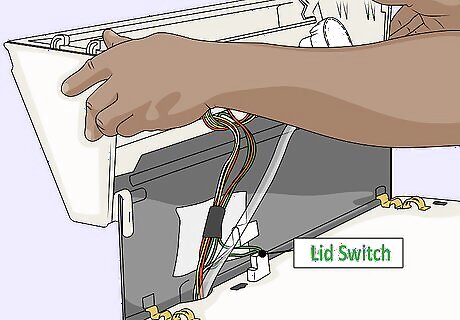
Find the lid switch. The lid switch is the part on top-loading washing machines, that sends the machine a signal indicating that the door is closed and that it is safe for the machine to run. It should be an oblong hole that is aligned so that a rod on the inside of the door will fit into it. Because this part takes a lot of wear and tear, it is prone to break. Thus, it is one of the most common reasons why washing machines stop at the spin cycle.
Inspect the lid switch. You can often guess from appearance and touch whether the lid switch is broken. The switch should be level with the top panel that it is on. If it sags, it is likely broken. Similarly, you can touch the lid switch to see if the spring underneath is functioning properly. If you press down on the lid switch and it does not give or spring back into place, then there is likely a problem with the lid switch.
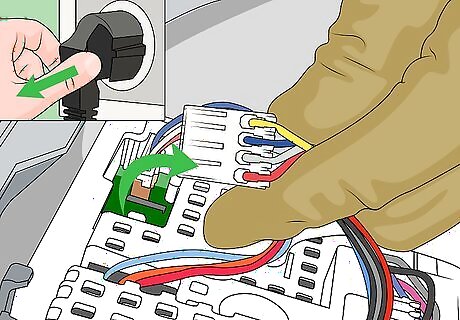
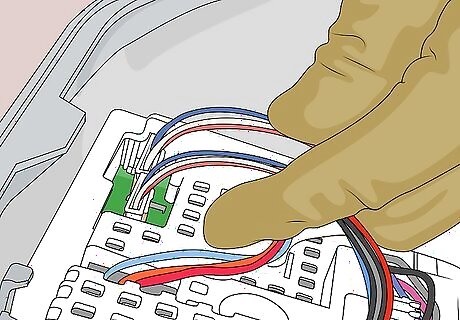
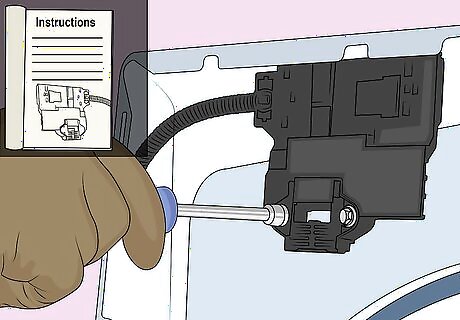
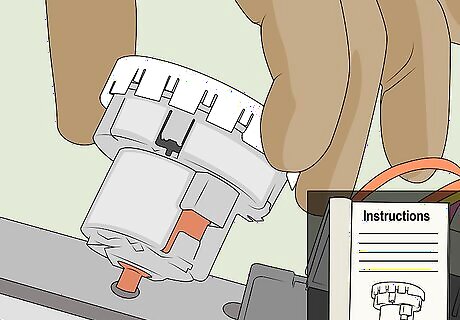
Remove the lid switch. The process for removing a lid switch depends upon the model of washer. Review the instruction guide for directions on how to remove it or google “remove lid switch” and the model number and serial number for your washing machine. When you remove the lid switch, leave the wires attached. Be sure to unplug the washing machine before unscrewing any components.
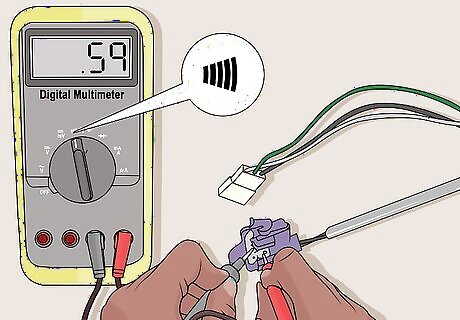
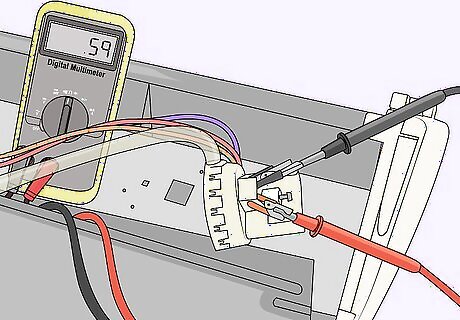
Test the lid switch with a multimeter. Put your multimeter on continuity mode. Find the connector to the lid switch. Unplug it and place the multimeter in the two outer connectors on the lid switch so that they touch the metal inside. Press down on the lid switch and test for continuity. The multimeter should recognize continuity when you press the lid switch down, as would happen if the door were closed, but should not recognize continuity if the button is not pressed down.

Order a new lid switch. Lid switches can be purchased online. They typically cost $10-20. Call your manufacturer and tell them the model number of the washing machine, so that they can direct you to lid switches that are compatible with your machine.
Replace your lid switch. You will need to consult the instructions for your specific model to determine how to replace the lid switch. However, if you have already removed the previous lid switch, it should not be too complicated. You will need to place the new lid switch where the old one had been, screw it in, and connect it to the electronic control board as the old lid switch had been. After the lid switch has been replaced, you will need to reinstall the console and plug the machine back into the wall.
Fixing a Water Level Control Malfunction
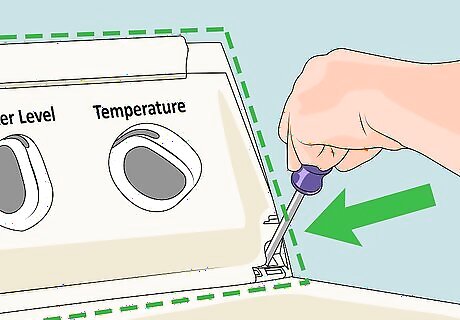
Remove the control panel. The control panel is the interface with most of the buttons that you use to operate your washing machine. Use a screw driver to remove the screws that hold it in place.
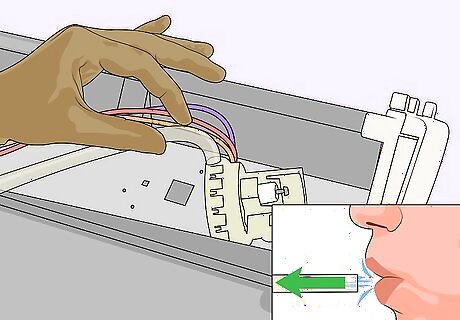
Test the water level control valve. There should be a plastic tube underneath the control panel. It should be firmly plugged in. Remove this water level control valve and blow into it. The air should flow through naturally. If you can't exhale naturally there is a clog that needs to be fixed. If the tube is unplugged, then the washer might begin to work again if you properly reinsert it into the pressure switch.
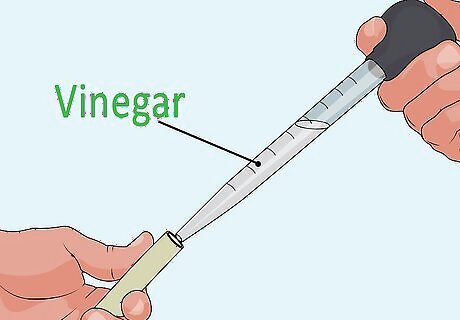
Clear water level control valve. If the tube seems to be clogged, fill a turkey baster with vinegar and pump the vinegar down the tube. The vinegar will dissolve the soapy residue and should return the washing machine to normal.
Test the pressure switch with a multimeter. The plastic tube should connect to the pressure switch, which measures the amount of water in the washing machine. The pressure switch should be a circular piece that looks a bit like a gear, connected to a tube. It is generally directly underneath the control panel. Disconnect the wires and plug a multimeter in to check for continuity. There are three separate plugs, which also means that there are three pairs of connections to test with the multimeter. Test each of these pairs separately. There should be connectivity between all of the pairs. If the washing machine isn’t filling up or is filling up with too much water, that is a good sign that there is an issue with the pressure switch or water level control valve.
Replace the pressure switch according to specifications. Each make and model will have its own unique method for replacing the pressure switch. If your test establishes that the pressure switch is the issue, check the instruction manual for directions on how to replace it.


Comments
0 comment