views
Picking Your Kite

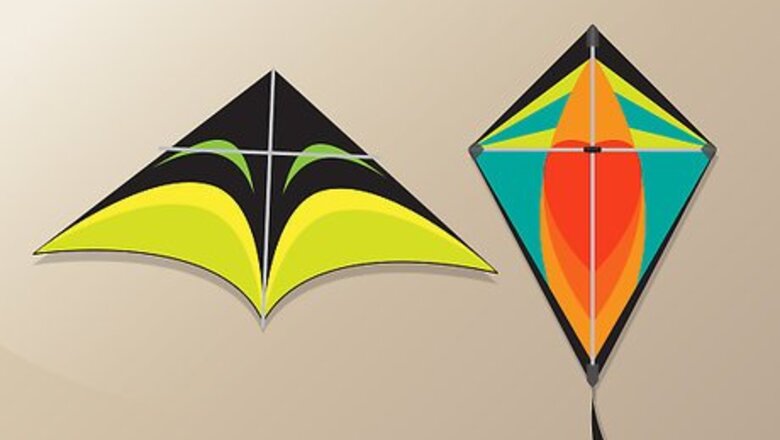
Try a delta or diamond kite. Look for kites that are shaped like triangles or diamonds; these are the delta and diamond kites. Because they are relatively easy to fly, these two types of kites are great for beginners. They fly well in light to medium winds, about 6 to 15 mph winds.
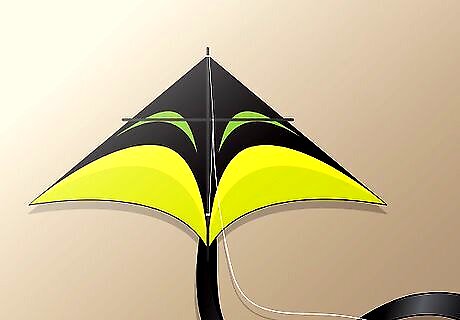
Choose a single line kite. Look for kites with a single string; these are single line kites. Because they are easier to control, single line kites are recommended for beginners. Single line kites are most suitable for light to medium winds. However, if you want to fly your single line kite in stronger winds, then add a tail to it. When choosing a tail for your kite, choose one that is made of lightweight materials.
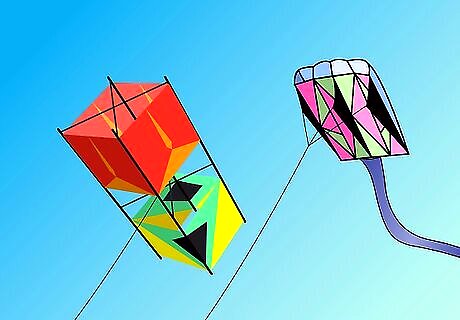
Select a box or parafoil kite. Look for kites that are shaped like a four-dimensional box, sled, or arch; these are parafoil kites. Choose one of these kites if you want something a little more challenging than the delta or diamond kite. They need stronger winds to fly, about 8 to 25 mph winds. Parafoil kites usually contain tunnel-like passage ways for wind to pass through.
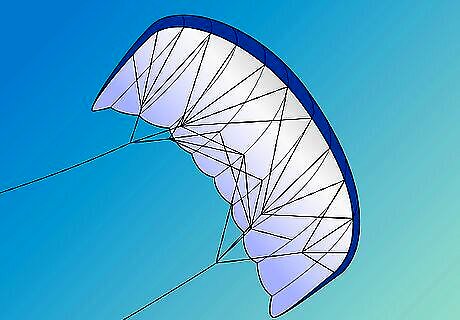
Try a dual line kite. Look for kites with two strings, these are dual line kites. Dual line kites, also known as sport or stunt kites, require more experience to fly. You can fly dual line kites in light, moderate, and heavy winds. Additionally, with two lines, the flier has more control over the kite. You can also do maneuvers and tricks, like loops, with dual line kites.

Visit your local discount retailer. Your local discount retailer should have a variety of kites available for you to choose from. If you cannot find the kite you are looking for, then visit specialty kite stores online.
Choosing the Right Conditions
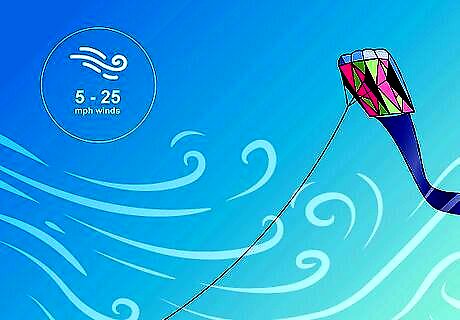
Fly your kite in 5 to 25 mph winds. This wind speed works for most kites, although medium speed winds are ideal. It will be difficult to fly a kite in winds that are either slower or faster than this speed. Check the weather app on your phone or computer to see how fast the winds are blowing on a given day. You can also look at the tops of trees, bushes, and the leaves to see how fast the wind is blowing; for example, when the wind is able to move leaves off of the ground, the flying conditions are ideal.
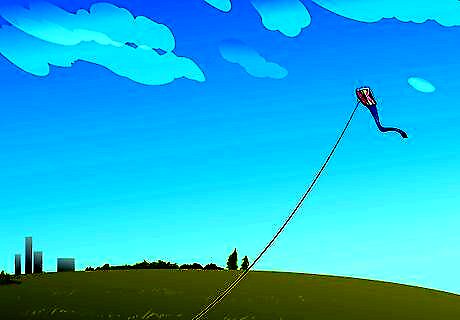
Choose big, open spaces to fly your kite. Parks, the beach, and open fields are great places to fly a kite. Try to avoid flying your kite near power lines, buildings, roads, airports, and trees. Additionally, if you are flying a dual line kite, create distance between yourself and other people in the park, and make sure others know to stand behind you. Remember that the more space you have, the more line you can let out and the higher your kite will fly.
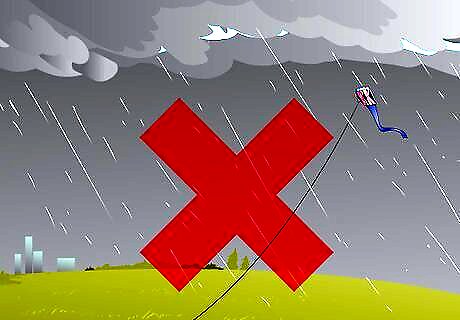
Avoid flying your kite in rain and lightning. The electricity in rain clouds is attracted to wet kite lines. To avoid getting shocked, never fly your kite in a rain or thunderstorm.
Flying a Single Line Kite
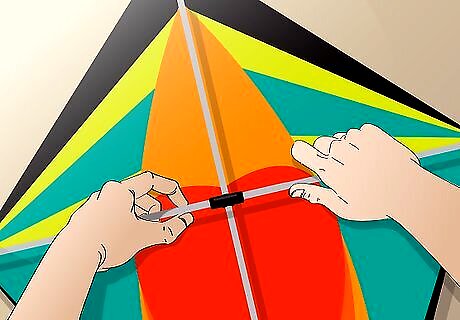
Assemble your kite indoors. Insert the spine and crossbars, and attach the string per the instruction manual. Make sure to check the guidelines to determine the ideal wind speed for the kite.
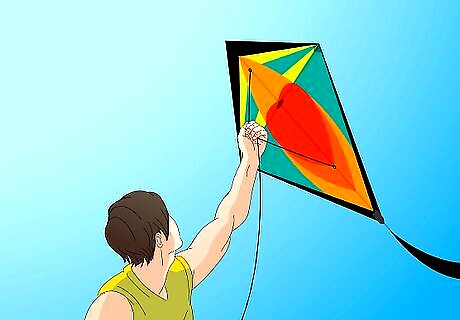
Face away from the wind. Hold up your kite by the bridle. The bridle is the two or three strings that attach to the kite and the kite line. Hold it up until it catches the wind.
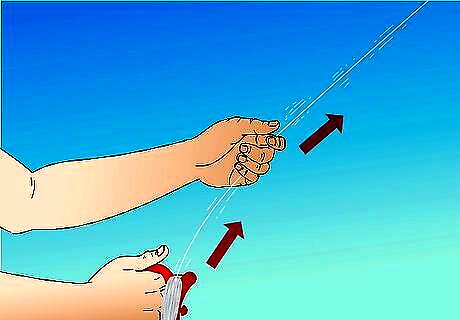
Let out some line. As soon as your kite catches the wind, let go of the bridle and begin to let some line out. The line should not be slack, but taut with a little give. Pull on the line to point the kite up. This will help the kite climb higher into the air.
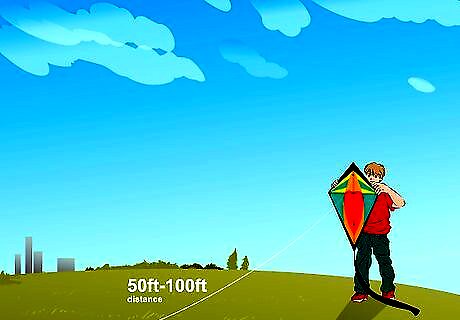
Use a friend if the wind is light. Tell your friend to hold the kite and walk downwind about 50 to 100 feet away from you. Have them hold the kite up in the air in front of them. Once the wind picks up, signal your friend to release the kite. As the kite gains altitude, pull on the line hand over hand until it is stable.
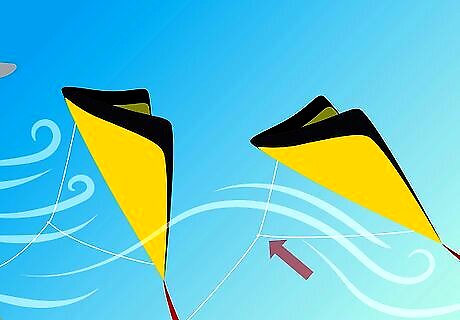
Adjust the bridle. If your kite sinks, then this means there is not enough wind. If you can, lower the bridle half of an inch down. If your kite nose dives or spins toward the ground, then the wind is too strong. In this case, move the bridle a half inch higher.
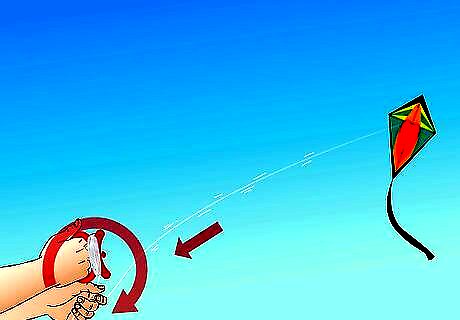
Reel in your line. Do this slowly to land your kite. As you reel it in, make sure the line is taut with a little give. As you reel in your line, walk toward your kite until it has landed safely on the ground. If your kite starts to spin, then the line is too taut. You will need to give it some slack by letting out the line.
Flying a Dual Line Kite
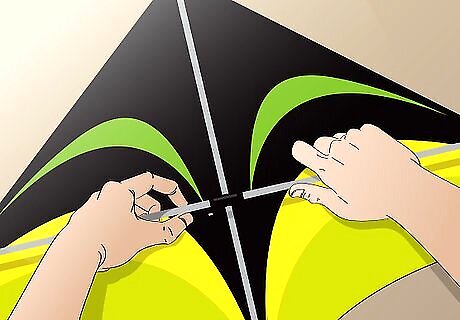
Assemble the kite inside. Insert the spine into the slot at the nose, i.e., the tip of the kite. Attach the upper and lower spreaders to their connecting pieces on the leading edges. Connect the standoffs to the trailing edges. Make sure to attach the flying lines with a slip knot.
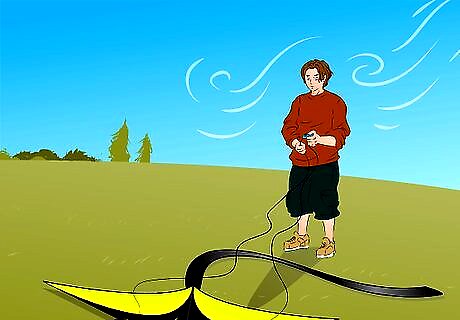
Stand with your back toward the wind. Place your kite on the ground. The bottom of the kite should be facing up. The bottom of the kite is the side where the kite strings attach to the kite. Alternatively, have a friend hold the kite up in the air for you.
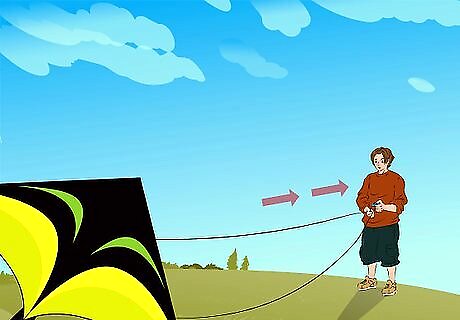
Walk backward. As you walk backward, slowly let the line out. Make sure the lines are the same length, as well as straight and not twisted or tangled. As you walk backward pull the handles to your sides. This will help the kite catch the wind. If a friend is holding up the kite, have them toss it up in the air once you have walked about 30 to 50 feet backward.
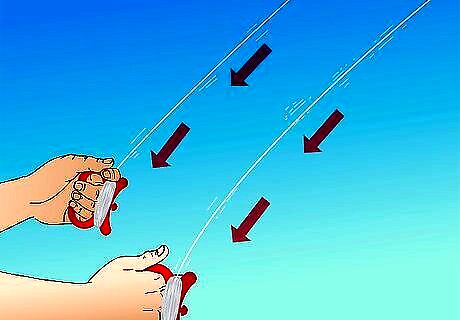
Pull gently on the lines. Do this to elevate the kite higher. The line should be taut with a little give, but not slack. If your kite begins to descend, then reel the line in a little bit and gently pull until it starts going back up.
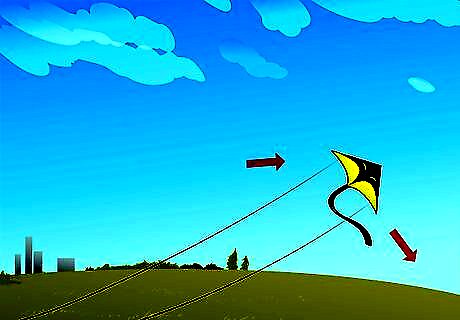
Land your kite. Fly your kite to the side or edge of the wind. At this point, your kite should be at an angle relative to the wind as opposed to perpendicular. Slowly walk toward your kite to bring it safely to the ground. Make sure the line is taut with a little give as you bring the kite to the ground.


Comments
0 comment