

Germinating the Seeds

Purchase royal gorilla seeds from a reliable source. Royal gorilla seeds can be found from lots of online retailers and often come in a small pack of starter seeds. Once you receive the seeds, check that they're a brown color and are dry instead of green and mushy. If you're of the legal age, purchase seeds that come from a retailer with positive reviews and easy-to-find contact information. Some sites may require that you be at least 18 or 21 years old to purchase the seeds. Warning: Depending on the laws in your state, growing marijuana plants may be illegal. Check your local laws before purchasing the seeds to make sure you're following all of the rules.
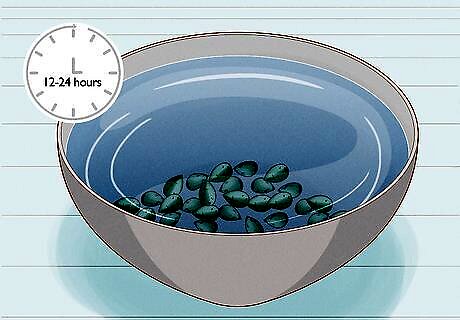
Fill a cup with water and place the seeds inside to soak for 12-24 hours. Fill a regular cup with room temperature water. Place the seeds in the water so the moisture can start to break through the outer shell. Avoid leaving the seeds in the water for more than 24 hours because it could cause them to drown. When you put the seeds in the water, they’ll float on the top until they absorb enough water to fall to the bottom of the cup.
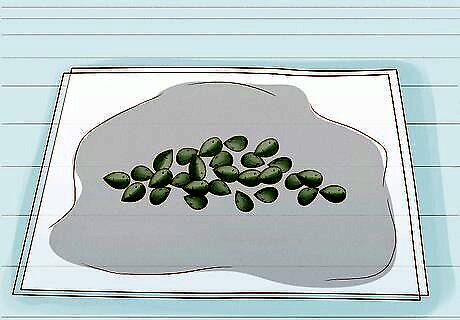
Remove the seeds from the water and set them inside a damp paper towel. Spread the seeds out on the paper towel and dampen it with the same water they were soaking in or fresh room temperature water. Either fold the paper towel in half to cover up the seeds or place another paper towel on top, depending on how many seeds you’re using. Make sure both sides of the paper towel are damp so the seeds are coated in moisture.
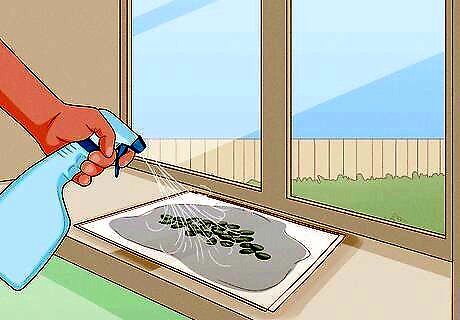
Place the paper towel in a warm spot and keep it moist for 2-5 days. Set the paper towel with the seeds in it on a plate and place it in a warm area. Check the paper towel every 8 hours to make sure it’s still moist. If the paper towel starts to dry out, pour a little bit more water onto it or spray it with a squirt bottle. The spot where you put the seeds can be warm from the sun or just an area in your home that stays warm because of other factors.
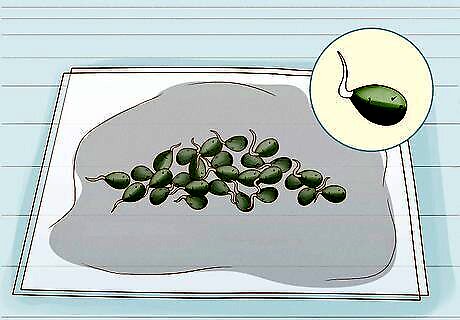
Take the seeds out of the paper towel when you spot white sprouts. After roughly 2-5 days, a little white root should start to emerge from each seed. Once you see roots coming out of a seed, it’s time to carefully transfer that seed into its pot of soil. It's okay to open up the paper towel to check on the seeds. Only move each seed once it has sprouted roots. It's okay to wait an additional day or two to wait for all the seeds to have roots before transferring them.
Planting the Seeds in Soil
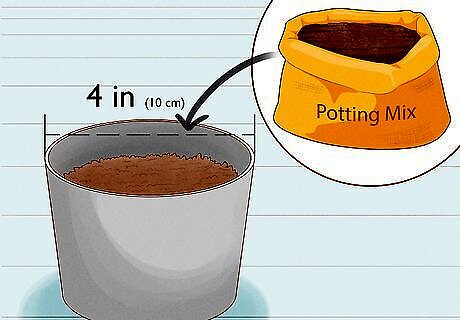
Prepare a small pot with regular potting soil for each seed. Fill a small pot that’s roughly 4 in (10 cm) wide with a normal balanced potting soil. This could be any regular potting soil that you’d buy at a home improvement or garden store. If you don’t have small pots, you can fill plastic cups with soil as long as you poke drainage holes through the bottom so the water can drain.
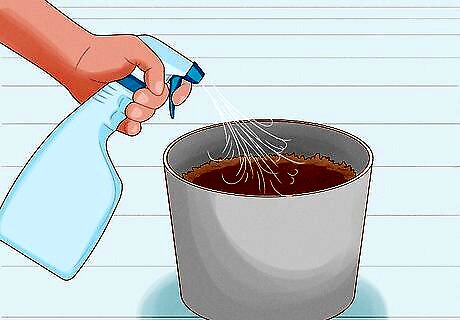
Dampen the soil with water so it’s ready for the seeds. Hold each pot under running water and drench the soil evenly. Let the excess water drain out of the drainage holes so the soil is damp but not drenched.
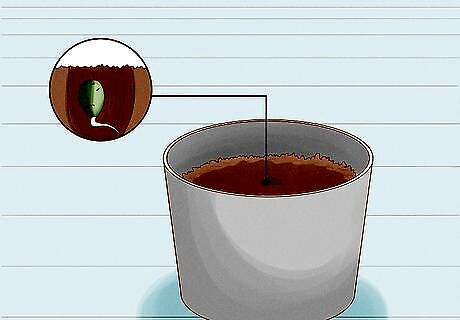
Place the seeds in the soil with their roots facing downwards. Put a seed in each pot that you’ve prepared so their roots are positioned towards the bottom. Set the seed in the soil so it’s just below the top of the soil but completely covered up, or about 0.5–1 cm (0.20–0.39 in) below the surface. Keep the soil moist as the plant starts to grow.
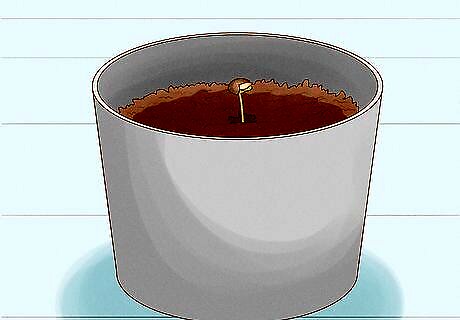
Wait a few days for the plant to sprout up through the soil. This could take anywhere from 1 day to a whole week. Watch for a little green stem to peak up through the soil, signaling that the growing process is working. If your seed doesn’t sprout after 10 days, it’s likely not going to grow.
Caring for Your Royal Gorilla
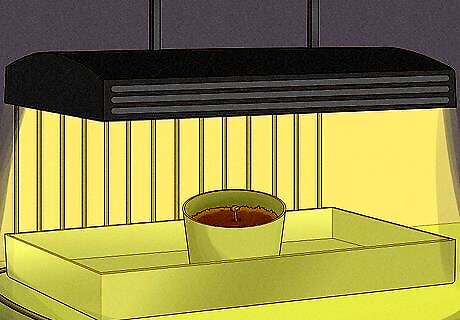
Use a grow light once the seedling peeks through the soil. Royal gorilla plants, as well as most other types of marijuana, need lots of light and warmth to grow properly. Place a grow light above the seedling, keeping it close but out of reach so the seedling feels the warmth. Leave the light on for at least 18 hours a day so the seedling grows properly. Fluorescent LED grow lights or Metal Halide lights are popular options. Test out whether the grow light is too warm by holding your hand under it. If it feels too hot after 10 seconds, the light is too hot for your seedlings.

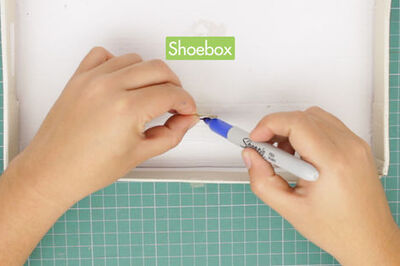
Keep the environment humid by placing a humidity dome over the seedling. The seeds need humidity to grow nice and strong, so it’s helpful to place some type of plastic over the pot to keep the warmth and moisture in. This could be a piece of plastic wrap (as long as it’s not touching the seedling) or a plastic bottle that’s been cut in half. Try to keep the humidity between 50 and 60 percent. Find out the humidity using a hygrometer. Purchase a humidity dome designed just for plants, if you'd like.
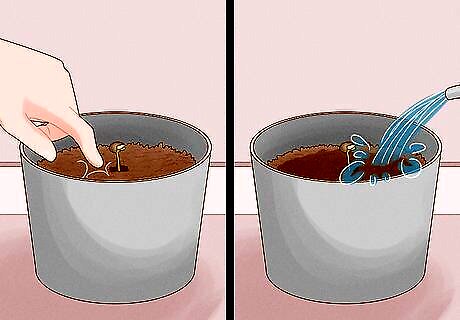
Water the soil when it starts to dry out at all. Check the soil at least twice a day to make sure it’s still damp. If it’s starting to dry out, water it with clean water and let the excess water drain through the bottom of the pot. Do a touch test to find out if the soil is damp or not.
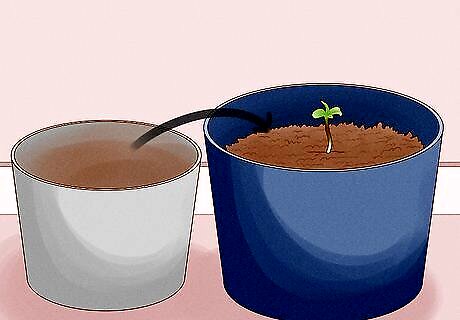
Transplant the seedlings once they have a couple sets of leaves, if needed. If your seedling started out in a small pot, move it to a larger pot once it has grown several sets of leaves. This means it’s strong enough to be transferred and has stable roots. Move it into a larger pot and add in fresh potting soil. Use a pot that’s at least twice the size of the pot you started with and make sure it has proper drainage holes. Use a regular potting mix with your plant.
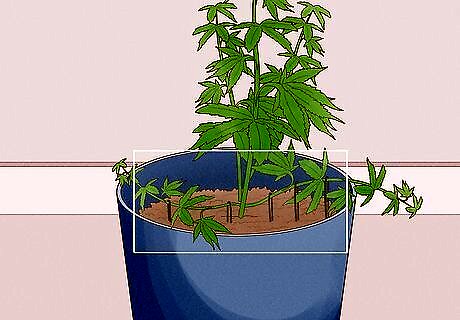
Train your plant to grow wide once it has 5-7 fingers. Once your plant has 5 fingers, or leaves, on one stem, it’s strong enough to be trained. Training is when you use twisty ties to tie the tall stems down so that the plant opens up. Start at the outer edges of the plant and use twisty ties to tie down the tall stems, making it easier for the entire plant to feel the light and warmth. You can also use regular twisty ties, pipe cleaners, or other soft bendable items to hold down the stems. Tying down the plant encourages growth.
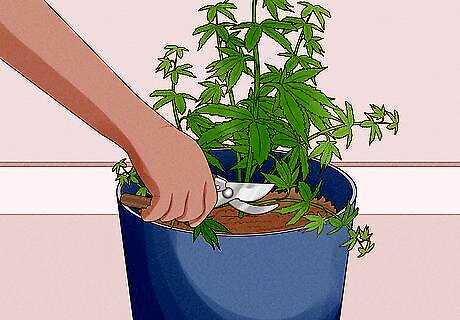
Remove the lowest branches with pruning shears. Snip away the branches that are the lowest on your plant to clear up space. Since the light won’t easily reach these branches in the first place, snipping them off with pruning shears will help direct the plant’s energy to the top of the plant where the buds will grow instead.
Harvesting Royal Gorilla
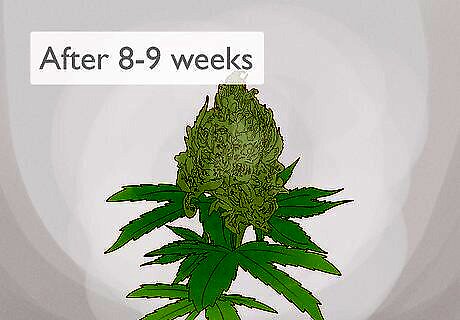
Start the flowering stage after roughly 8 or 9 weeks. By this time, your royal gorilla plant should have many layers of stems and leaves and be a full-grown plant. Mark the weeks on your calendar to make it easier to gauge when it’s time to start the flowering process.
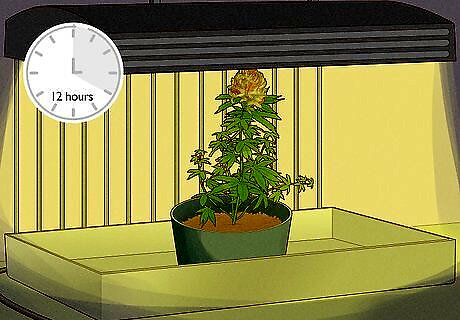
Provide 12-hour light cycles to trigger the flowering stage. Leave your grow light on for 12 hours and then turn it off for another 12, going through this cycle of 12 on and 12 off until your plant starts to form buds. The reduced amount of light will naturally tell the plant that it’s time to start flowering. Set a timer to help you remember when to turn the light on and off.
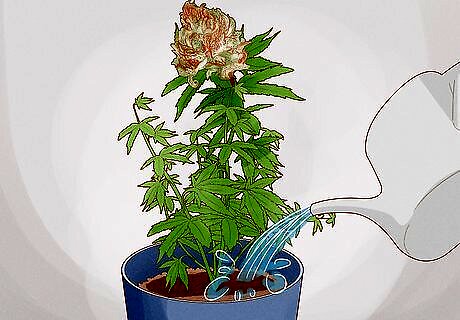
Give your plant lots of water and nutrients while it’s flowering. These include nutrients like potassium and phosphorus which can be found in plant mixes. Check the soil regularly to make sure it’s damp and water the plant whenever it starts to dry out. The bigger your plant is, the more water it's going to need.
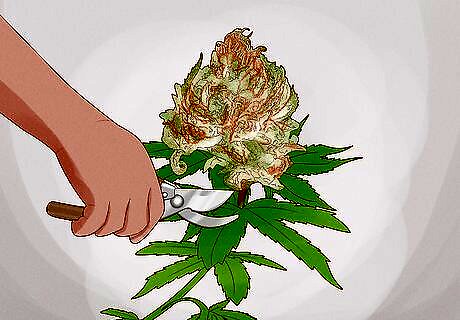
Harvest the buds when they turn a milky white color. At first the small little hairs on the buds will be clear and difficult to see. Once your plant reaches its peak THC levels, the little hairs will turn a white color, signaling that it’s time to clip off the buds. You may need to use a microscope to help you see the change in colors.


Comments
0 comment