
views
Collecting the Grain

Harvest the barley when it is gold in color. It takes around 2 months for barley to grow large enough to harvest and have the largest yield of grains. When the stalks turn completely yellow, the moisture levels in the barley are lower and they are easier to cut down. Spring barley grown in the Northern Hemisphere is typically harvested in July or August while winter barley is harvested in the April or May. The moisture level of the barley should be less than 18 percent. Moisture levels can be determined by measuring the barley’s weight or by using an electronic moisture meter.
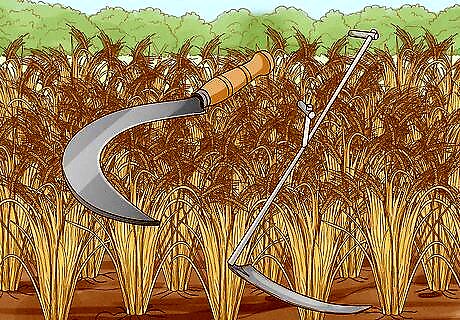
Use a scythe or sickle to harvest by hand for small crops. Have a firm grip on your tool. Swing the sharp edge of the blade as close to the ground as you can to cut down the entire stalk. Work from one side of the barley crop to the other in large swinging motions. Hold the top of the grain with your non-dominant hand while you use a sickle with your dominant hand. Use caution when you use a scythe or sickle since they are very sharp. Take your time as you use a scythe or sickle since it could strain your arms and back.
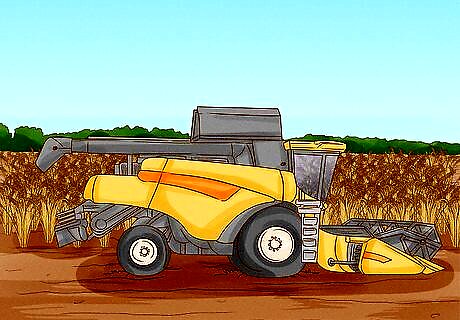
Operate a combine for large, commercial crops. Start in the early morning when there is more moisture in the stalks since this will prevent breakage. Set the combine reel to the lowest setting using the buttons on the gear shift so you are able to collect the whole stalk. Push the throttle forward to move forward through your crops. Combines are available to rent from farm equipment and large machinery stores. Consult with who you’re renting from for any additional instructions. Work from one side of the field to the other in rows so you can collect all the barley you’ve planted. Slightly overlap the rows you’ve already worked on so you don’t miss any of your barley.
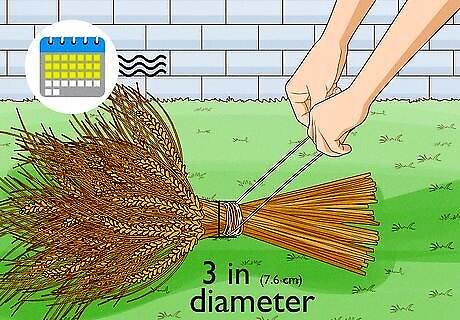
Tie bundles of barley together after the harvest and let them dry for 3 weeks. Use pieces of straw or hay to make small bundles that are 3 inches (7.6 cm) in diameter around the center. Lean 6 to 12 bundles against one another so they can dry and aerate in the field. Upright bundles of grains left to dry are known as “stooks.” Drying the barley will prevent diseases and rot once they are stored. If there is rain in the forecast, cover your stooks with tarps to prevent them from getting wet.
Threshing and Winnowing the Barley
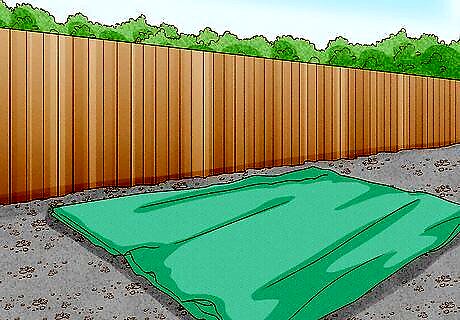
Lay a tarp on the ground in a well-ventilated area. Make sure the tarp covers the entire area where you plan to thresh so you don’t lose any of the grains. Keep the tarp flat so you have the maximum amount of floor coverage. A bedsheet will work as a substitute if you do not already have a tarp. Work outdoors so there is a breeze. This helps blow away chaff that’s still attached to the grain. If you have to work indoors, open a window or door to make sure it’s ventilated.
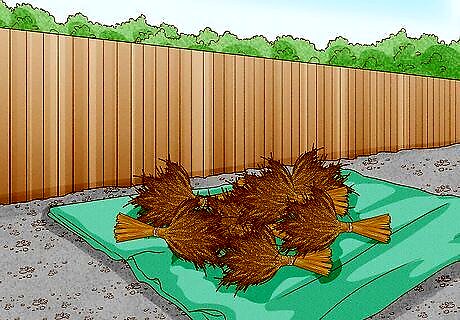
Collect the dried bundles of barley. After 2 to 3 weeks have passed, the barley should be dried out and have a low enough moisture content for you to thresh the grains. Take all of the bundles to the area you’ve prepared.
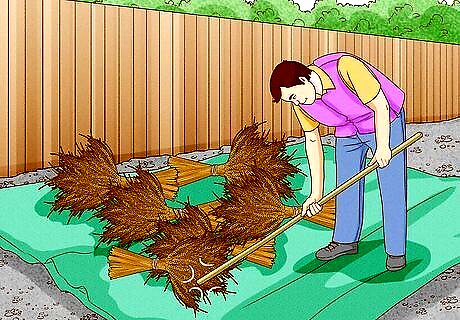
Use a bat or stick to beat the grains from the stalks over the tarp. Hit the end of the stalk with the grain pods with enough force to break the grains off. Use controlled swings with bat so the grains fall onto the tarp and prevent any crop loss. This process is known as threshing. Threshing machines will do this process for you if you have access to one and will work much faster for larger crops. They can be rented from farm equipment or large machinery stores.
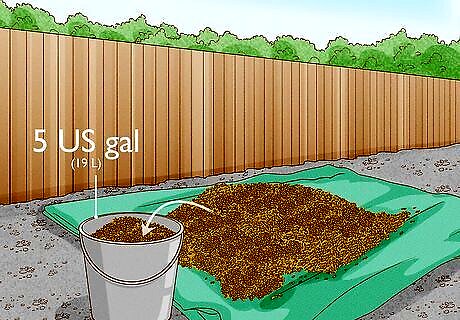
Transfer the grain from the tarp into a bucket. Bring the 4 corners of the tarp to the middle so all the barley moves to the center. Pick up the tarp by the corners and slowly pour the barley into a 5 US gal (19 L) bucket.
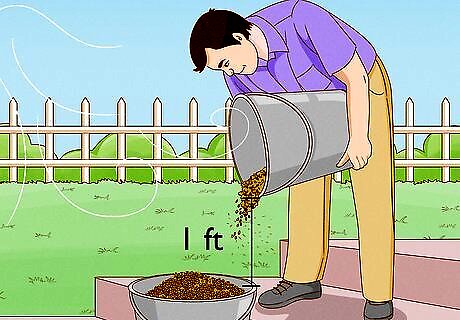
Pour the barley back and forth between 2 buckets to remove the chaff. Hold the bucket 1 foot (0.30 m) above the other and slowly pour the barley. Wind will blow any residual chaff left on the grains as you pour. Repeat pouring the barley back and forth 6 to 10 times. This process is known as winnowing. If you’re working in an enclosed space, use a fan pointed at the buckets to blow away any chaff.
Storing Barley
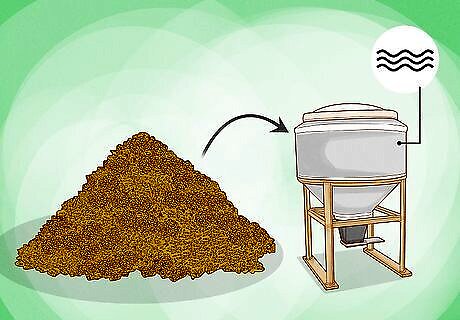
Clean and dry the grain bins you plan on using. Vacuum any old grains and dirt at the bottom and in the corners of the grain bin. Use dish soap to wash the sides and bottom of the grain bin you’re using and dry it thoroughly. Grain bins can range from large silo-like structures to drum barrels. Use food-grade drum liner bags if you don’t want to disinfect the grain bin. Large silos can be cleaned using a broom and a large vacuum on the floor. You can also hire a professional service to clean your silos for you.
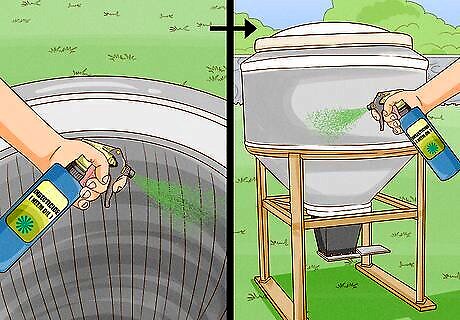
Apply an insecticide 5 days before storage to prevent infestation. Use a natural insecticide so the barley isn’t contaminated with chemicals. Coat each wall of the grain bin with the insecticide to get the maximum coverage. Use products like neem oil or an EcoSmart spray solution. You can make your own insecticide with chili powder, dish soap, or garlic. Inspect the barley every 2 or 3 weeks for infestation, especially if the weather is warm. Spray all of the interior and exterior walls of a silo-sized grain bin using a large sprayer.
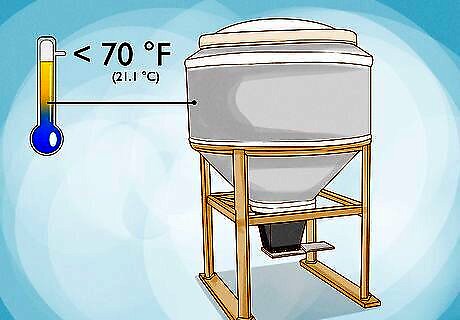
Keep the temperature of the storage area below 70 °F (21 °C). If temperatures are higher, there is more chance for mold and infestation to occur on your grains. Keep the bins in a warm, dry area with consistent temperatures to keep the barley in the best conditions. Barley can last for a few years if it is stored properly. Keep an aeration fan running in a large silo to keep temperatures down.


Comments
0 comment